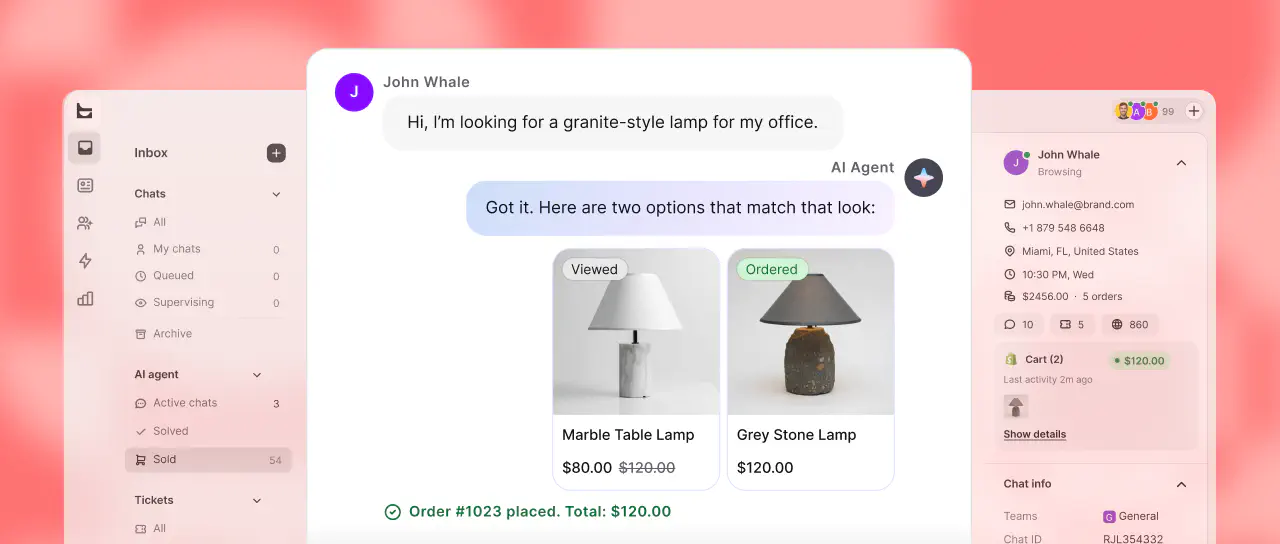
When you want your team to follow up on the conversation later, use one of the available ticket integrations. This allows you to generate a ticket your customer service team can manage.
Stay in touch with your customers even when the chat ends with one of our integrations.
The LiveChat’s legacy ticketing system retires on January 6, 2025.
Switch to other available ticketing systems to stay in touch with your customers when the chat ends. With HelpDesk, Zendesk, and Freshdesk, you can create tickets directly in the bot flow.
See this FAQ article to learn more about the ticketing system sunset.
Migrating to HelpDesk
HelpDesk is a simple yet powerful ticketing system that allows you to turn your support emails into manageable tickets and gather them all in one system. It can help you improve your workflow and simplify your customer support tasks.
If you’re using the Create Ticket action for LiveChat in your chatbot, watch the video below to learn how to migrate to HelpDesk to resolve your tickets even quicker.
Using the Create Ticket action for HelpDesk, you can create a ticket with all the necessary details from customers during an ongoing chat. Collect the details with the Question action and send them to HelpDesk for your team to manage.
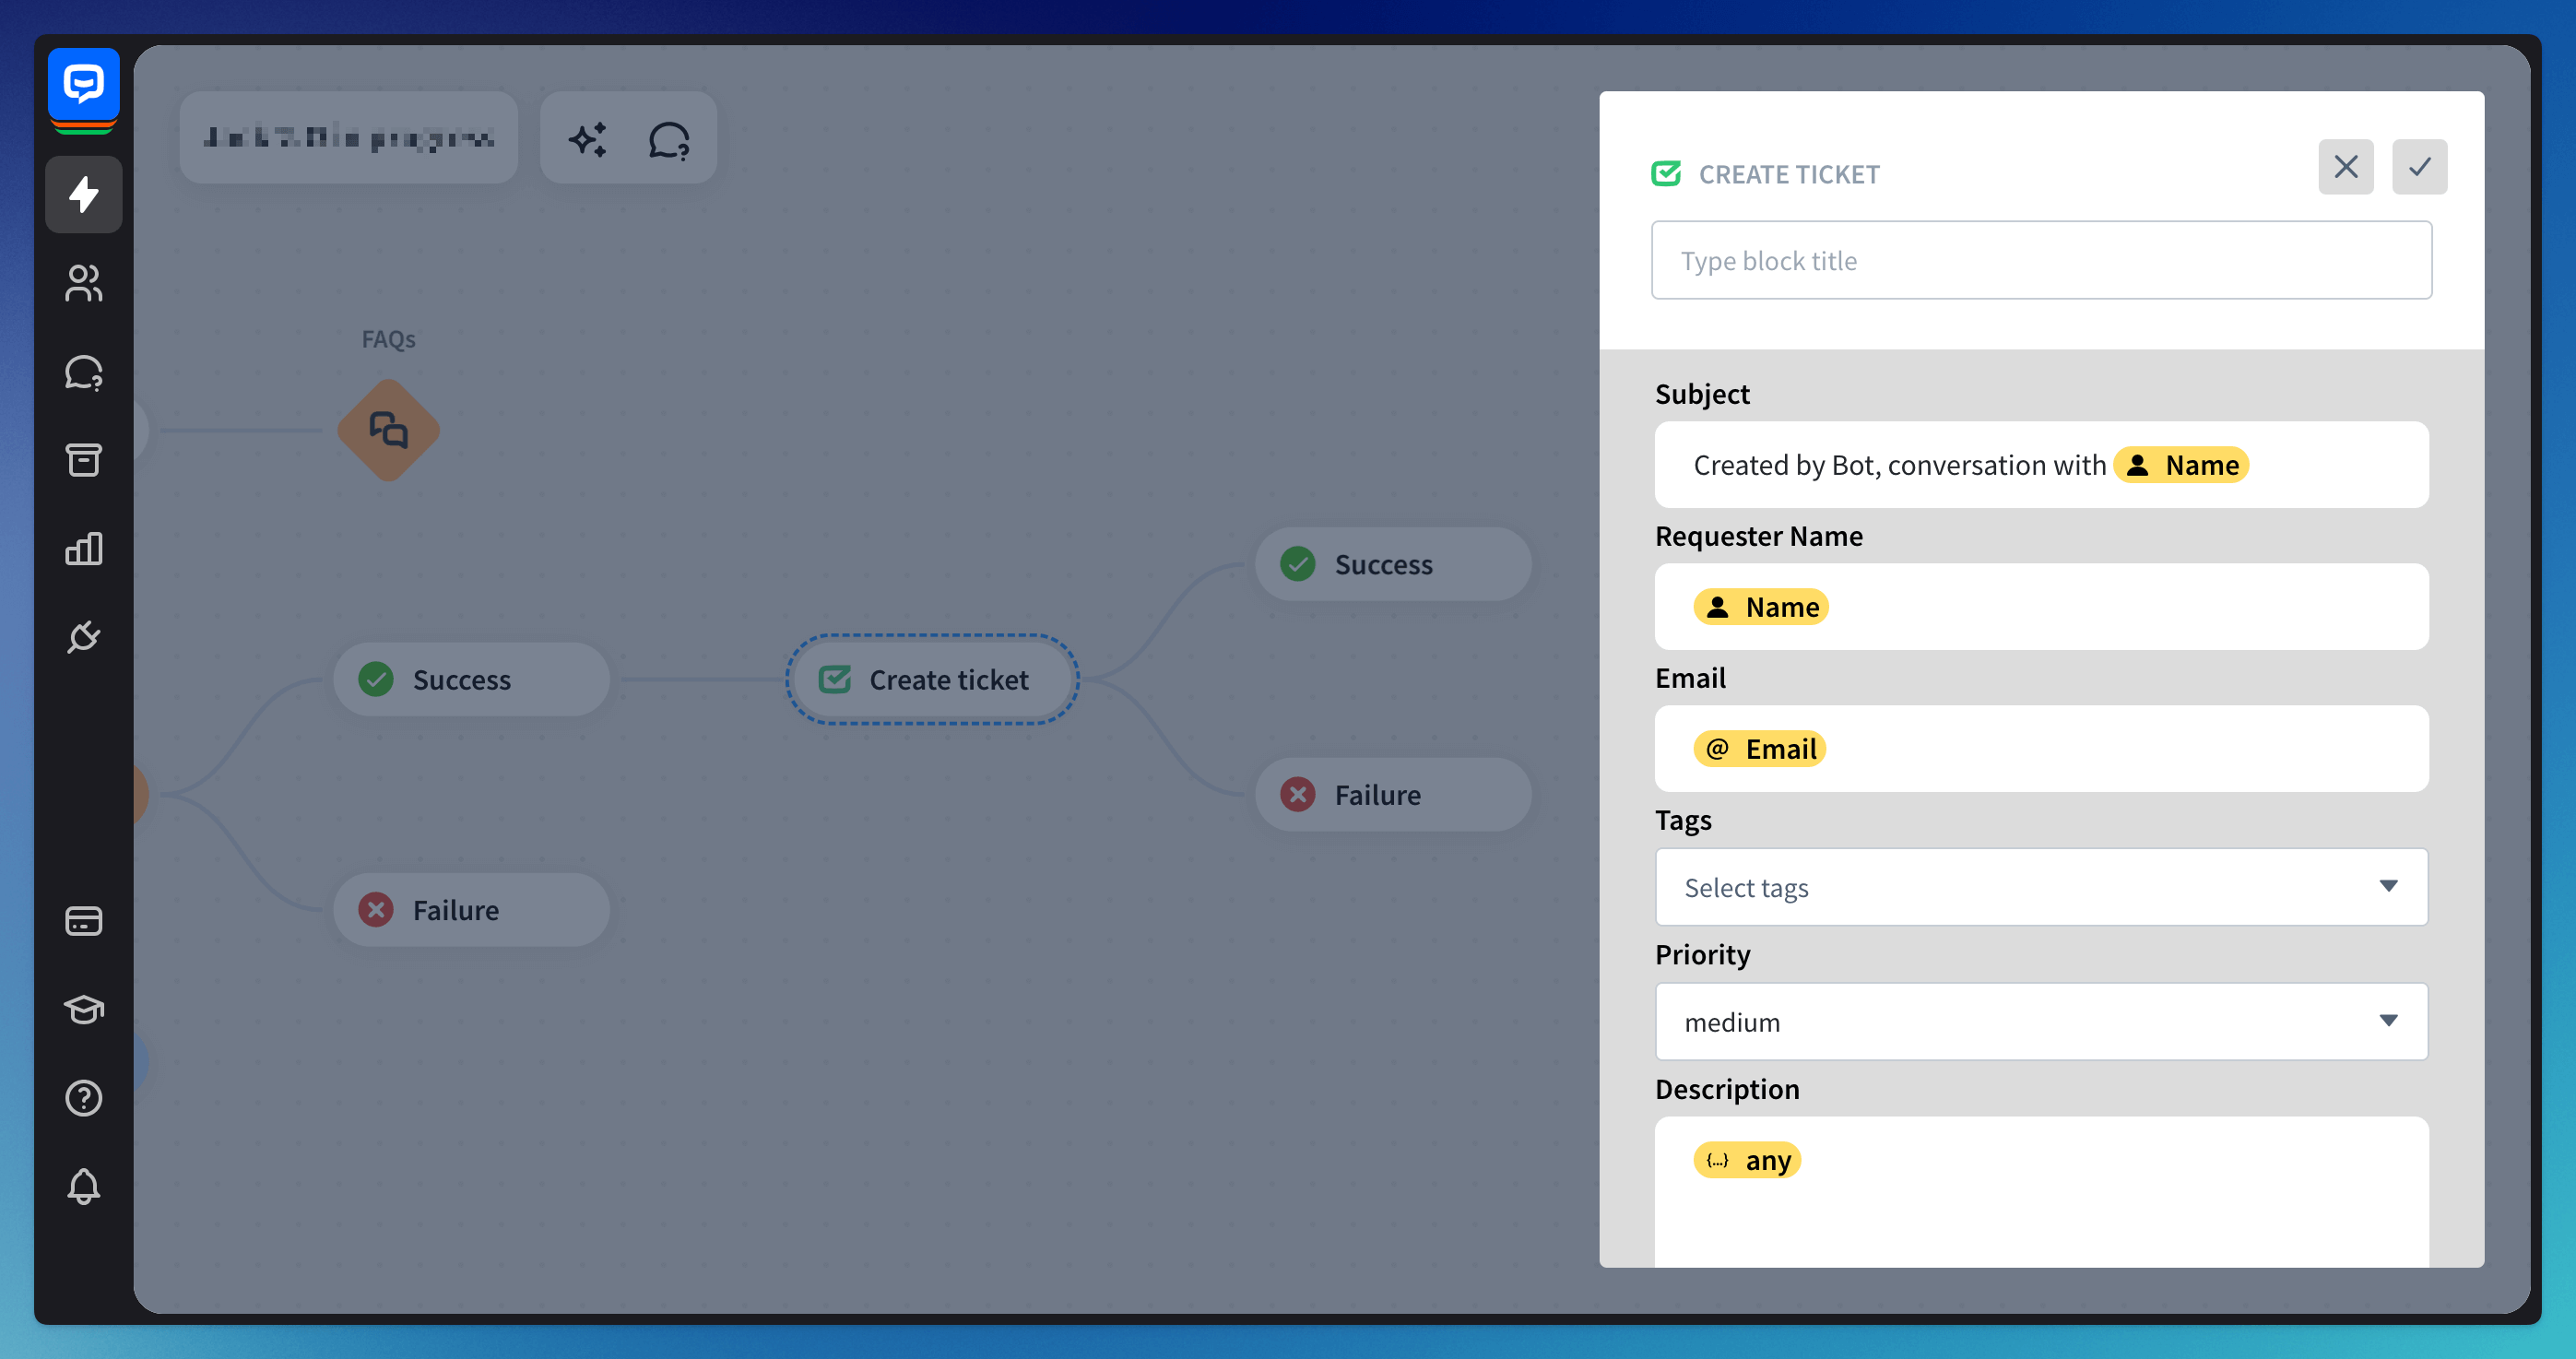 The ticket window lets you set a ticket subject, use the collected during the chat customer’s name and email address, choose tags created in HelpDesk, and set the ticket’s priority. You can also collect the reason the customer reached out. All of that helps you manage your cases faster and more efficiently.
Other integrations
Alternatively, we have other native integrations you can use. You can integrate the bot with a few clicks directly in the bot builder view.
-
Zendesk - an email-based ticketing application that helps businesses manage ticket communication. After integrating your bot with it, collect the user’s email address and use the Create ticket action for Zendesk in the bot flow.
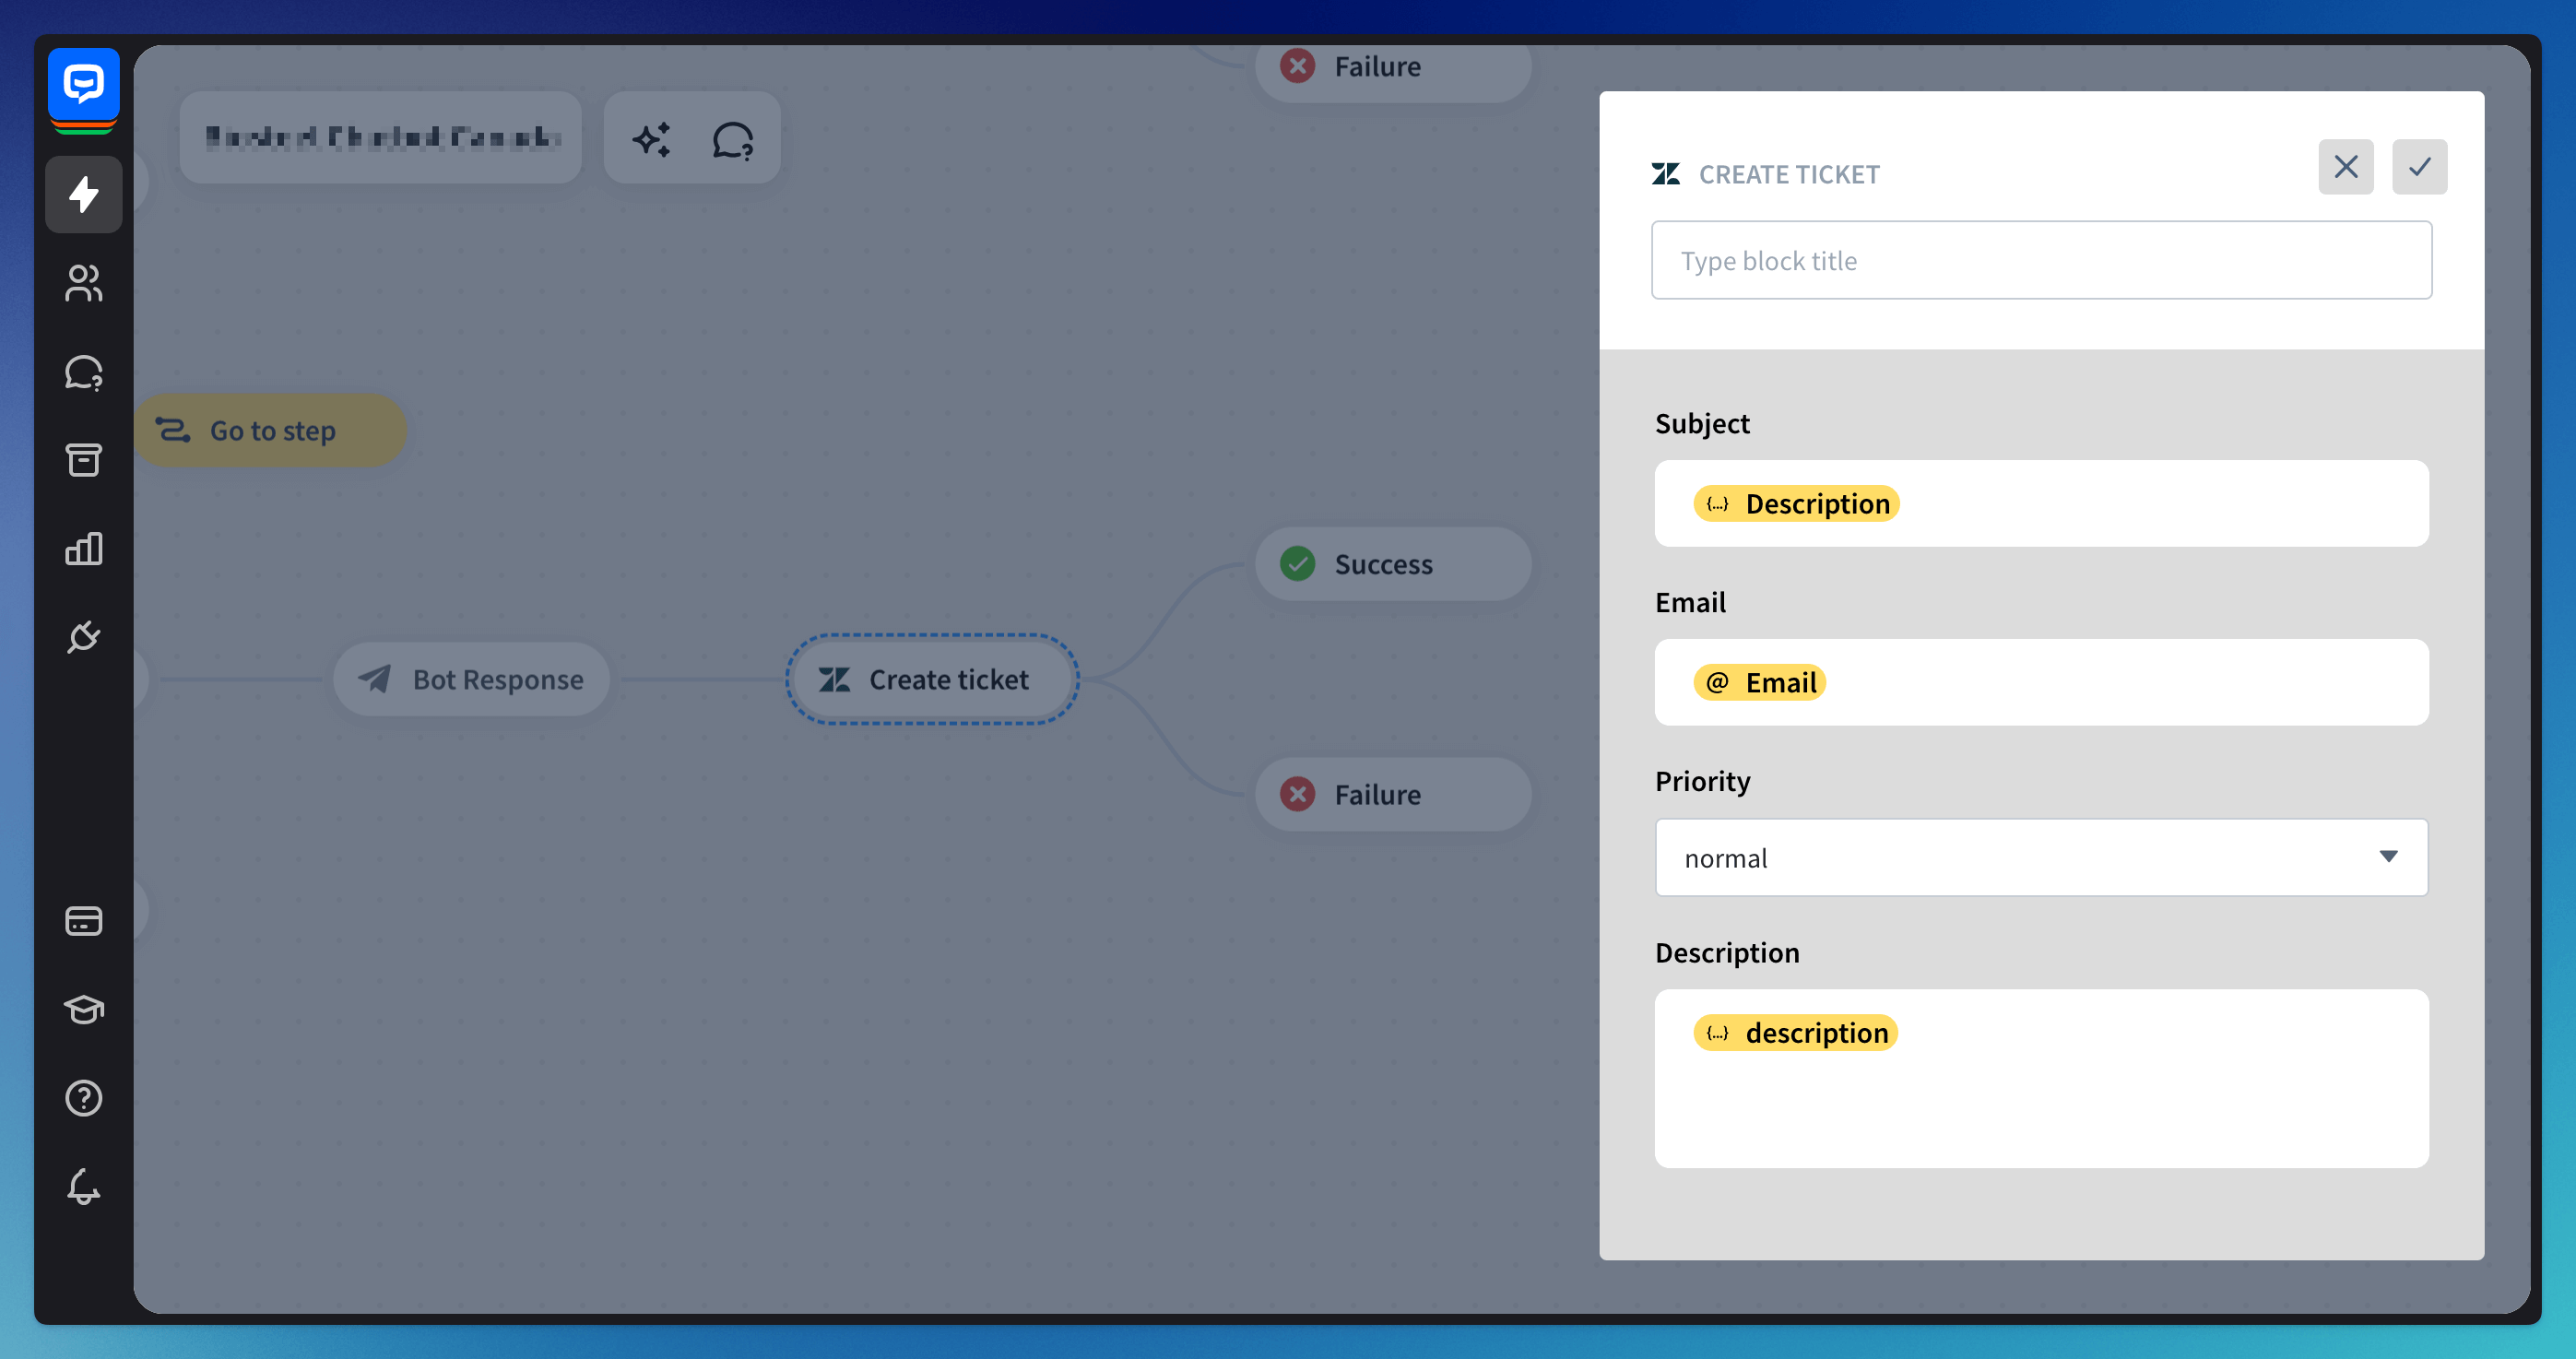 This action will create the ticket and send it to your Zendesk account while the chat continues. You can check the ticket details in the Zendesk app and follow up with the customer later.
 -
Freshdesk - an online customer support software that helps you manage your customer communication process. With this integration, you can create tickets directly in chats and collect your customer’s information as Contacts in the Freshdesk app.
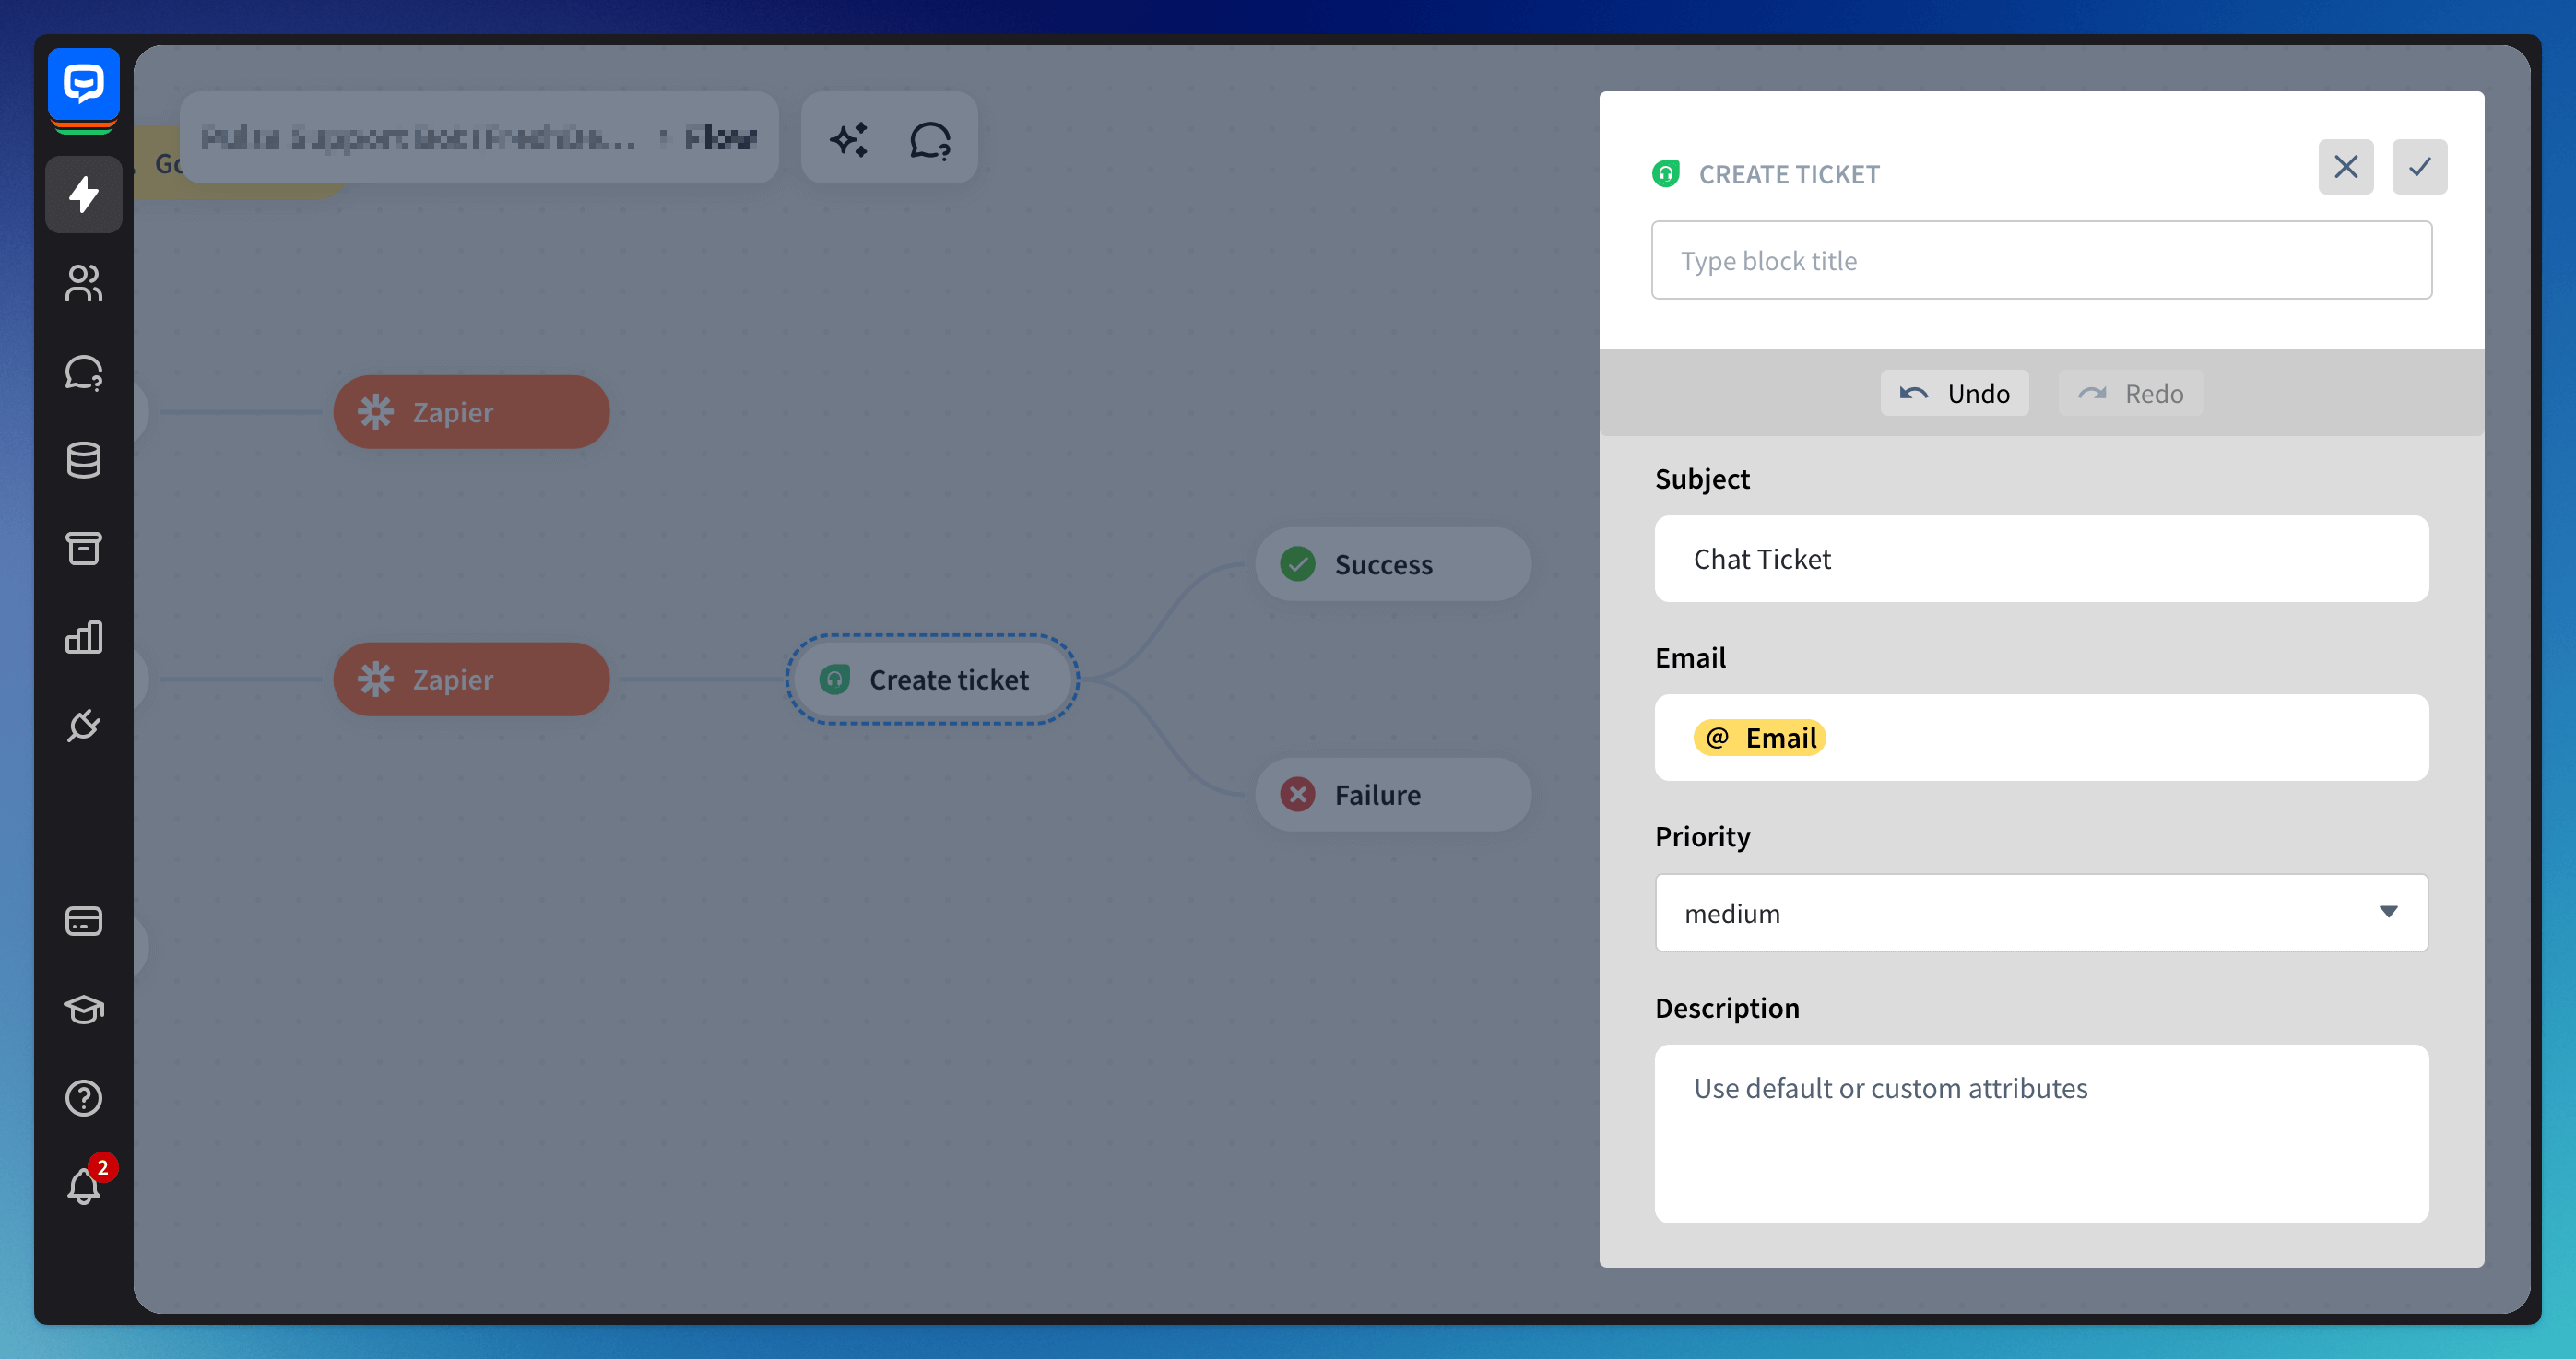 When the integration between the bot and the Freshdesk app is complete, you can collect the case details in the chat and send them to the Freshdesk app so your team can resolve the case.
Read more: