Button settings allow you to customize every button in your bot flow. You can use them to add titles to your buttons, define what happens after the user clicks a button, or add actions performed in the background.
In ChatBot.com, the button settings are divided into two groups: General (1) and Advanced button actions (Actions) (2).
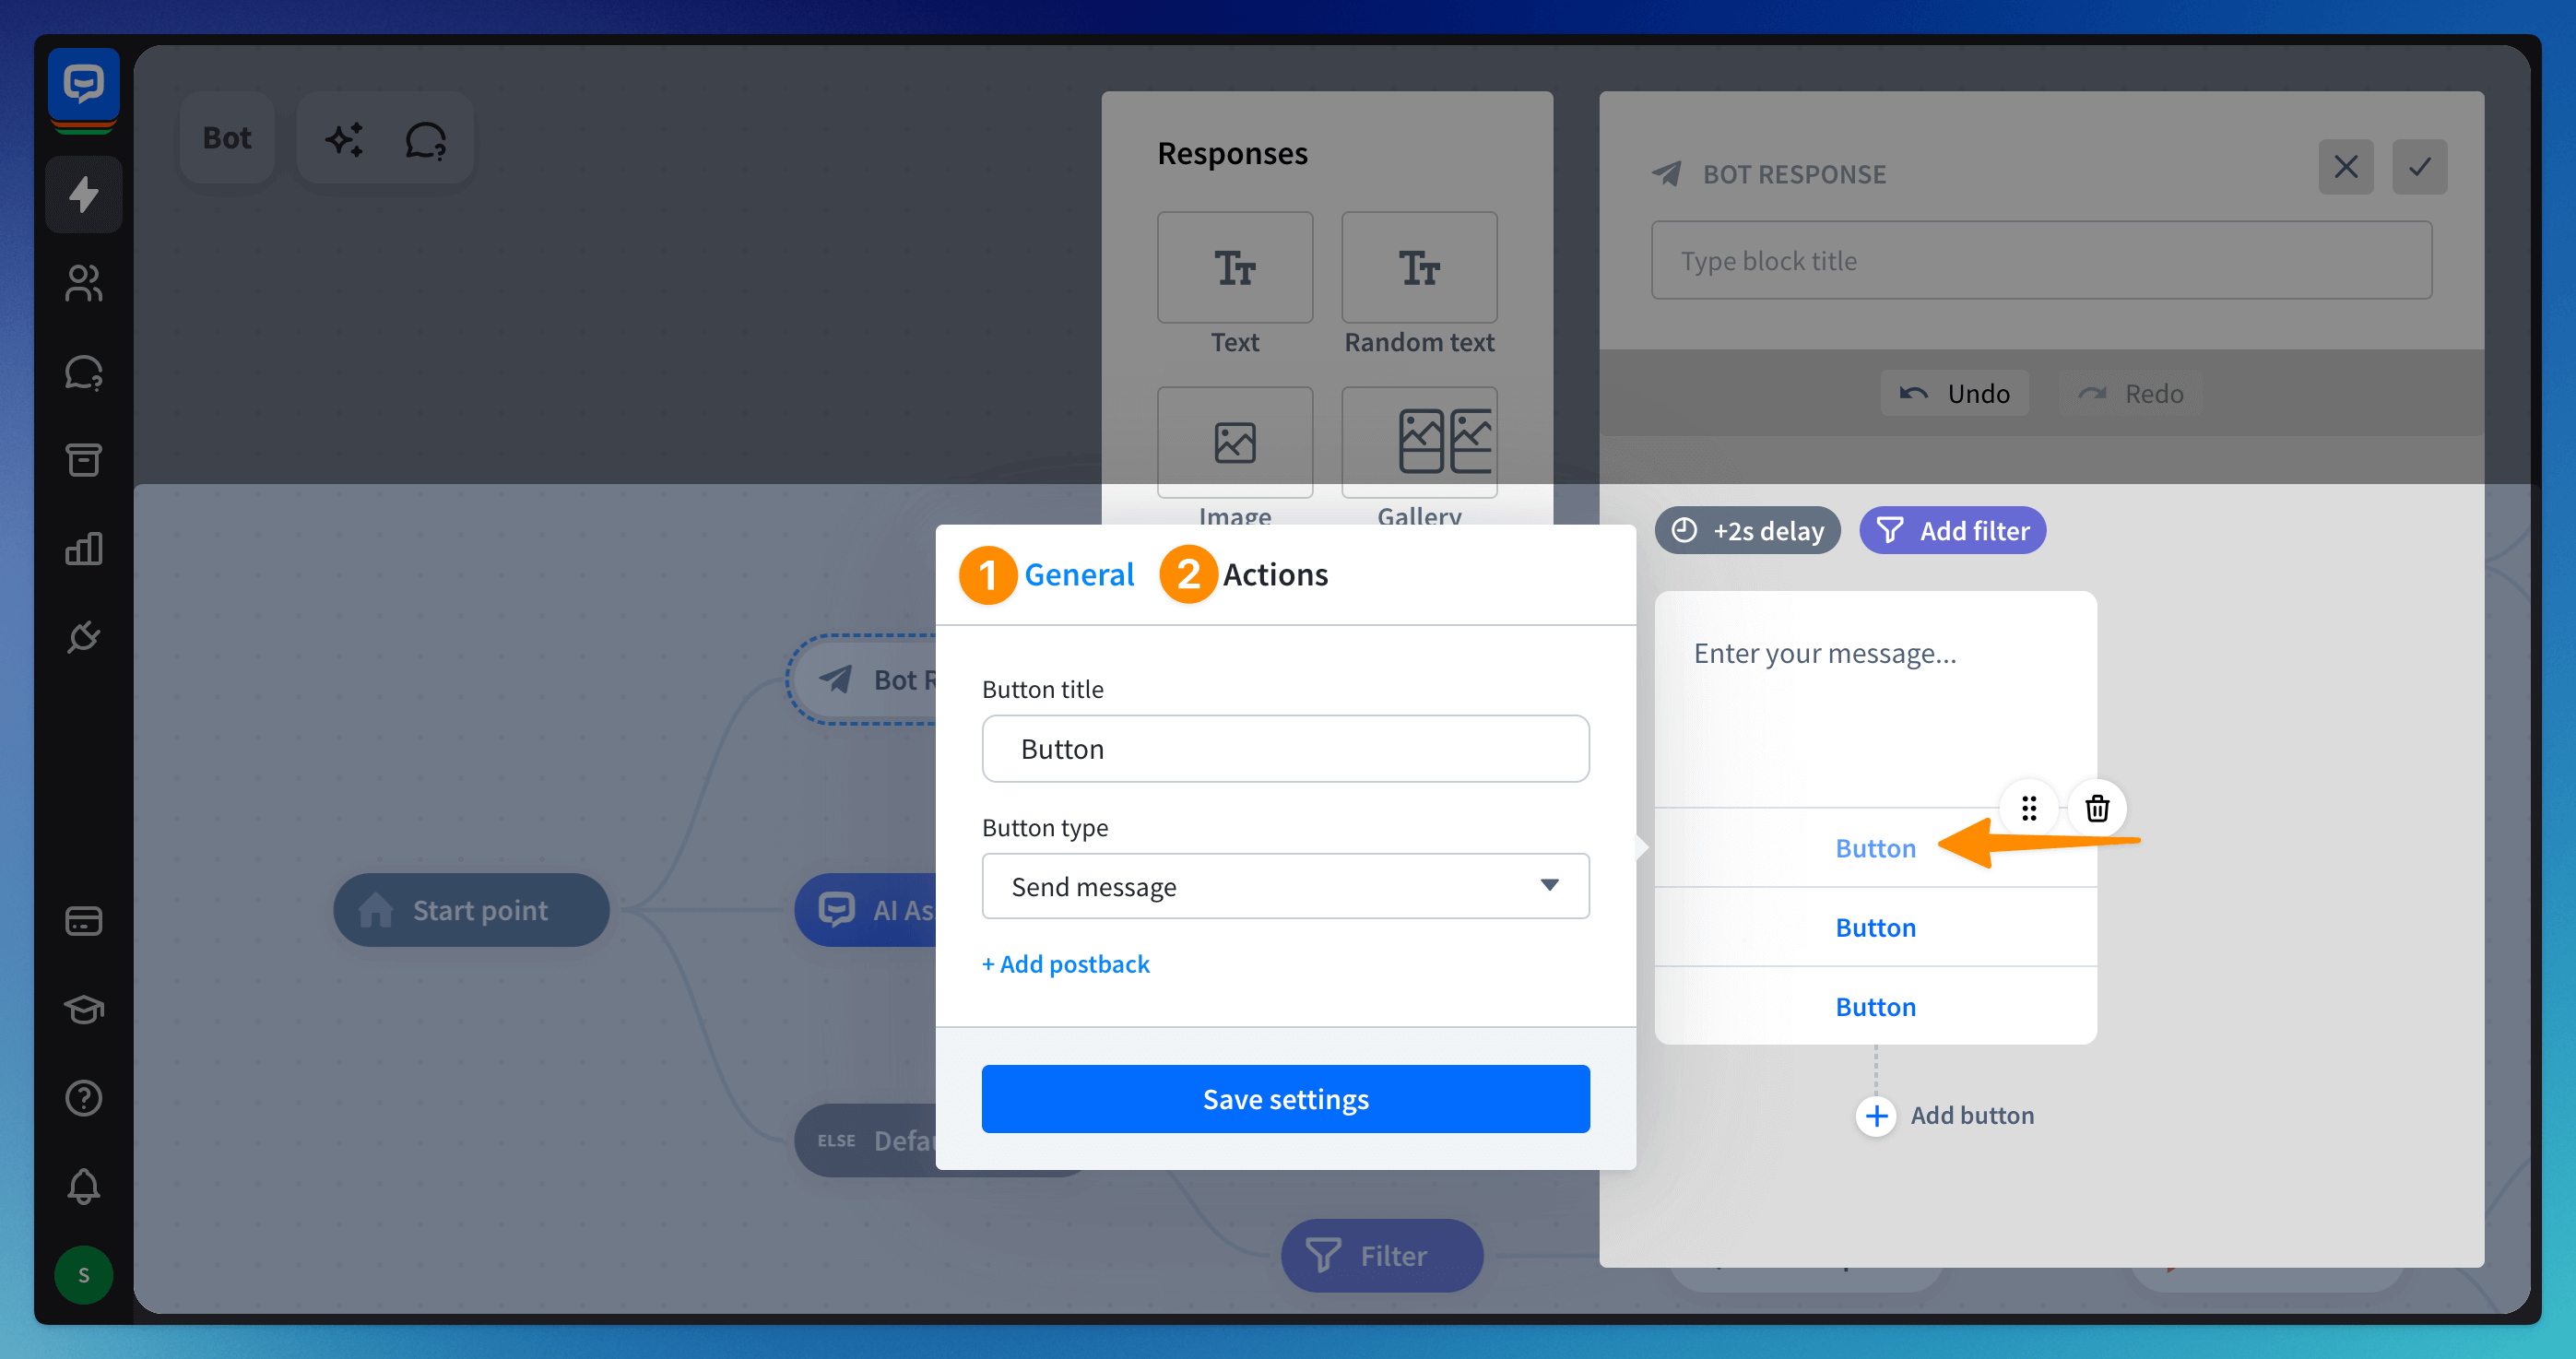 All options are available after you click a button in the configuration view, after entering a Bot response block and choosing Button from the menu.
The Button response lets you add up to 5 buttons to a single response. If you’d like to display more buttons, you can use the Gallery response. The button settings will be the same, and you can add up to 10 cards with up to 5 buttons on each card.
Each button needs to have a title with up to 20 characters.
General settings
General settings let you define the button’s behavior - you can create a menu card response that navigates users through the bot flow. To proceed, the user must click the button without typing anything.
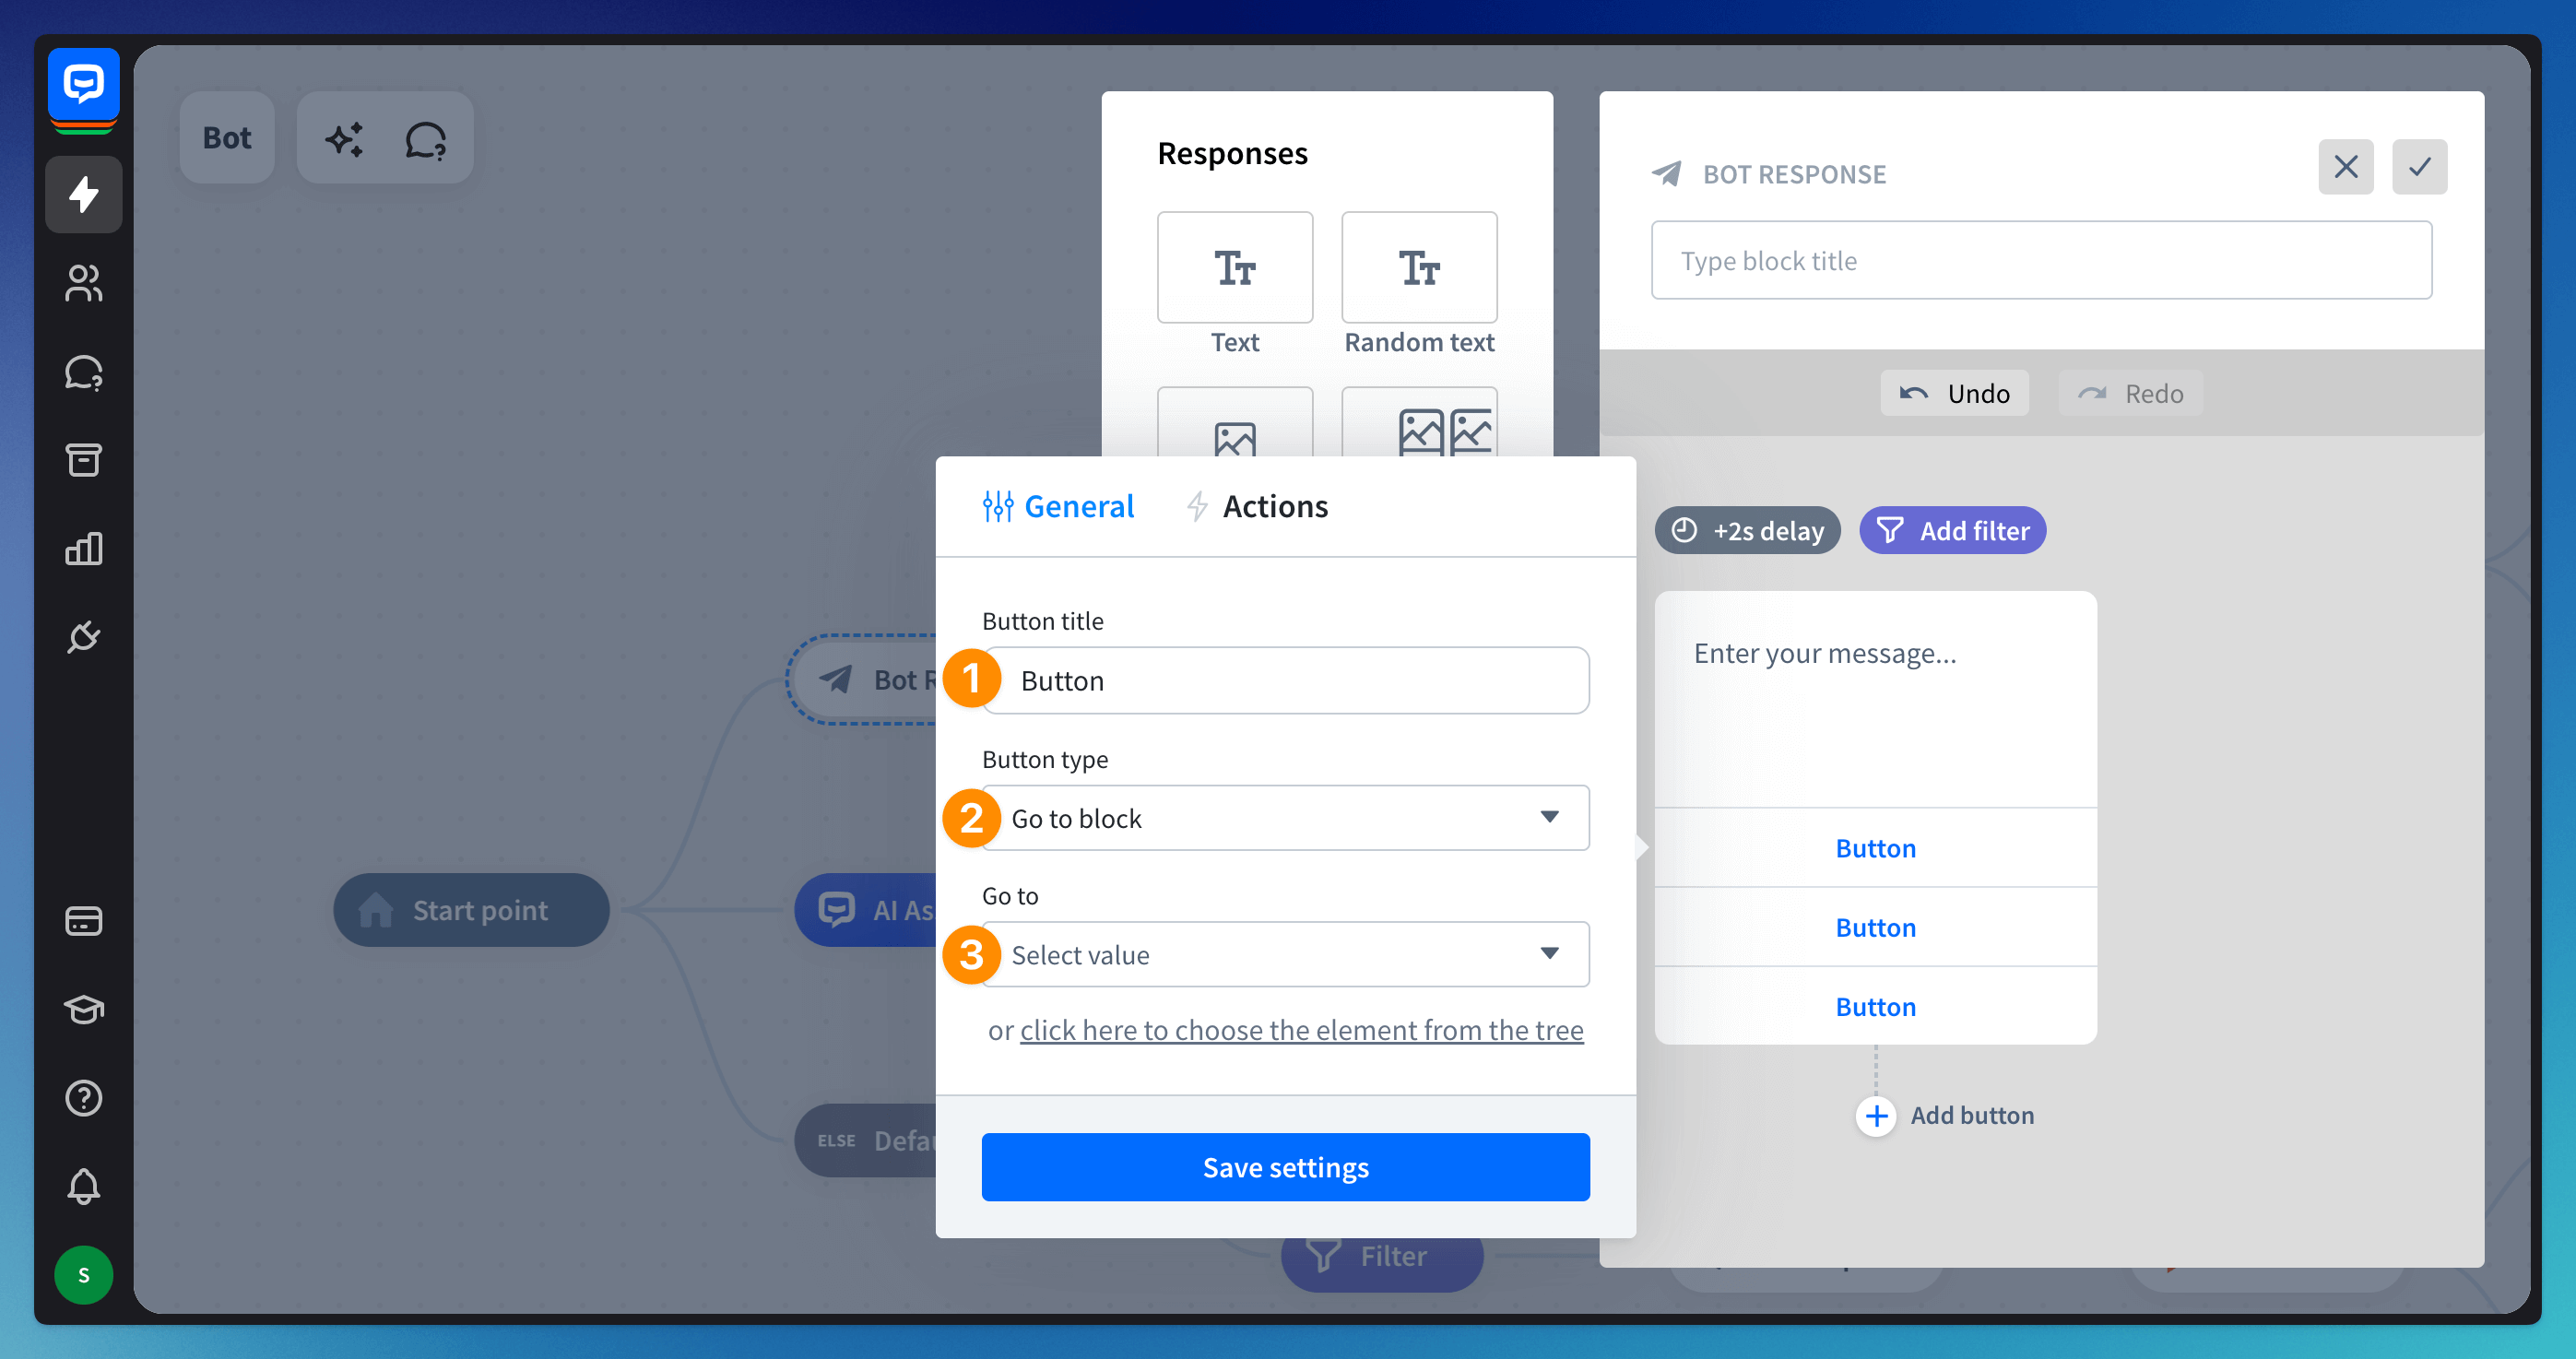
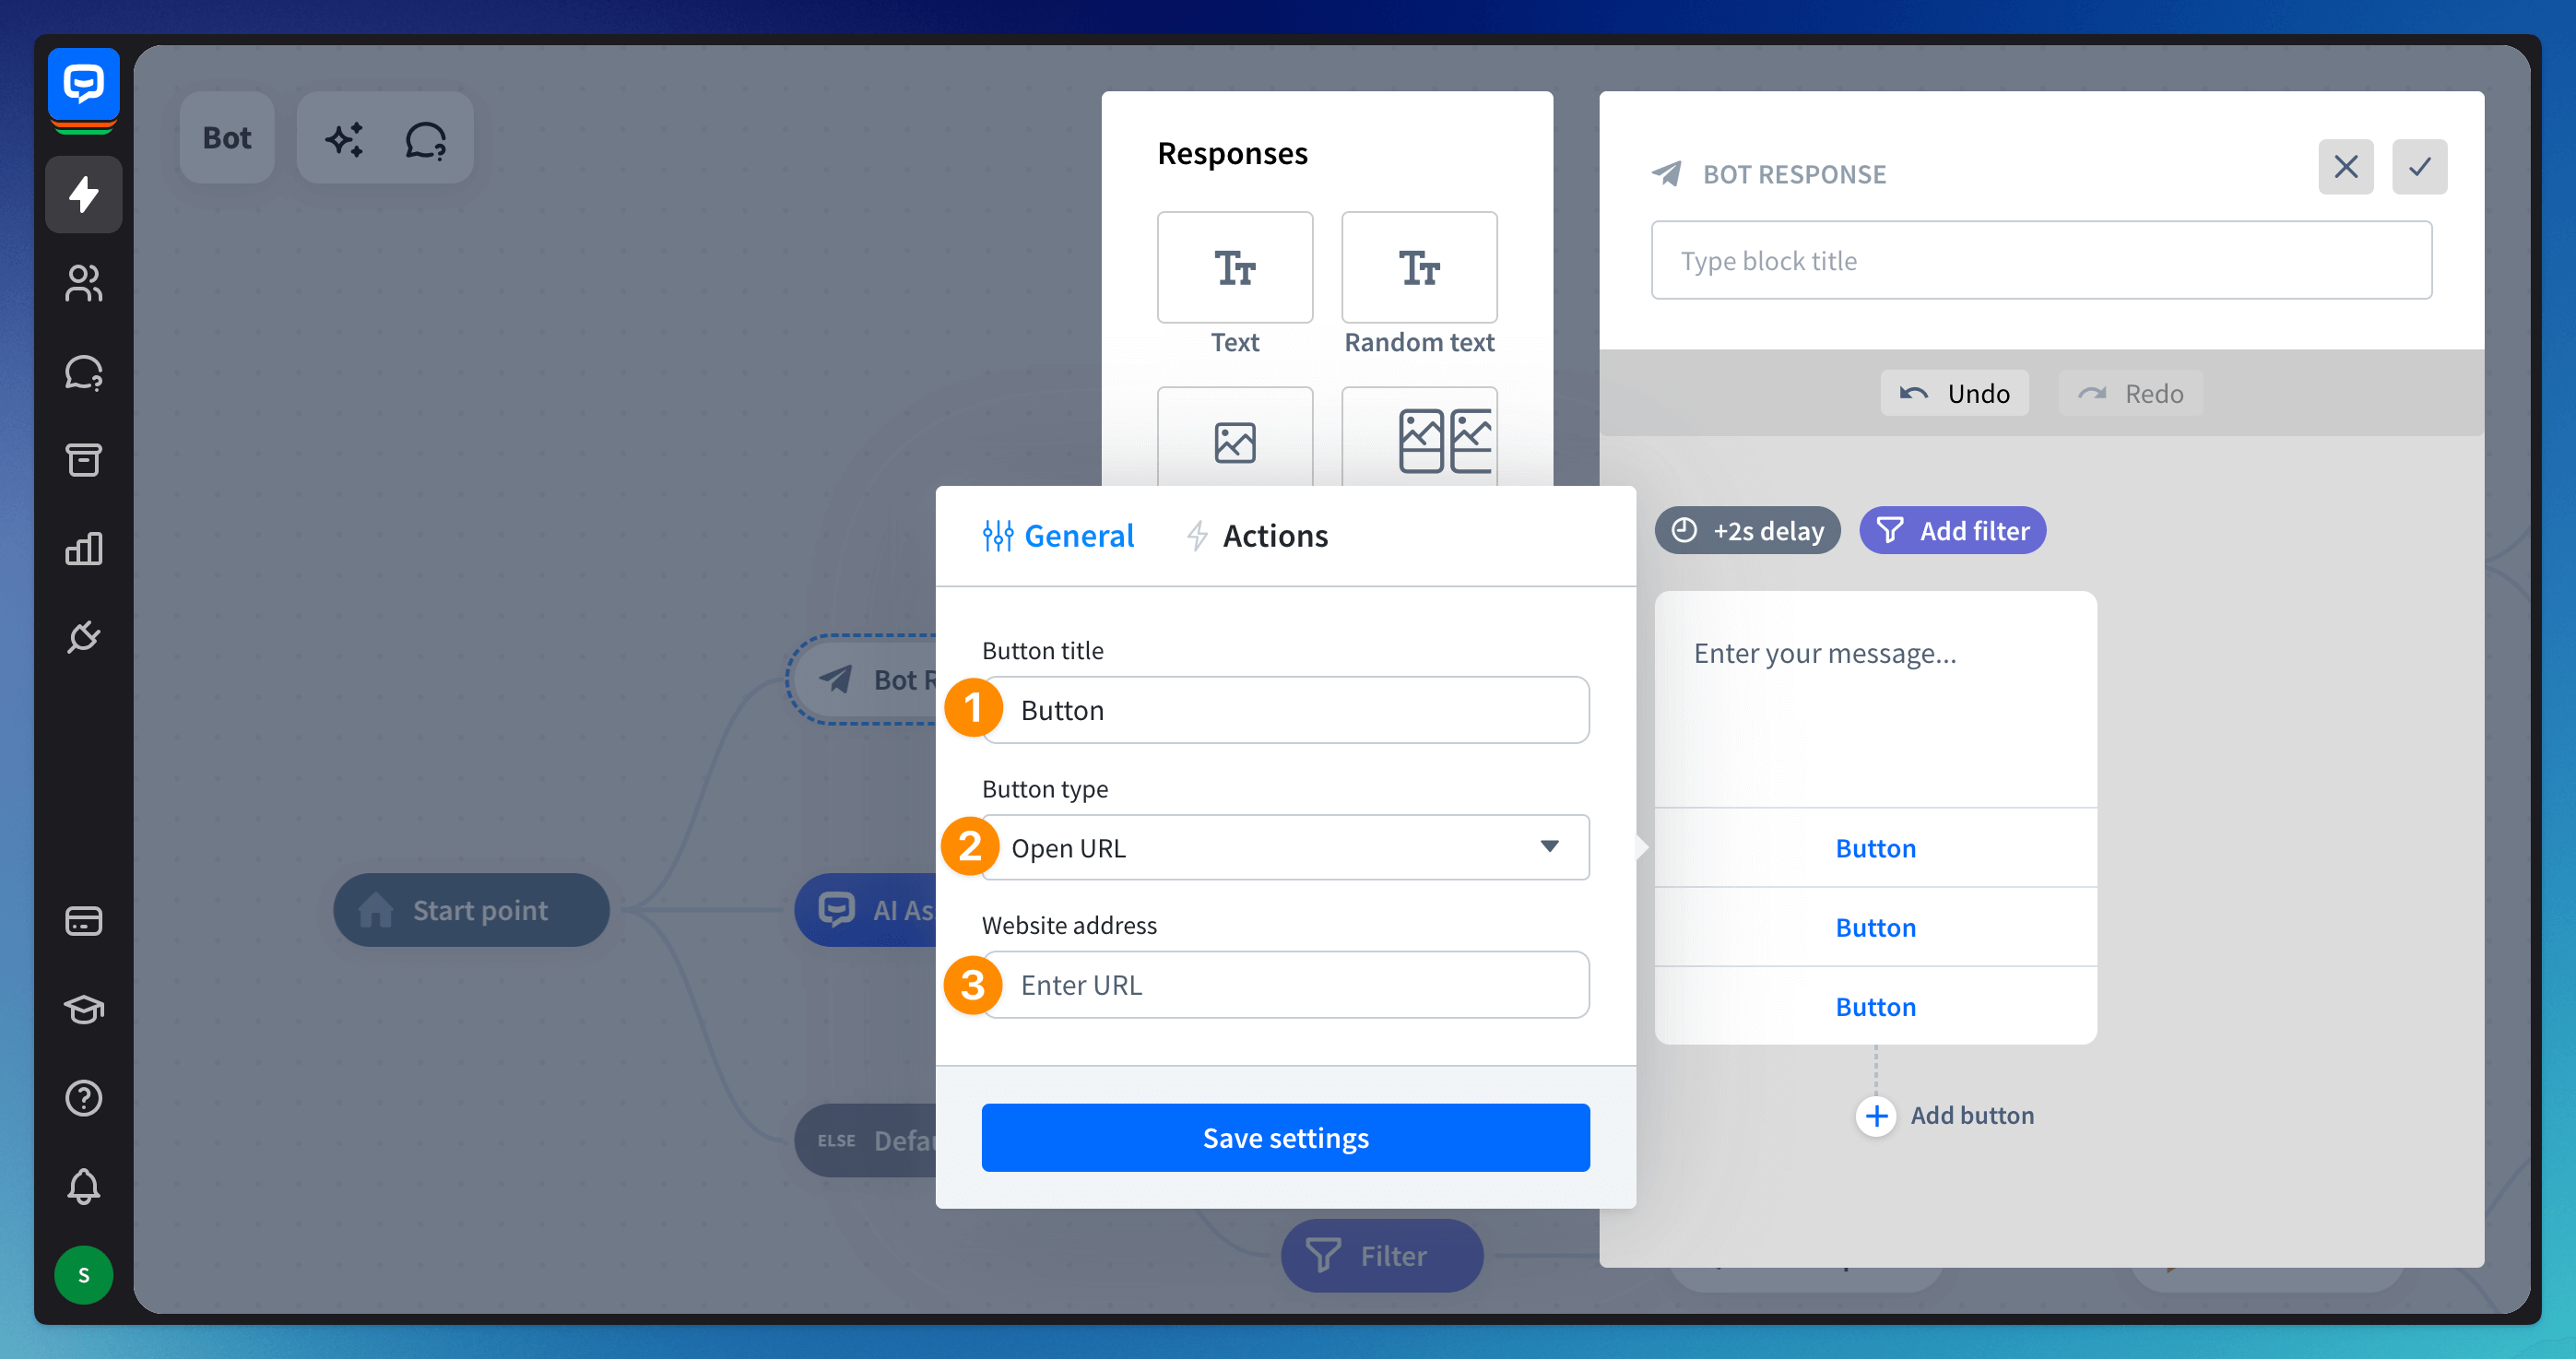
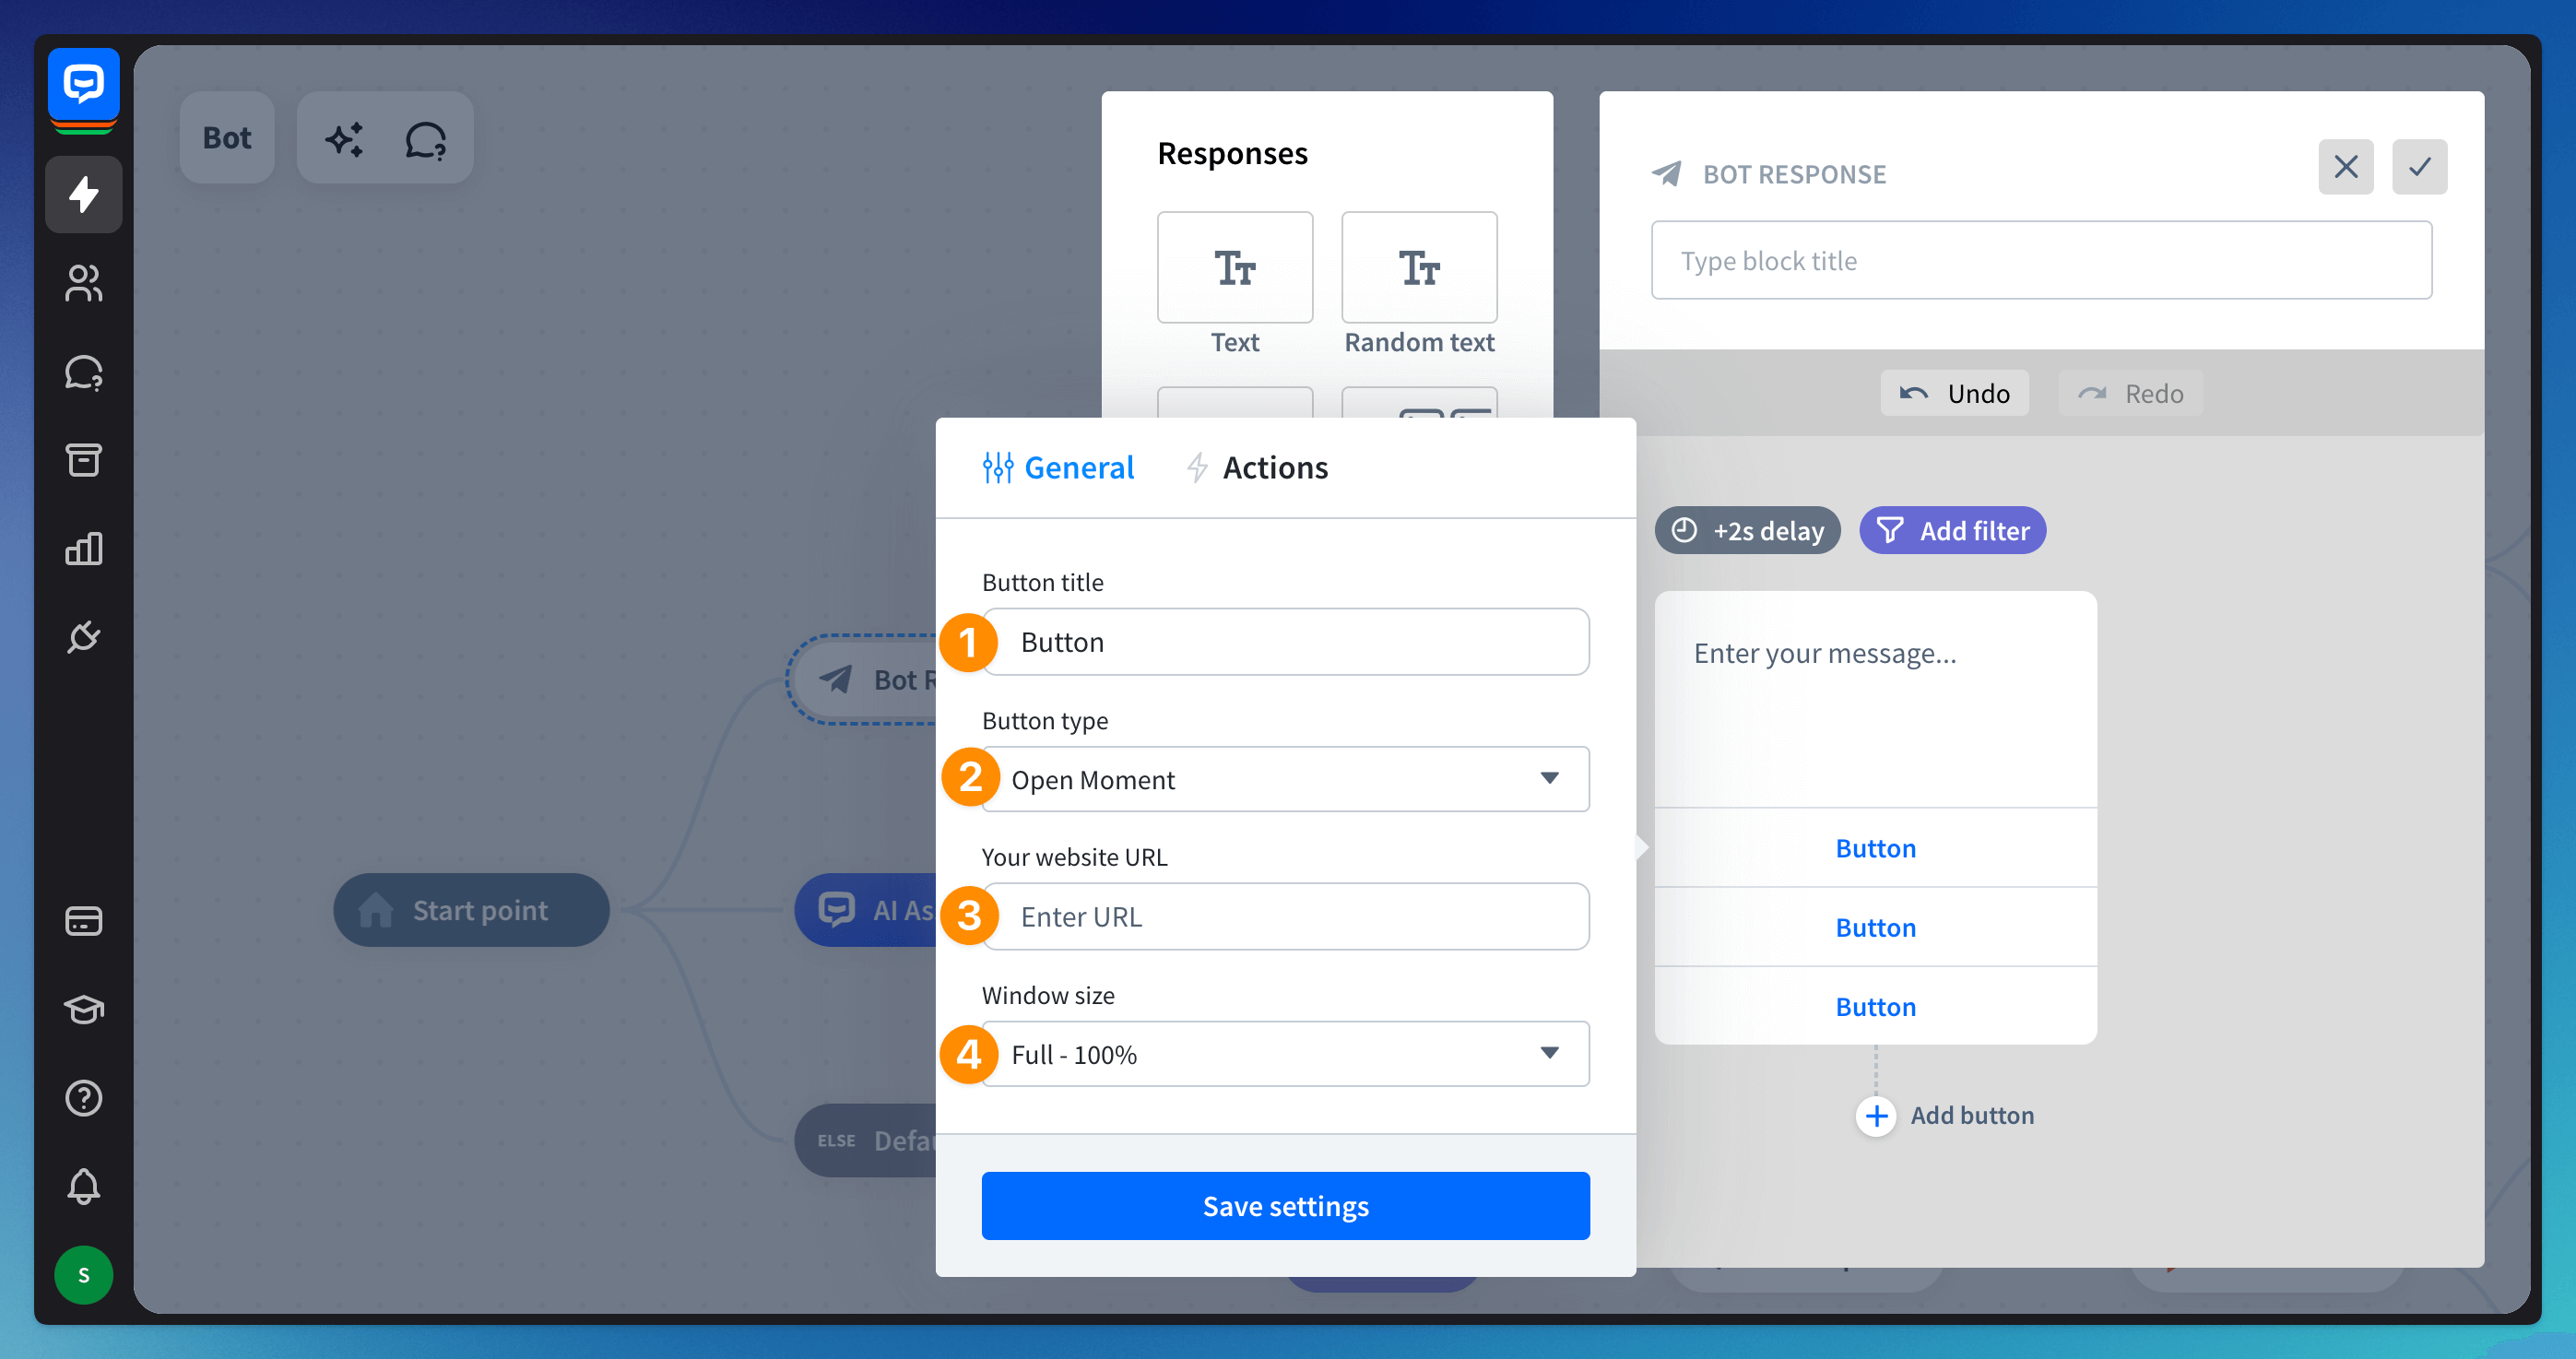
Below the title (1), you can choose the button type (2) and decide what will happen after the user clicks it. There are five available options:
-
Send message - shows the user which buttons they clicked. You can add a postback value to a message (3). This way, after clicking the button, the user will see the button’s title as a message, but underneath the system will collect the postback value.

-
Go to block - redirects a user to a specific step in your bot flow. You can select the block by clicking on the block, or by searching its name (3).
-
Open URL - opens a provided URL in a tab (3).
-
Phone call - here, the bot can dial a defined phone number (3).

-
Open Moment - this option lets the bot open a web view (3) to load a web application inside an ongoing chat. You can choose how high the site should be opened inside the chat window (4).
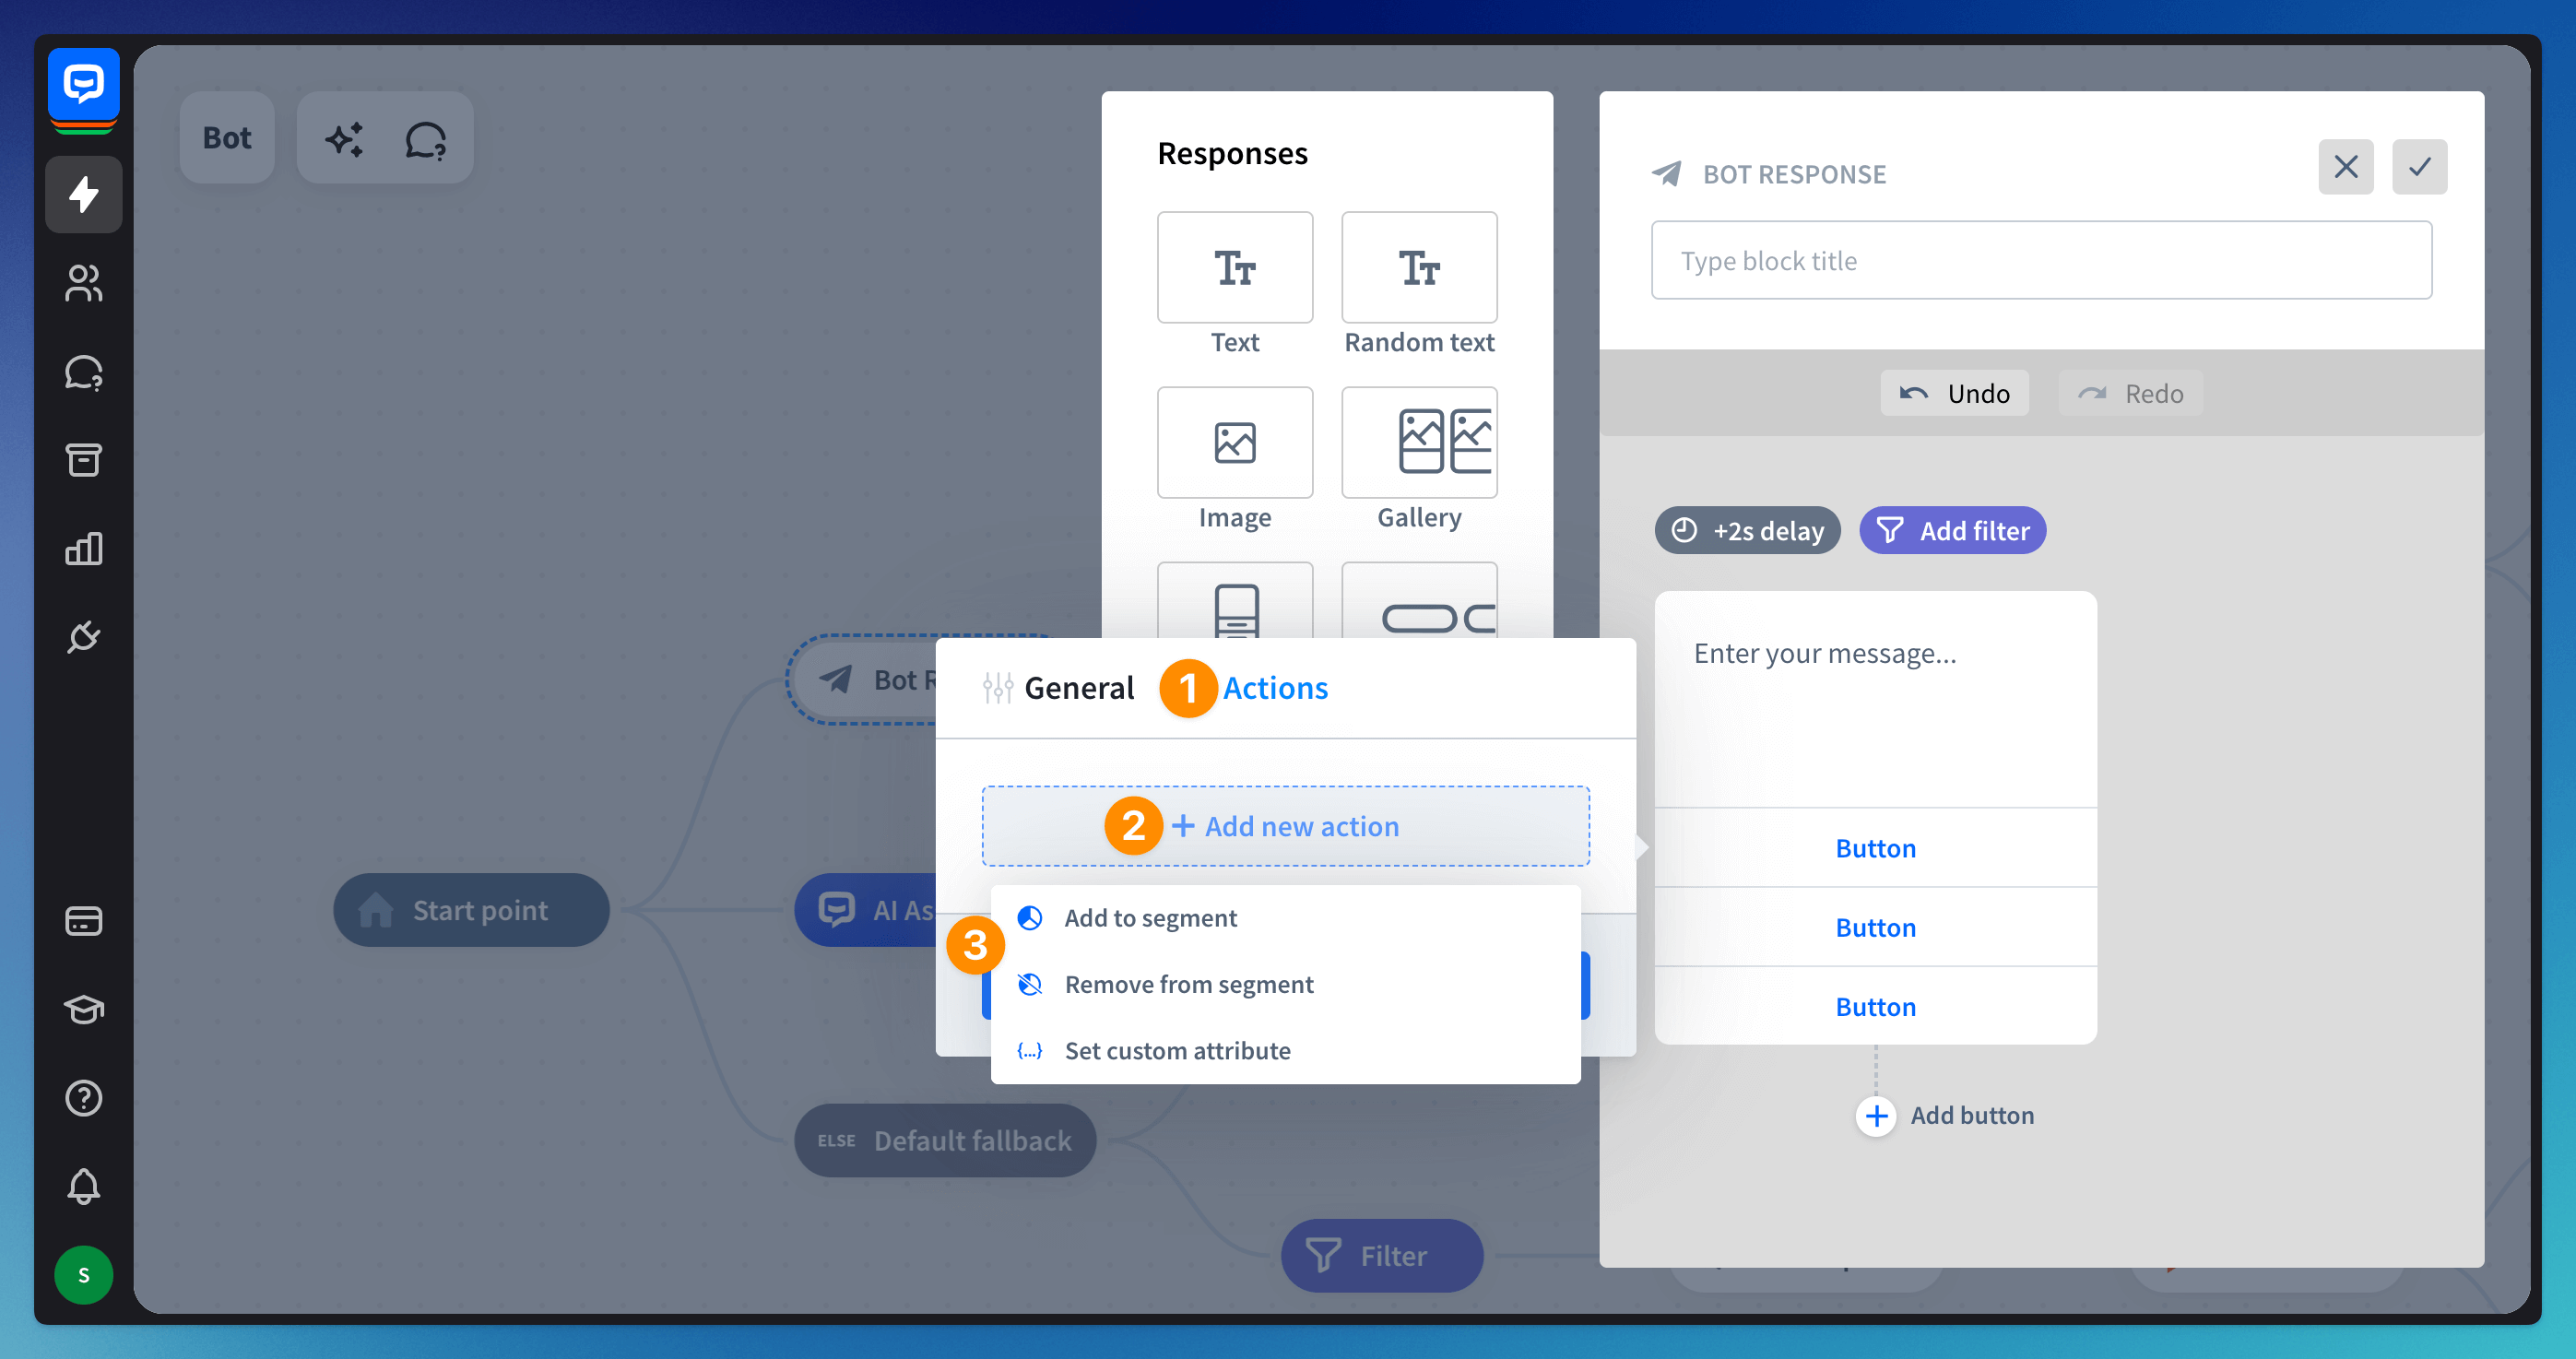
Advanced button actions
Advanced button actions allow you to add special events that are triggered when the button is clicked. They’re invisible to users. For example, you can add an action that adds a user that clicked a button to a selected segment. Actions are optional, and you can assign multiple actions to one button.
To add Advanced button actions to your buttons, click on the Actions icon (1). Then, click on Add new action (2).
Choose from three options (3):
-
Add to segment - adds a user to the selected segment.
-
Remove from segment - removes a user from the selected segment.
-
Set custom attribute - assigns value to selected attributes.
 Advanced button actions work with all bot responses that contain buttons.
Read more:
