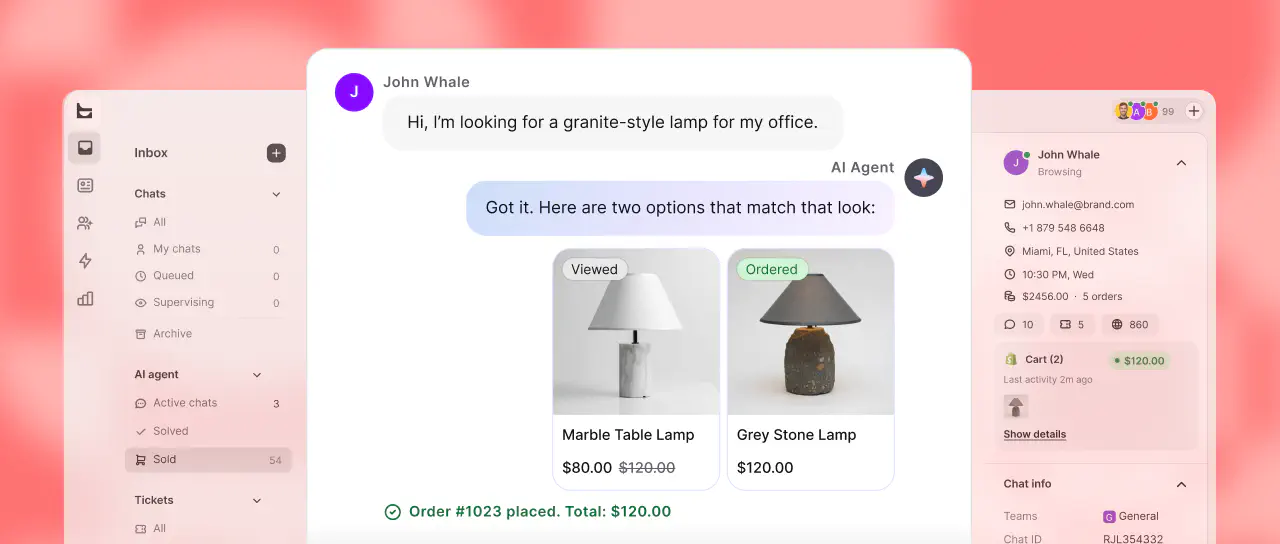
Zapier lets you connect ChatBot with many apps and third-party services, including Gmail, allowing you to use the bot’s full potential.
By integrating ChatBot and Gmail, you can email any address whenever the bot collects the user’s information while chatting.
You must collect the user’s queries as attributes for the integration to work. In this article, you can see how to prepare your bot.
ChatBot app configuration
The first part of the integration enables you to prepare the bot for the integration.
Gmail app configuration
After you finish the first configuration stage, you must configure the rest of the Zap. You can do that after you click the Continue button in the first stage of the configuration.
-
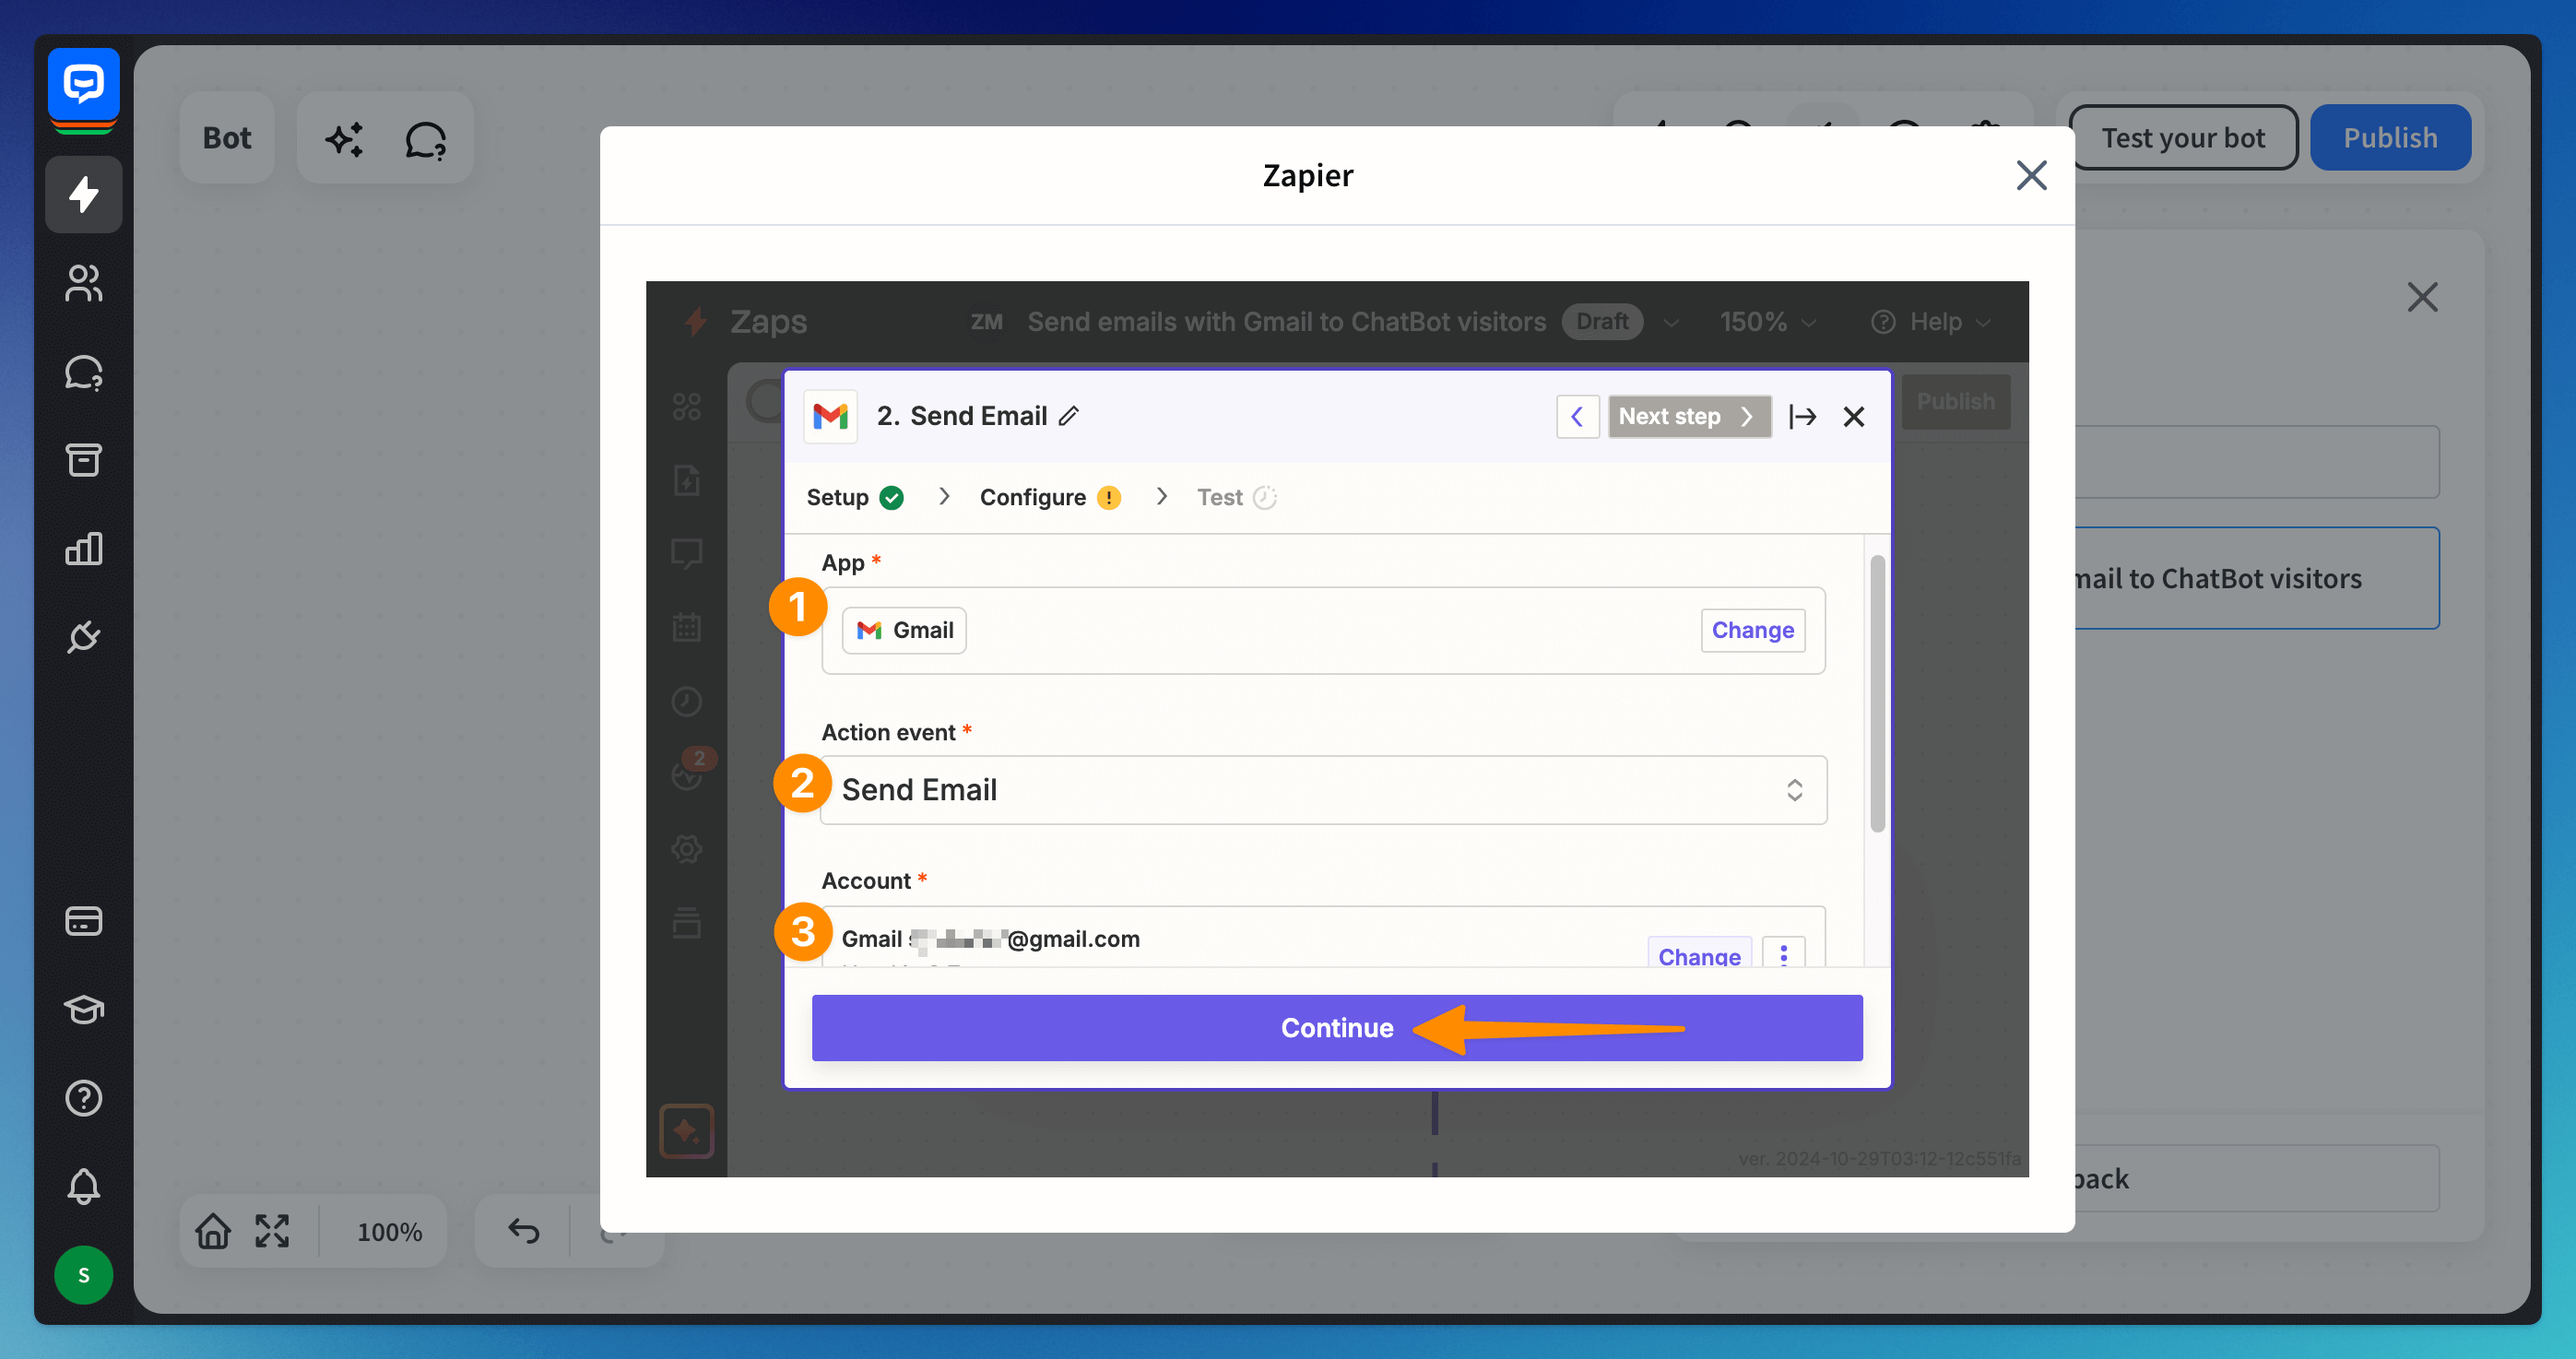
Choose the Gmail module to configure the App (1), Action event (2), and sign in (3) to the destination Google Account.
-
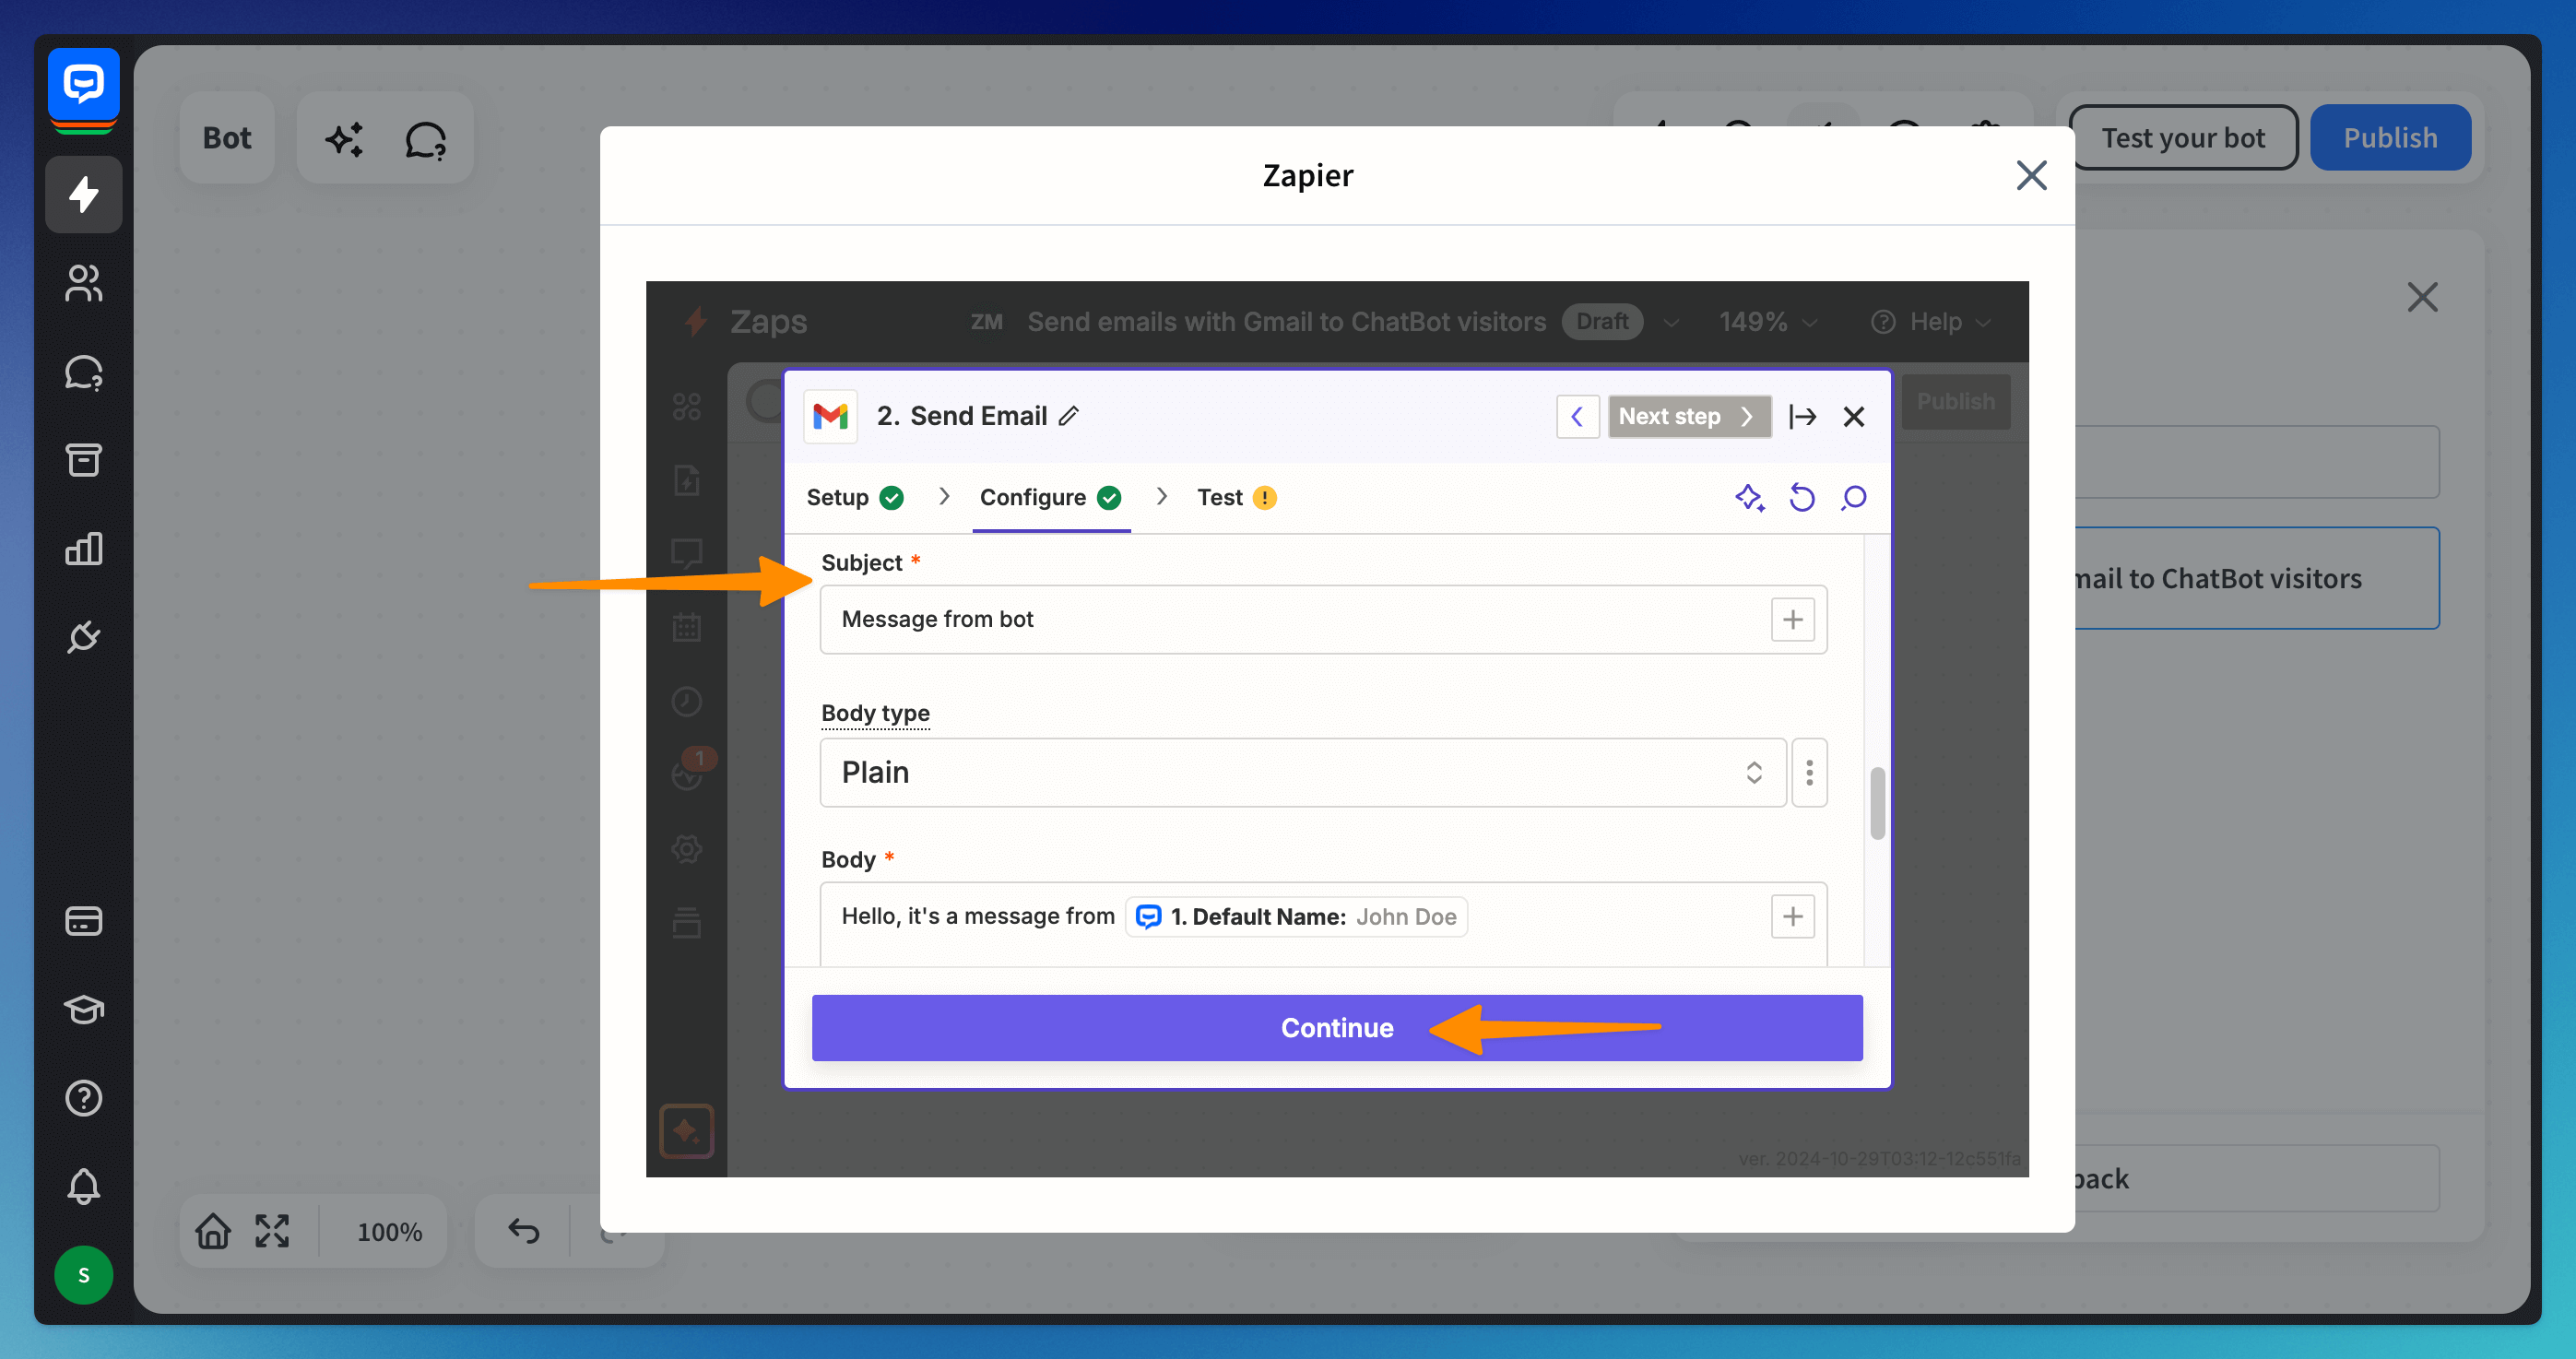
Fill in the details needed to send the message. Continue when all required fields are filled.
-
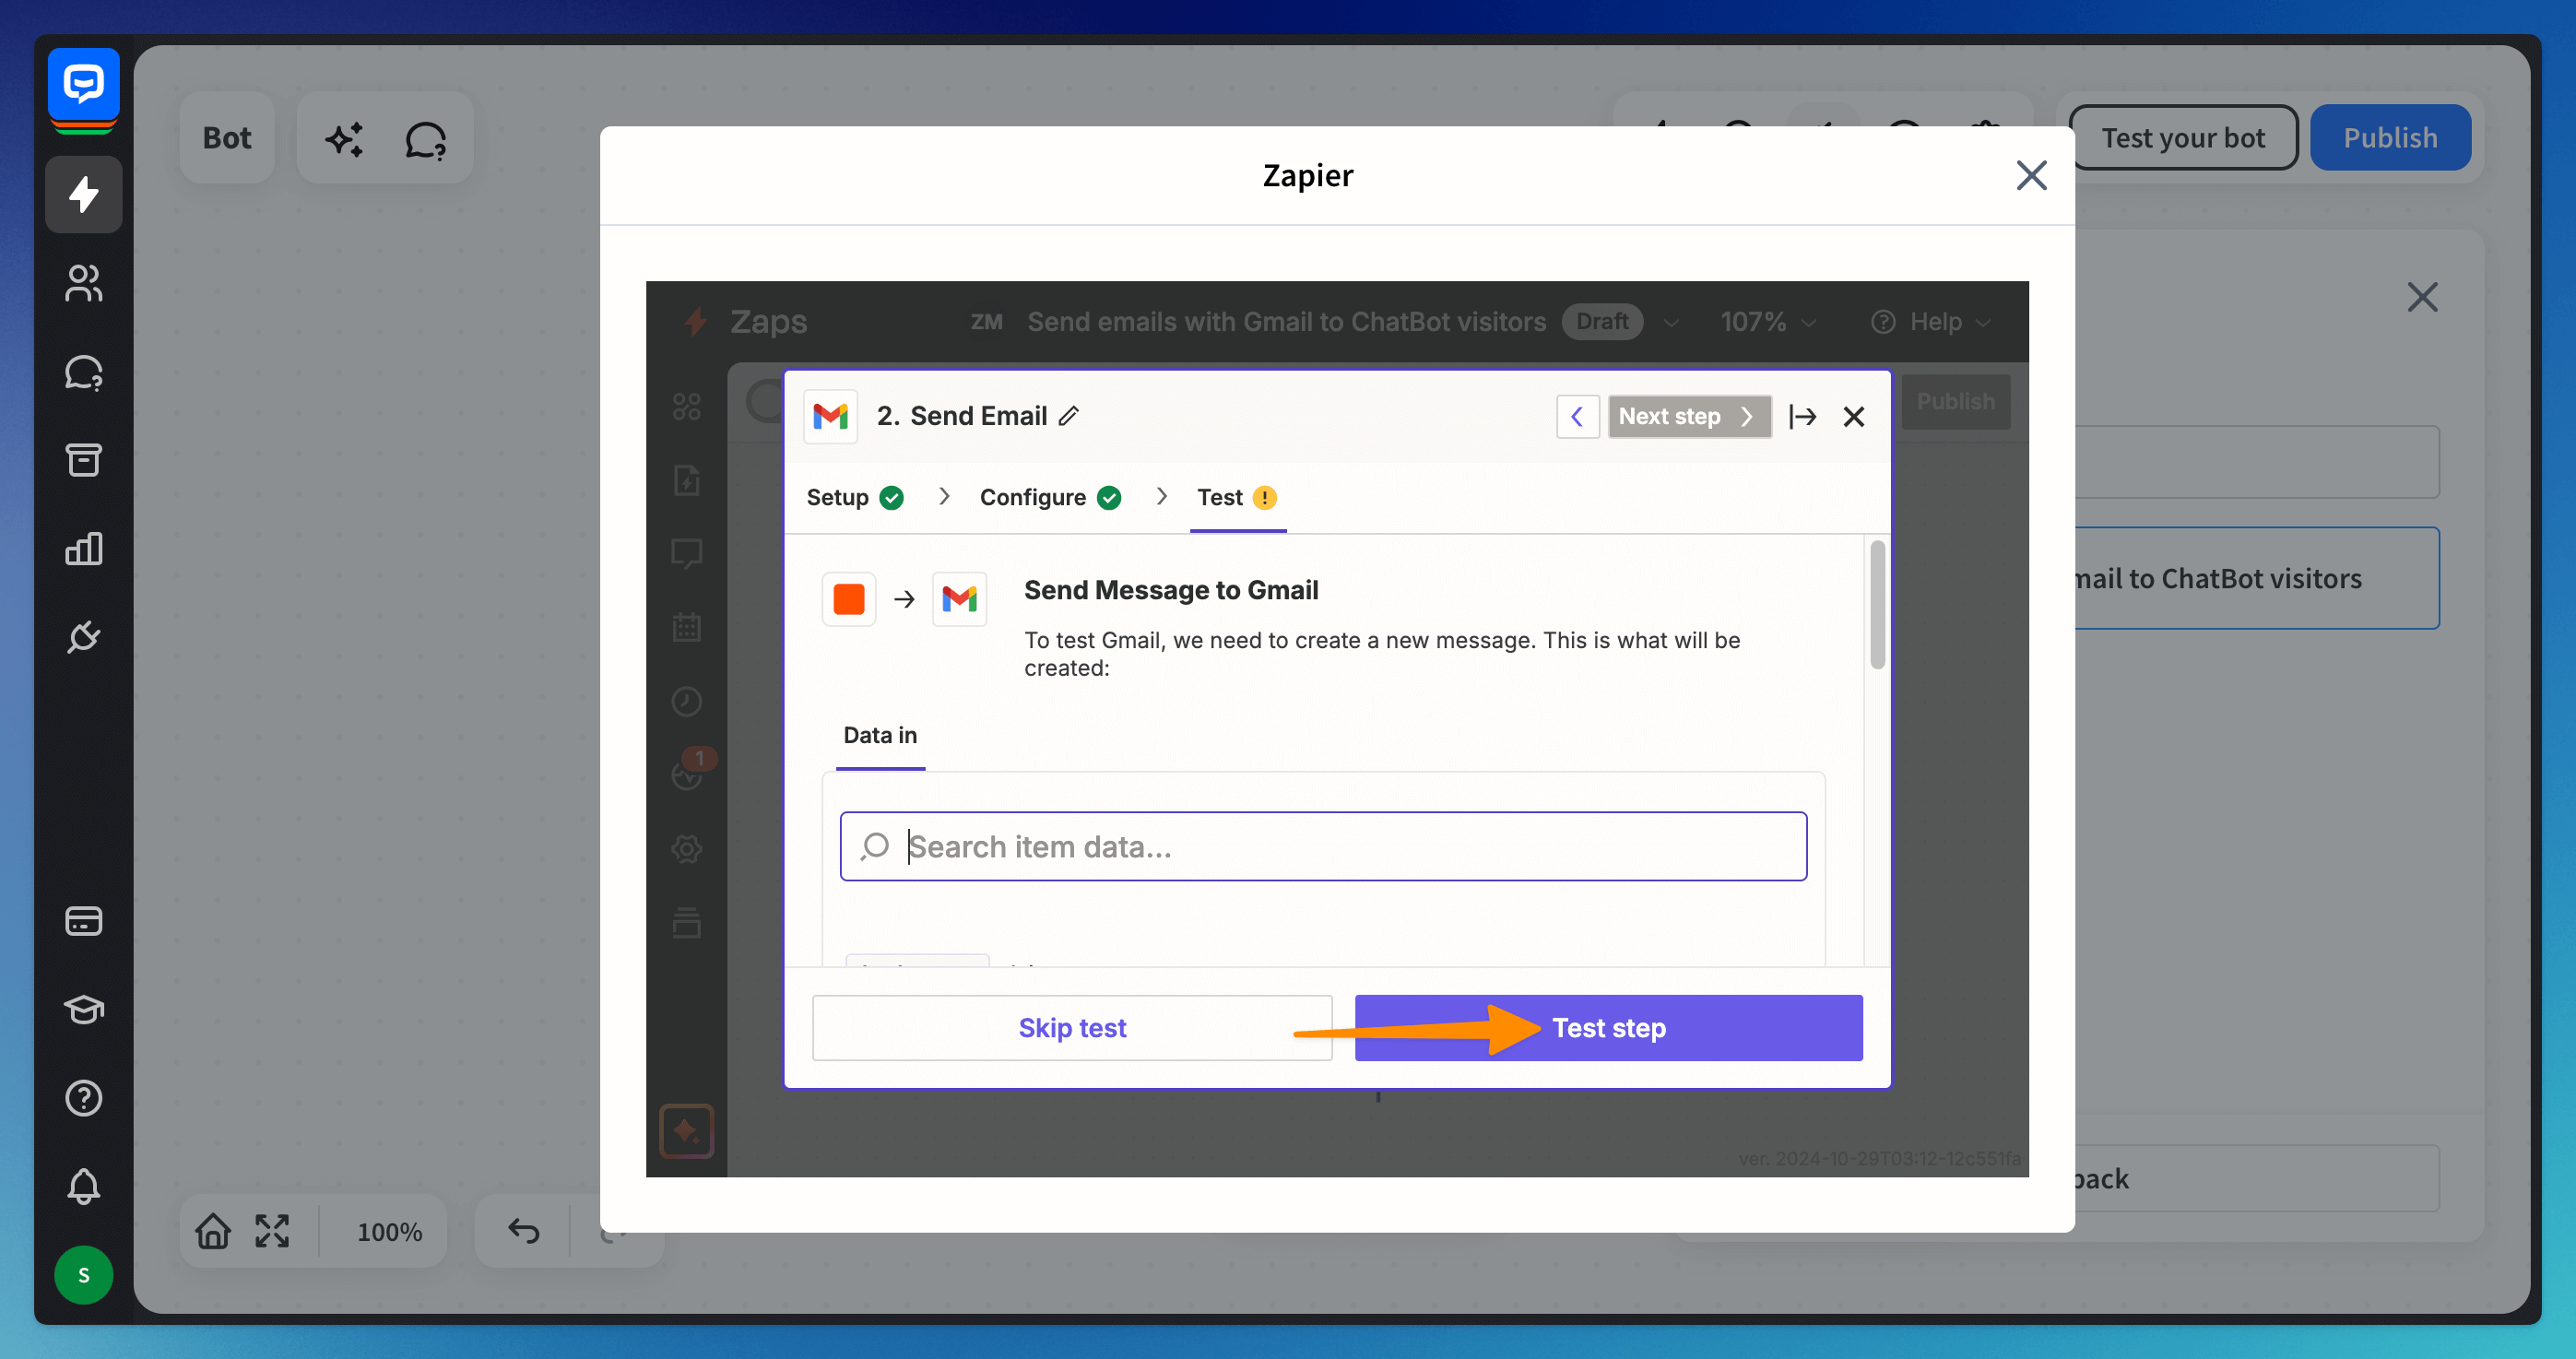
Test the integration. The information chosen in the previous step will be displayed below.
-
Publish the zap.
Your active Zap will appear as an orange Zapier block in the bot. Remember to publish the bot after the zap is done.
You can find the Zapier block after the block you chose during the configuration of the ChatBot account.
Your active Zap will appear as an orange Zapier block in the bot. Remember to publish the bot after the zap is done.
You can find the Zapier block after the block you chose during the configuration of the ChatBot account.
Editing the Zap
If you want to change the Zap, click on the Zapier block in the bot. You will be redirected to the Zapier site to edit previously created Zaps.
Read more: