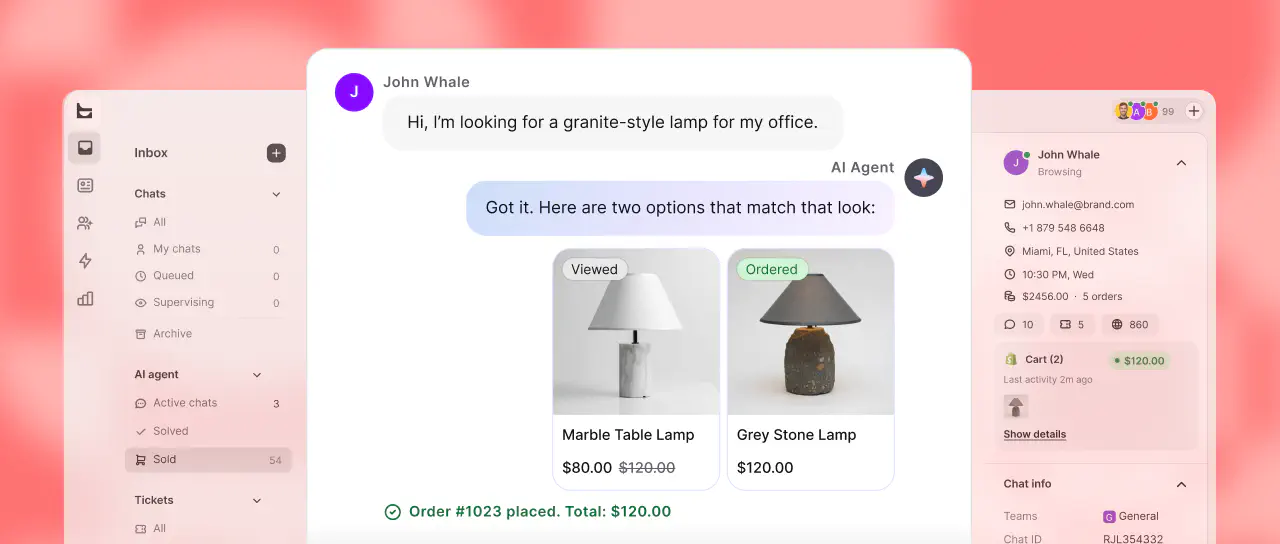
Create and add an AI chatbot to your Webflow site without coding.
Using chatbots, you can answer your customer’s questions outside regular business hours, help them throughout the buying process, and generate potential leads for your marketing team. Discover how to embed a chatbot on a Webflow site and enhance your customer communication.
What is Webflow? 
Webflow is a website builder and content management system that allows users to design, build, and launch websites without writing code. It provides a visual interface that lets users create responsive, professional-looking websites that work on all devices, including desktops, tablets, and smartphones.
The Webflow platform can help you create customized, professional-looking websites without the need for extensive coding knowledge or technical expertise. You can use it for creating portfolios, ecommerce stores, and marketing websites.
How to embed the ChatBot chat widget on a Webflow site
To install a chatbot on a Webflow site, you can use the chat widget. You can personalize the widget’s appearance by choosing colors and styles that align with your website design. Additionally, you can easily add it to your site without coding.
-
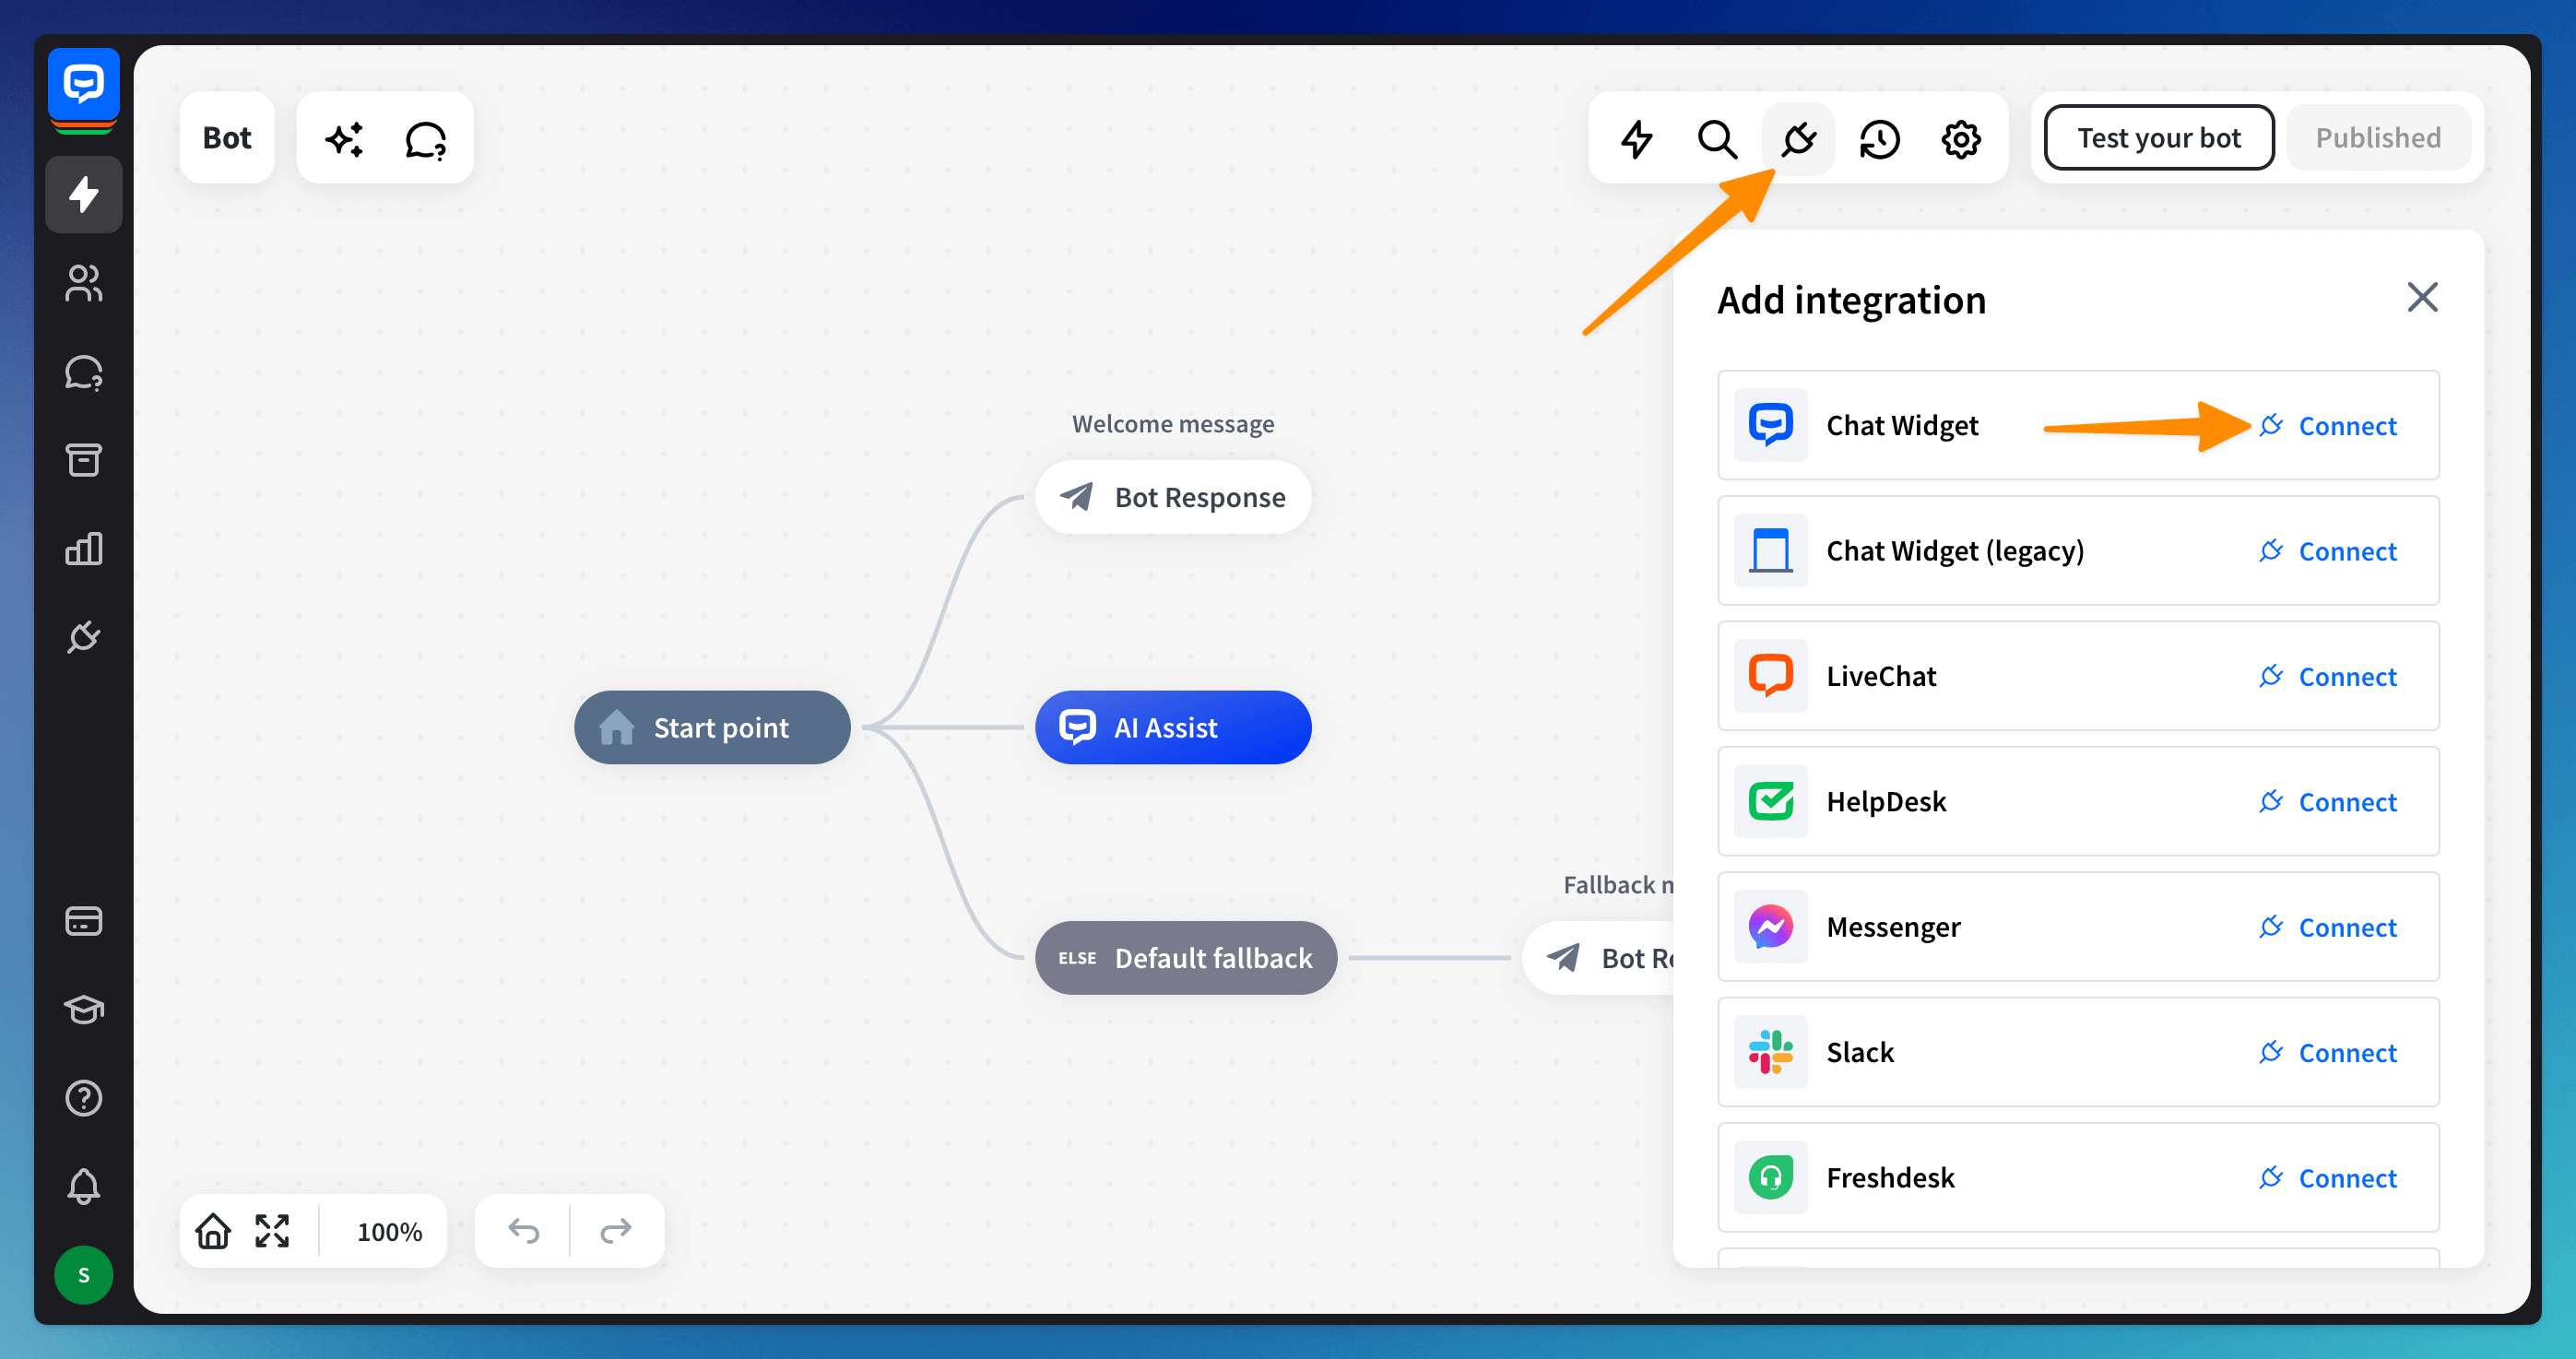
Open your bot and go to the Integrations icon. Click Connect next to the Chat Widget option.
-
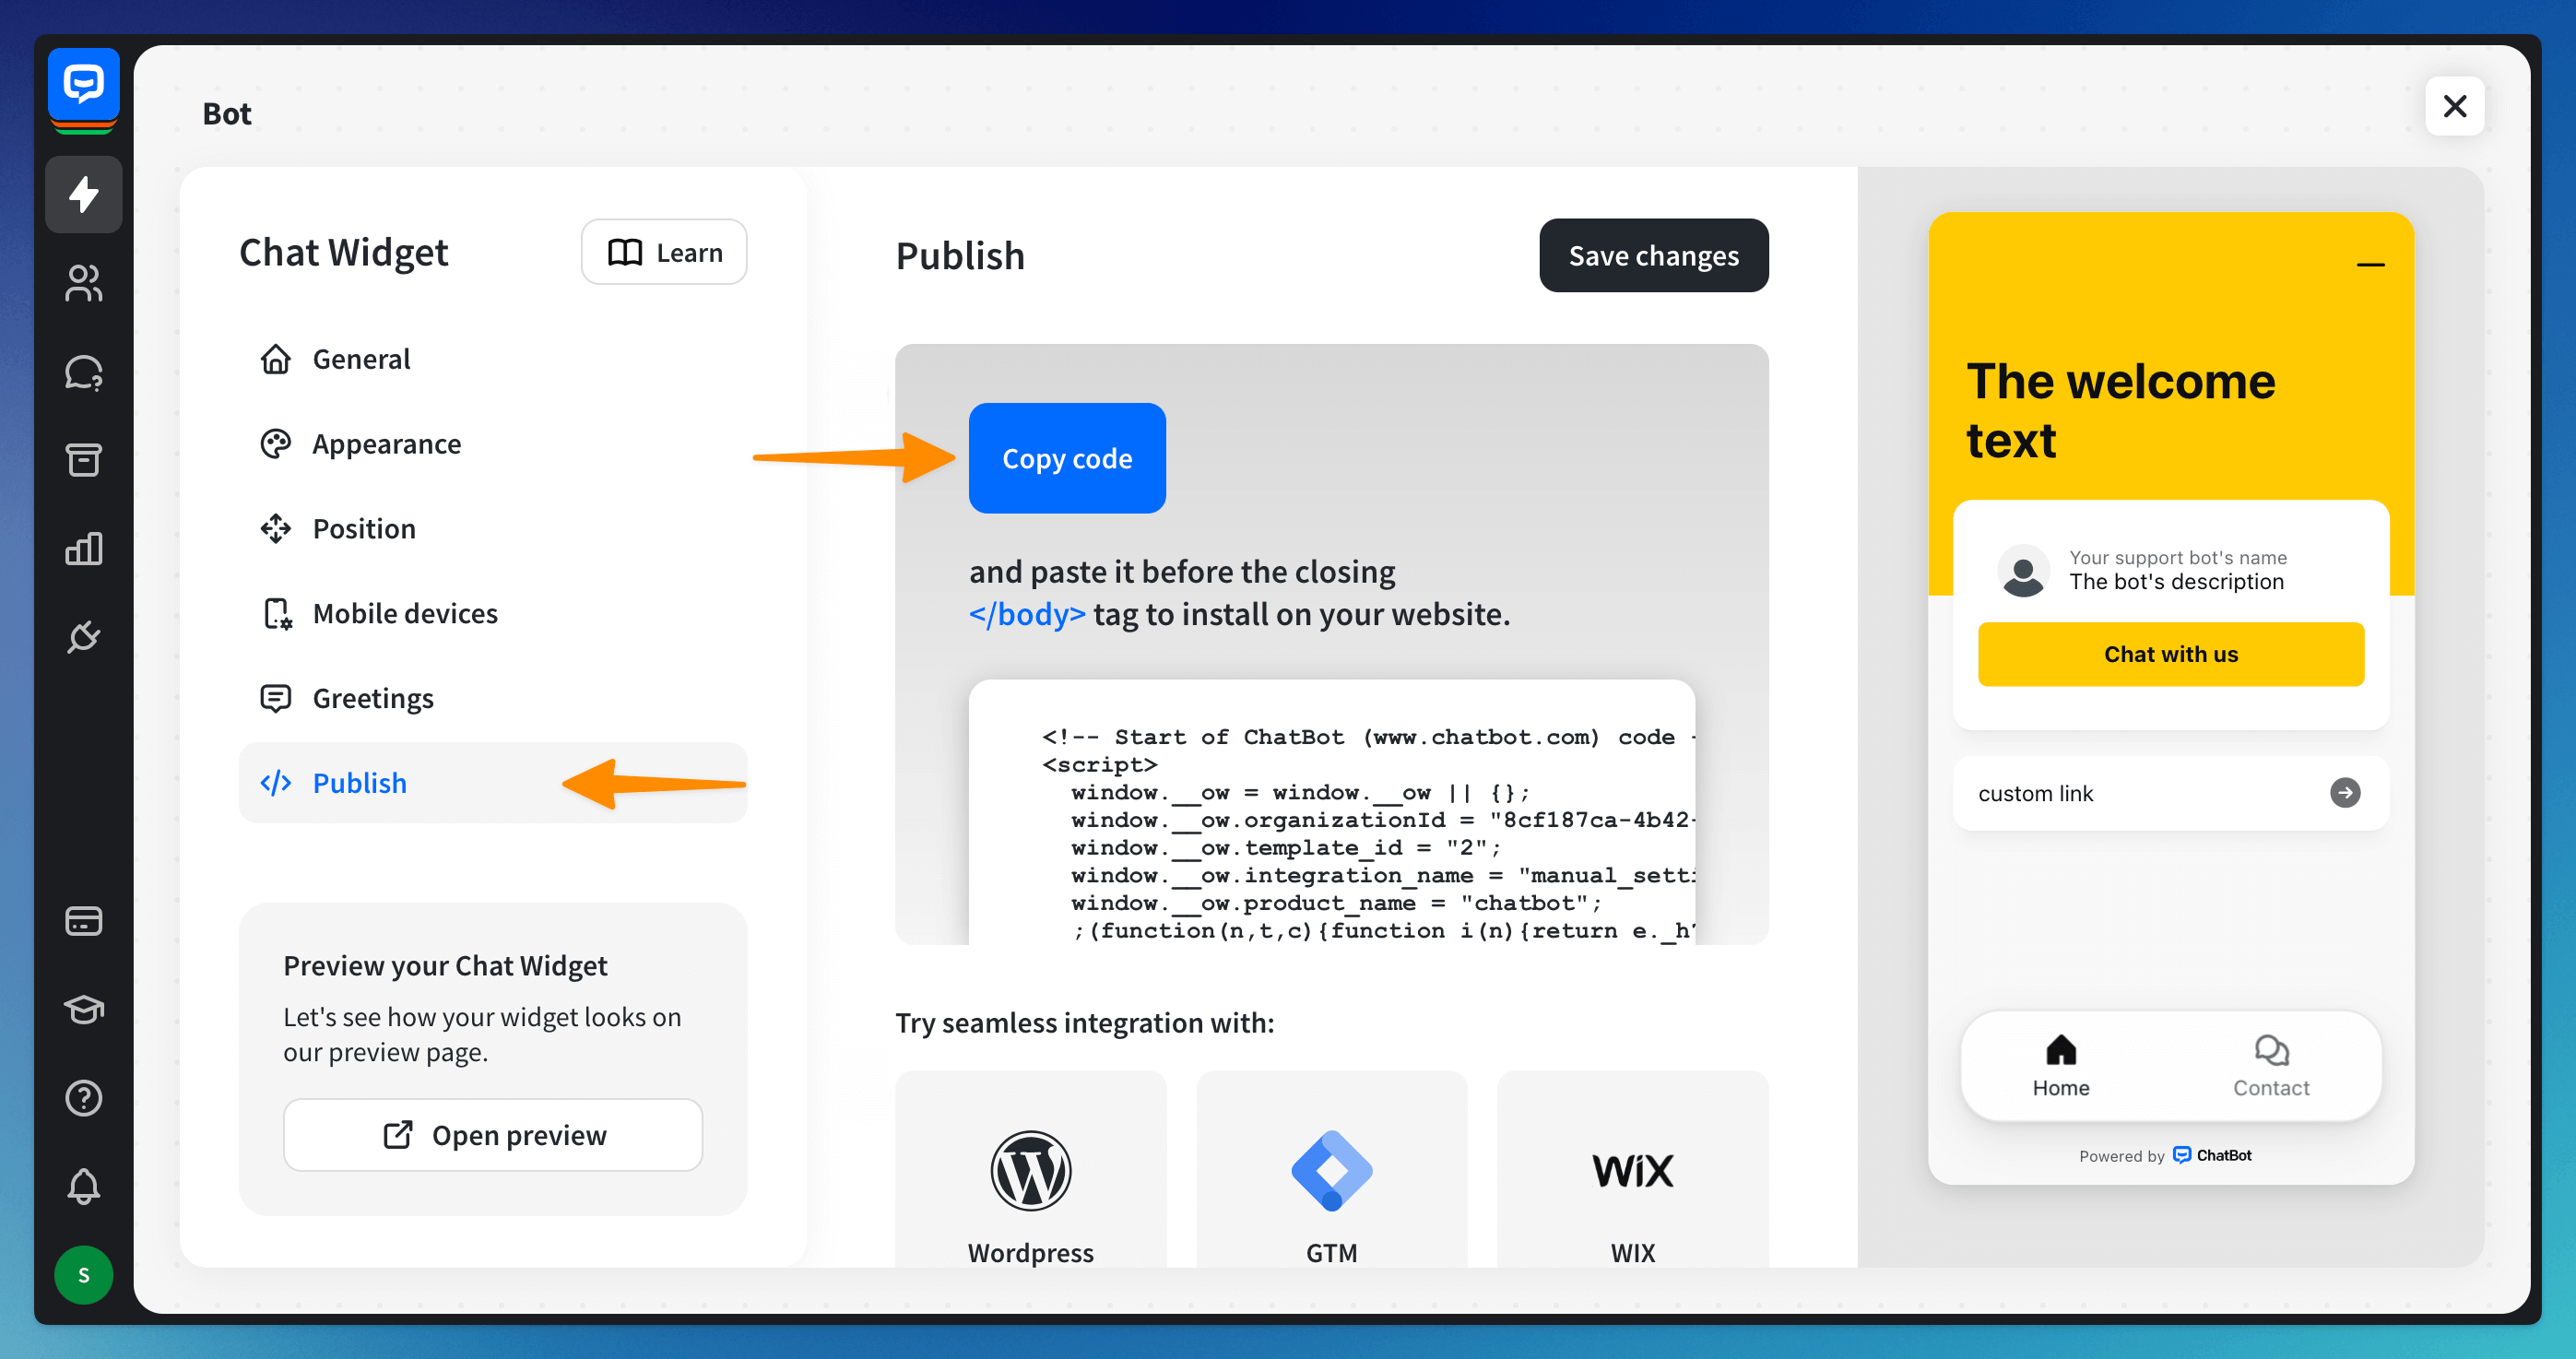
Go to the Publish section and copy the code.
-
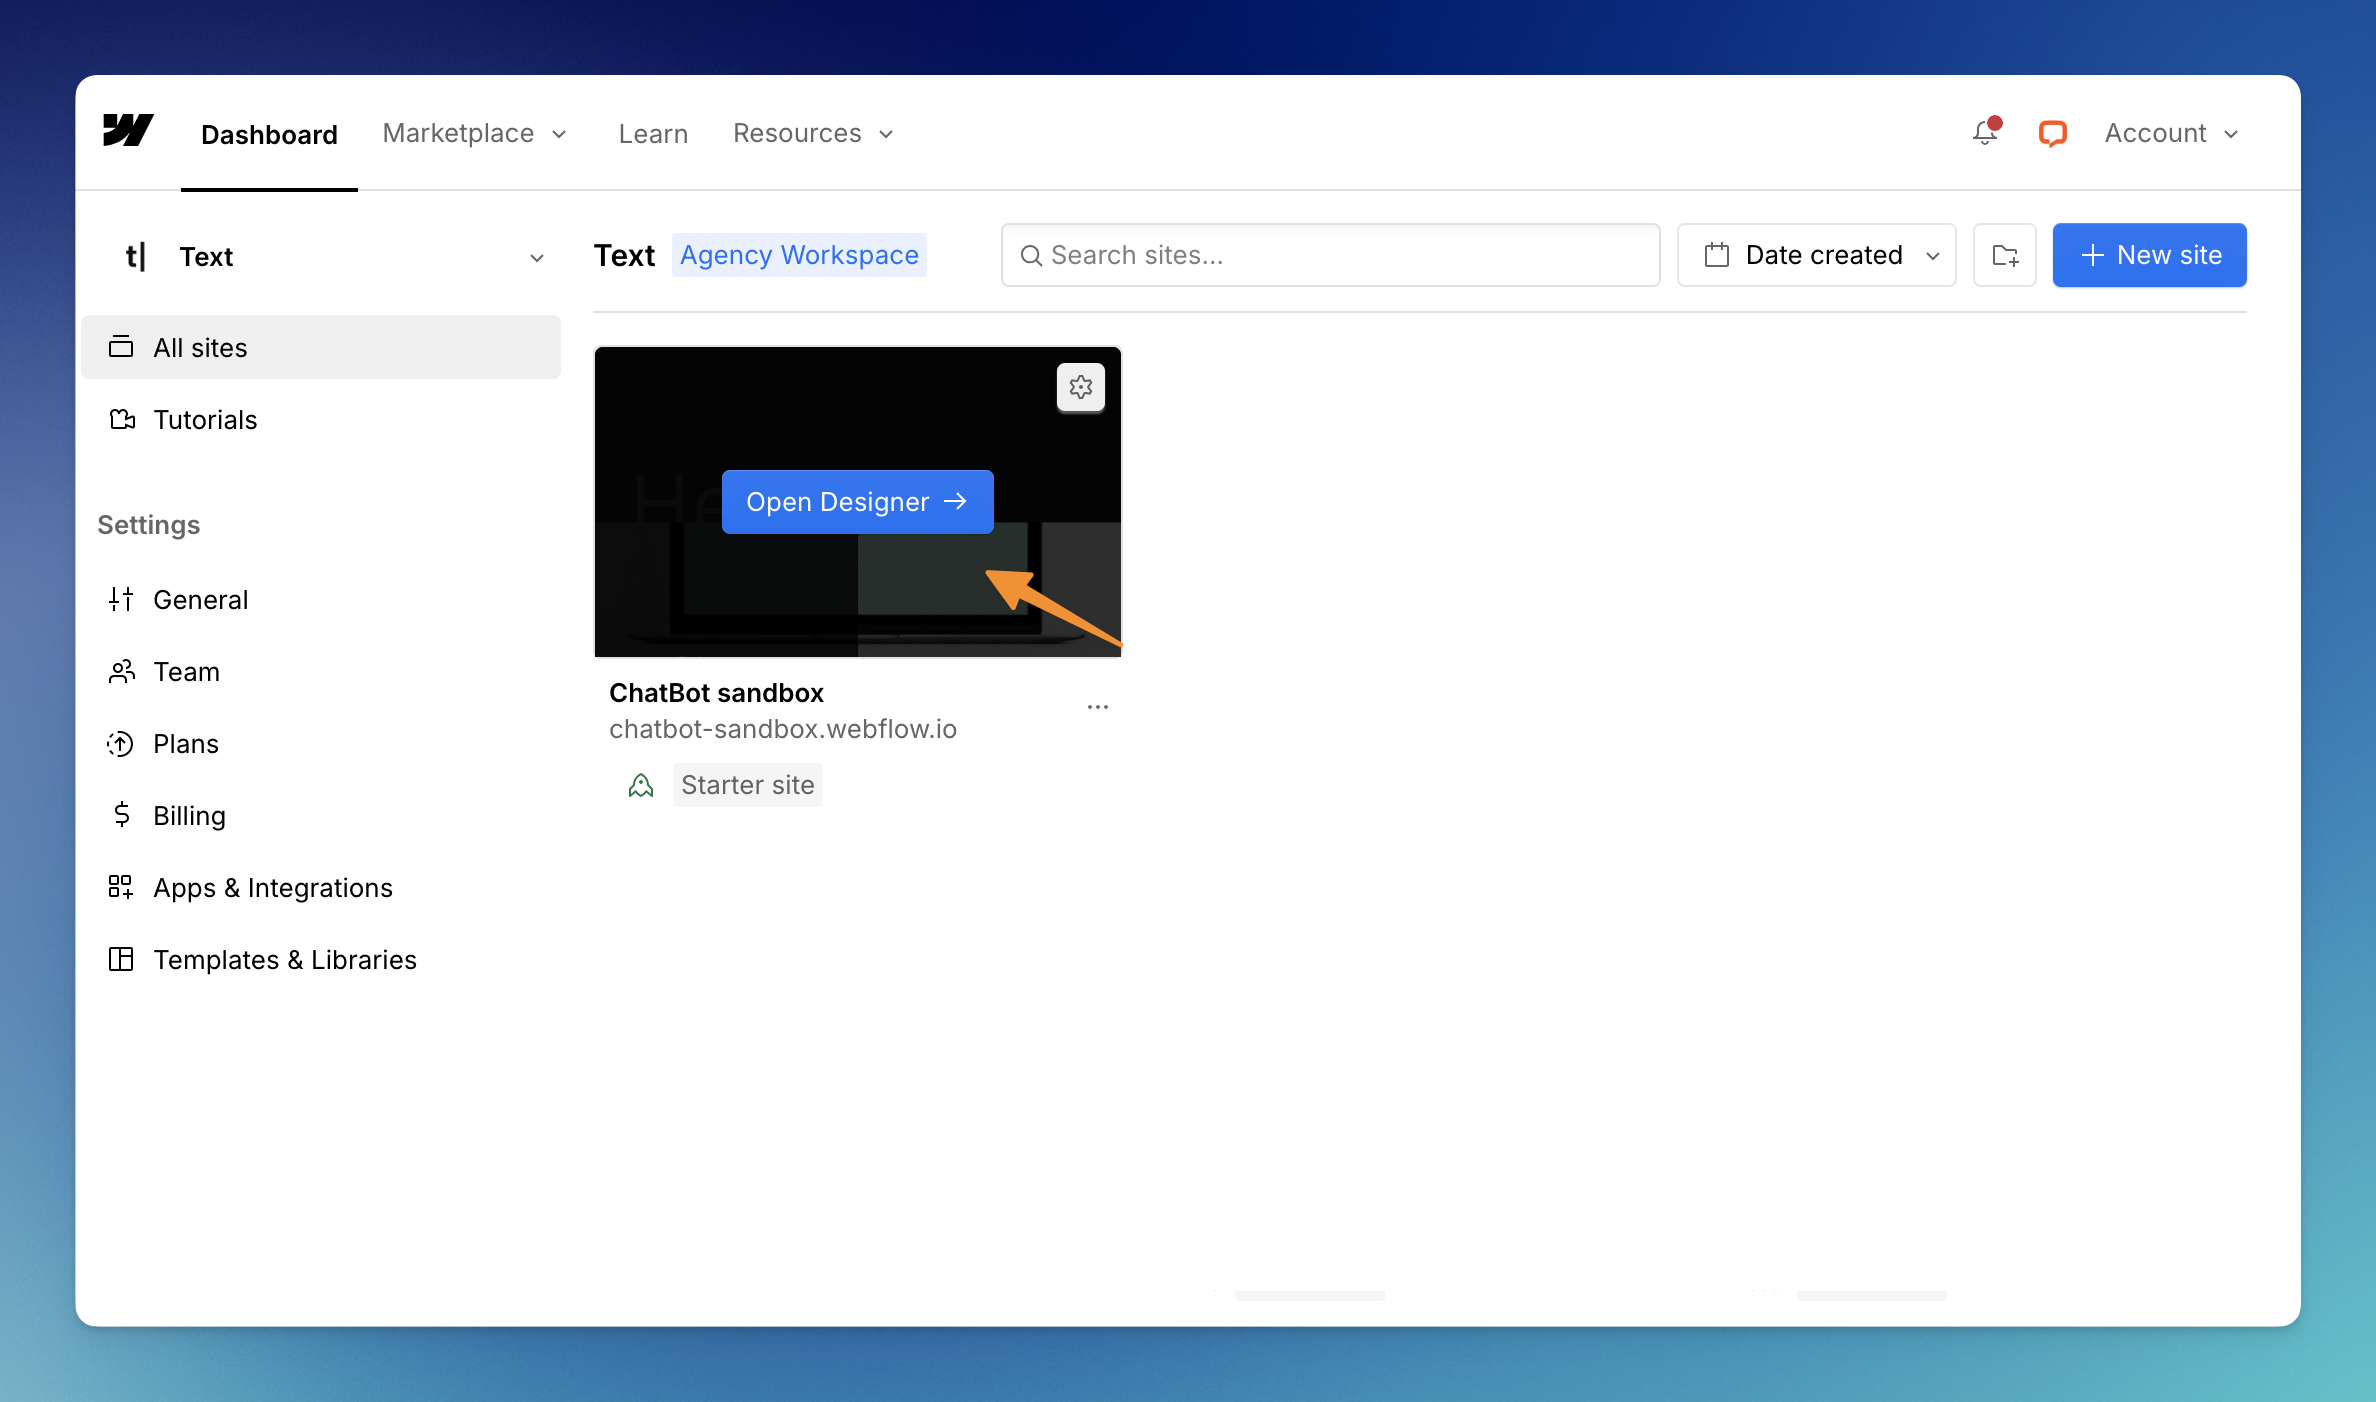
Log in to your Webflow account and select View dashboard. Select the page on which you want to add a bot.
-
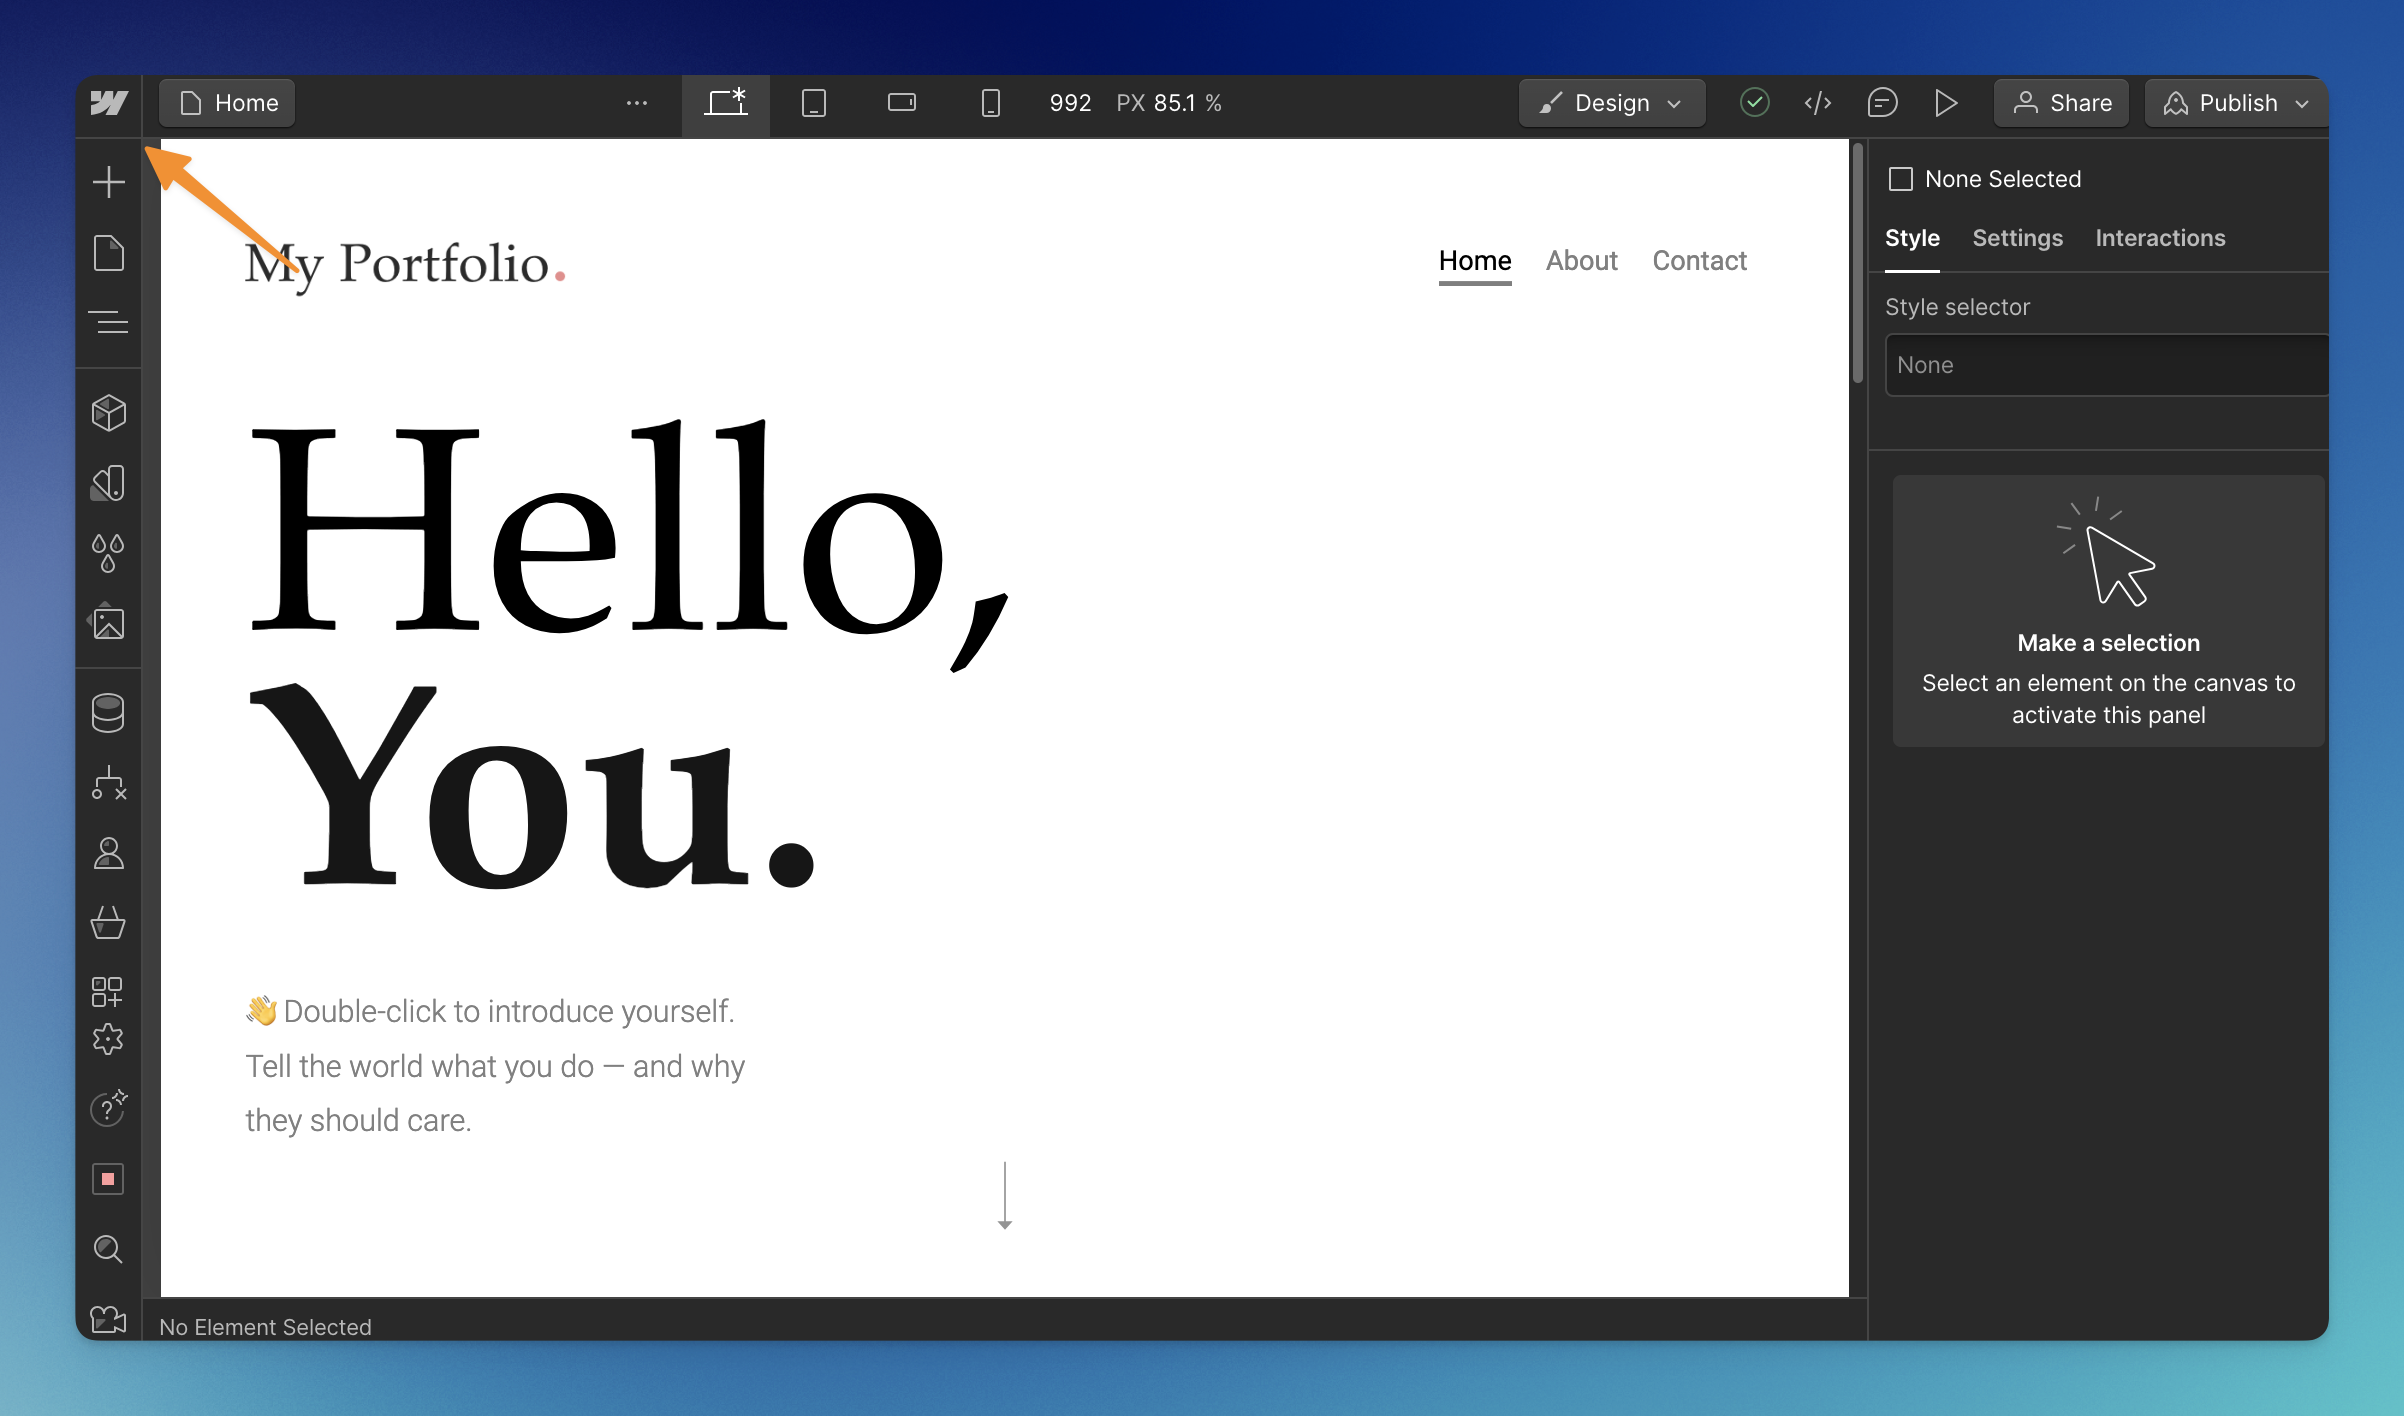
Select the Webflow icon in the top left corner. From the dropdown menu, select Site Settings.
-
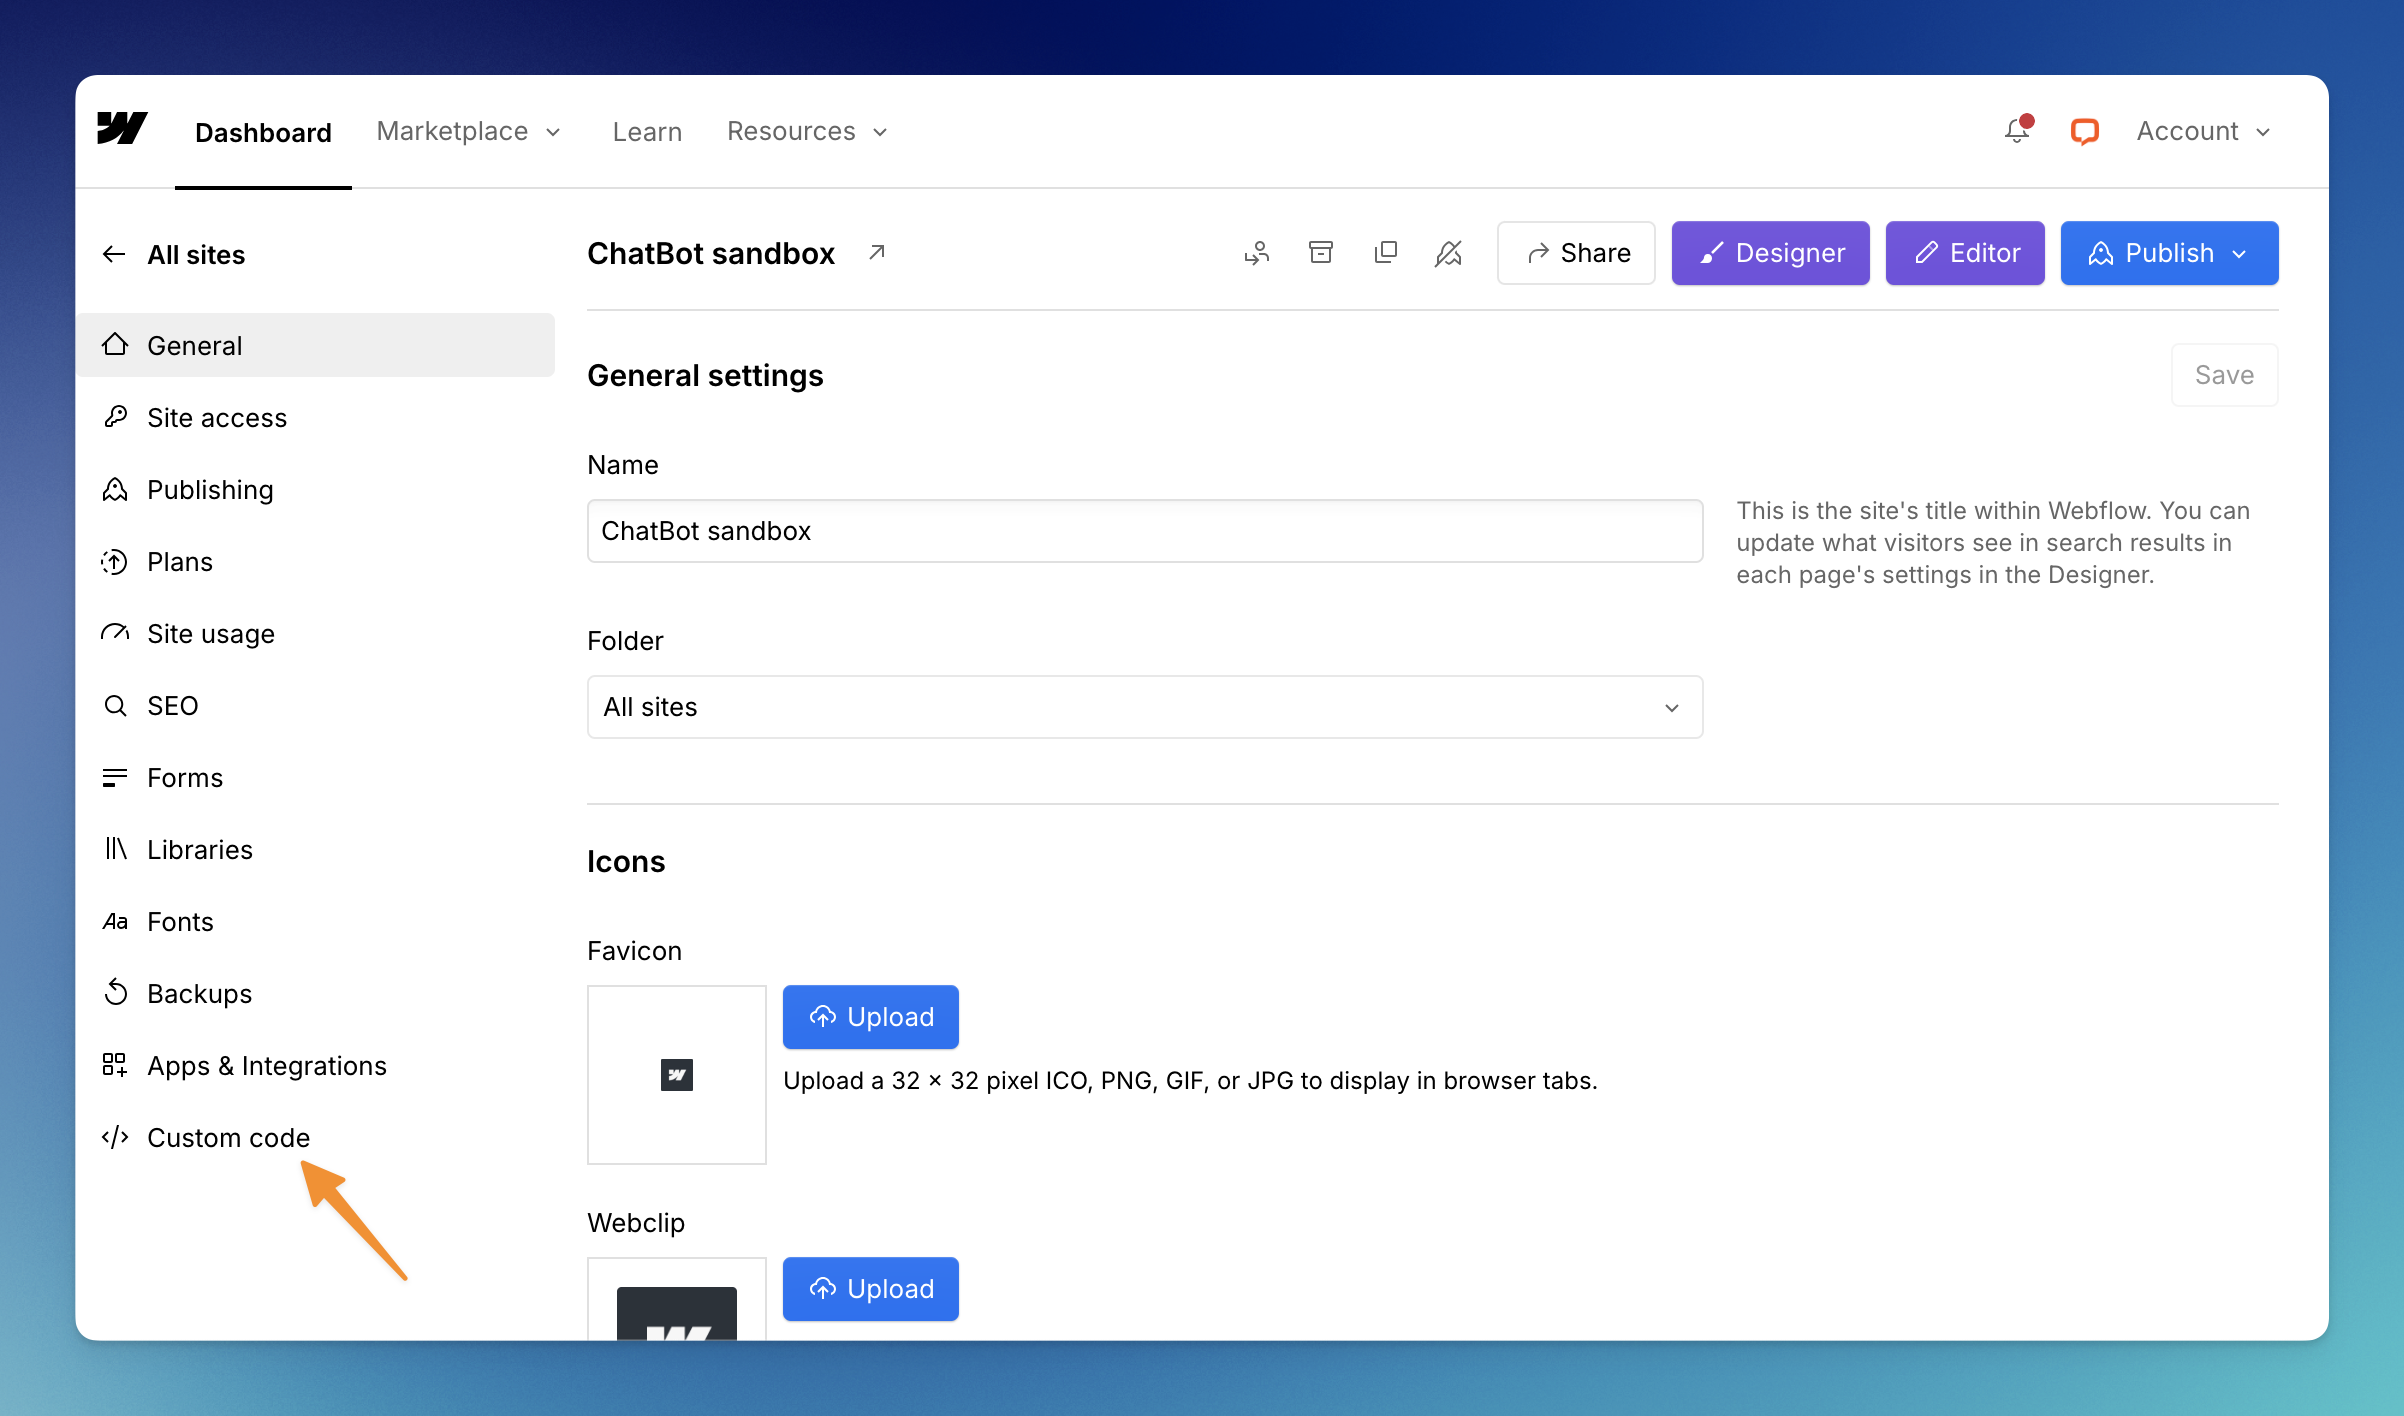
Click on the Custom Code section.
-
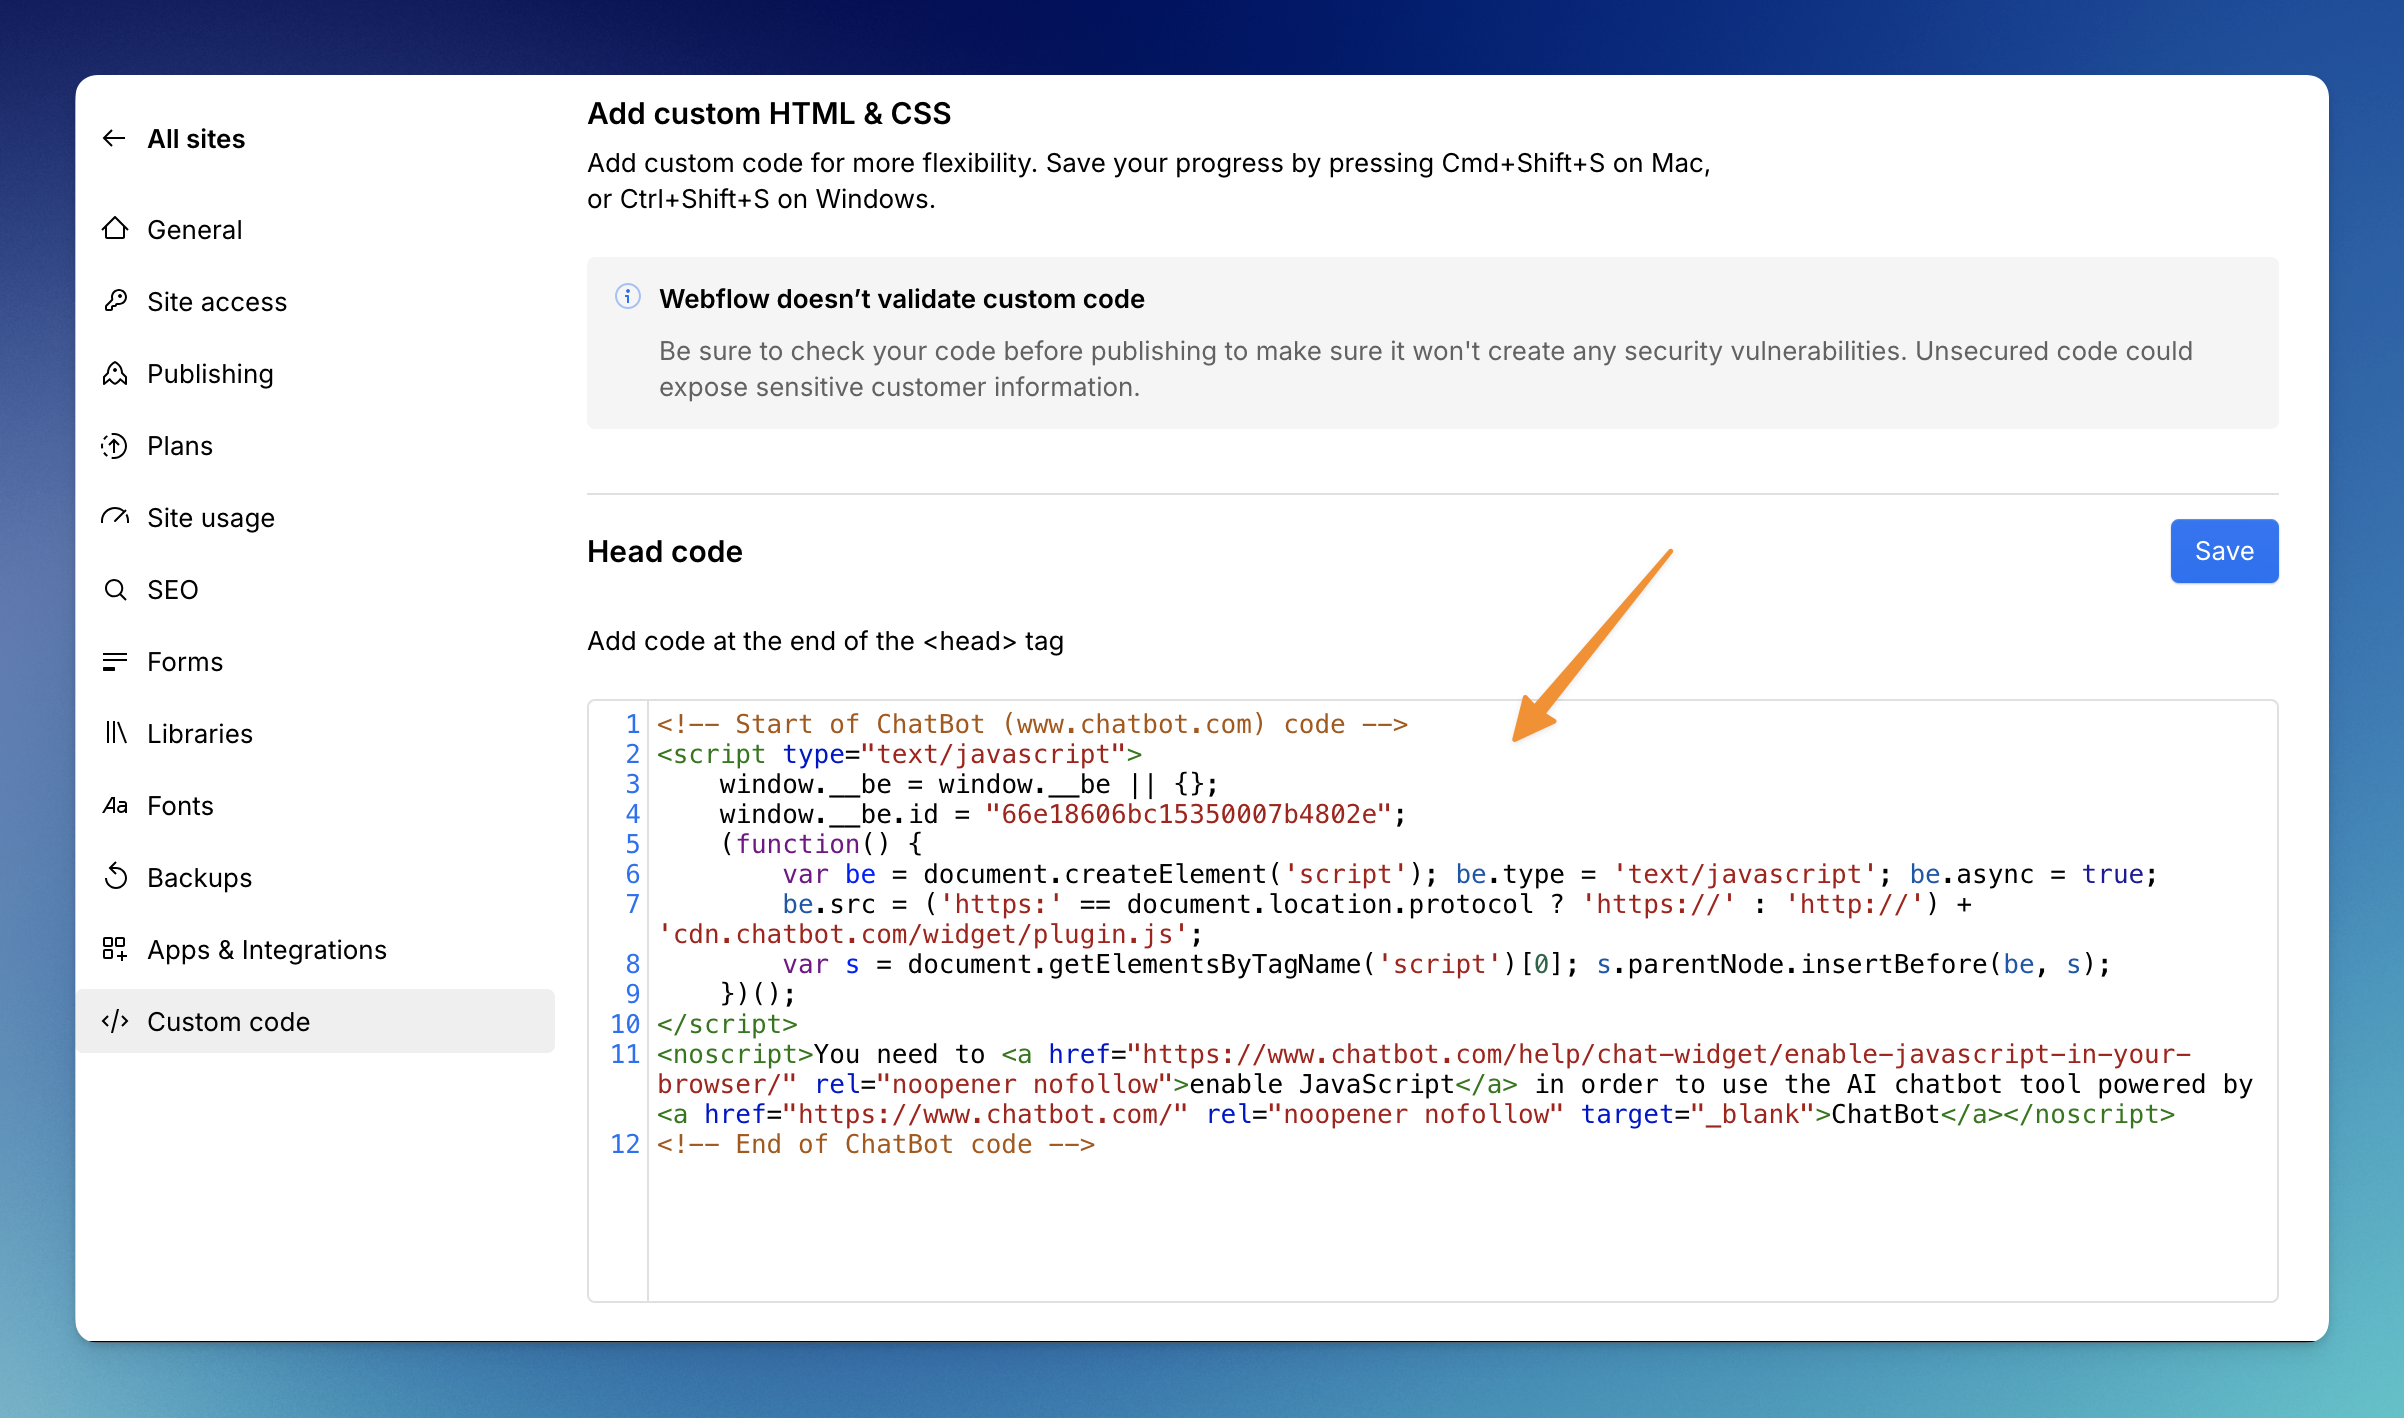
Paste ChatBot’s chat widget code in the Head Code section. Click on Save Changes. Once your changes are saved, select Publish.
-
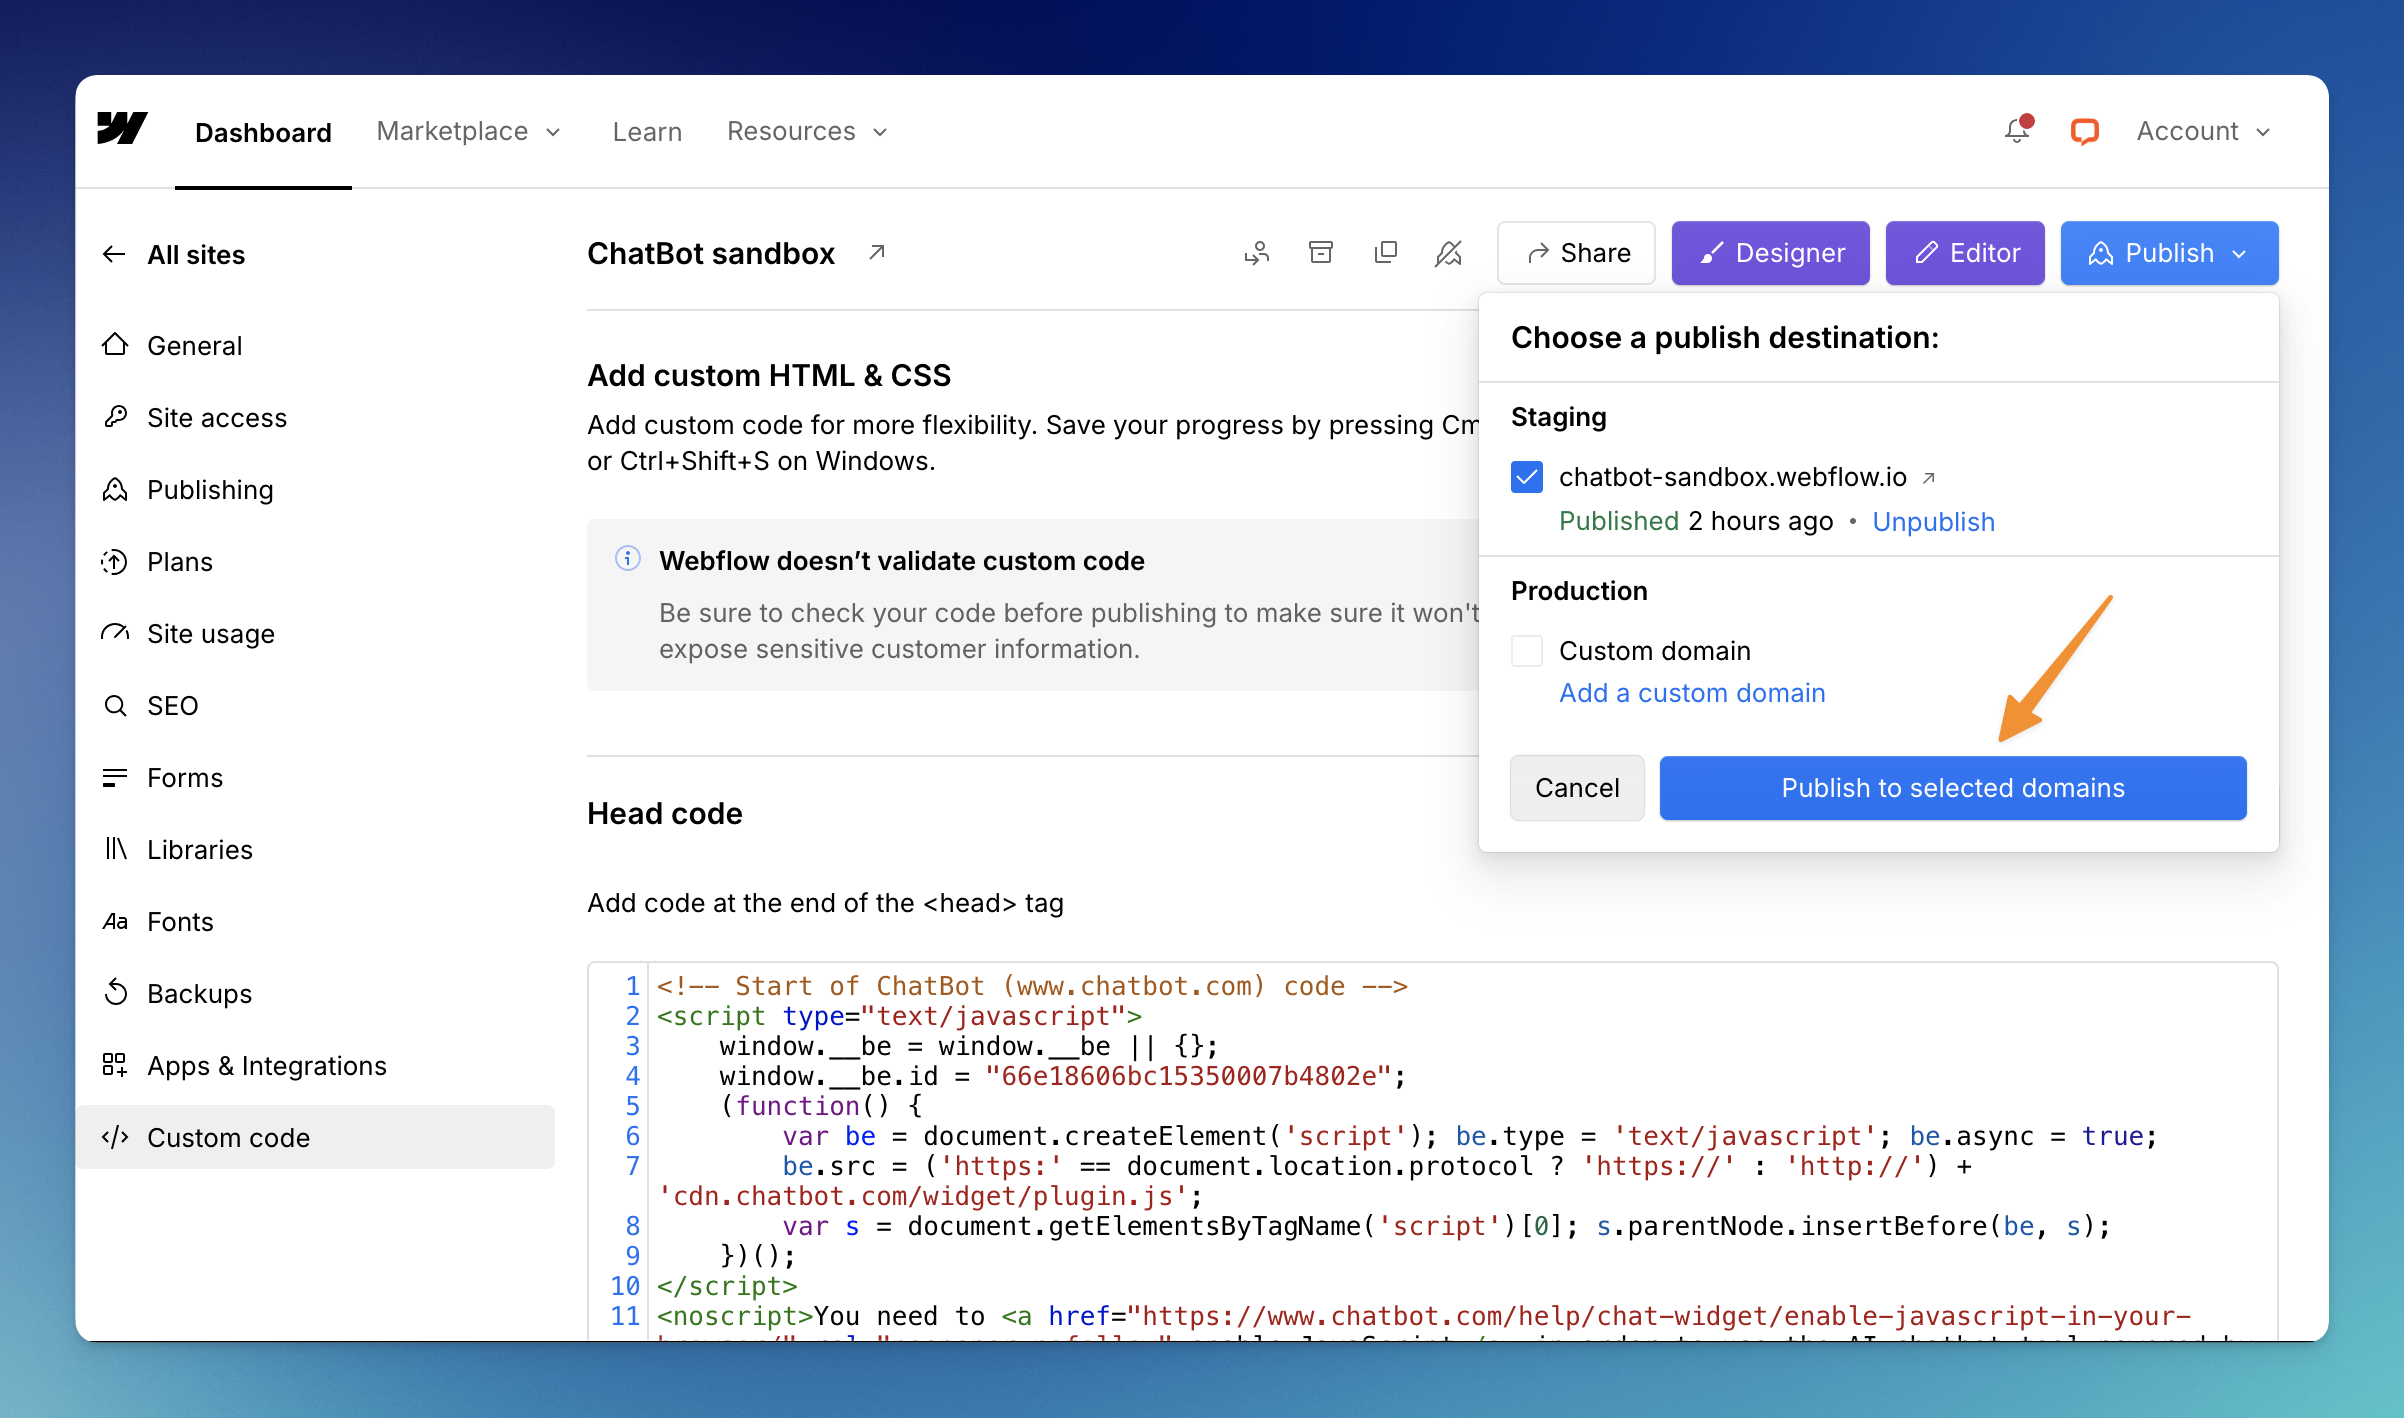
Choose the publish destination and click the Publish to selected domains button.
-
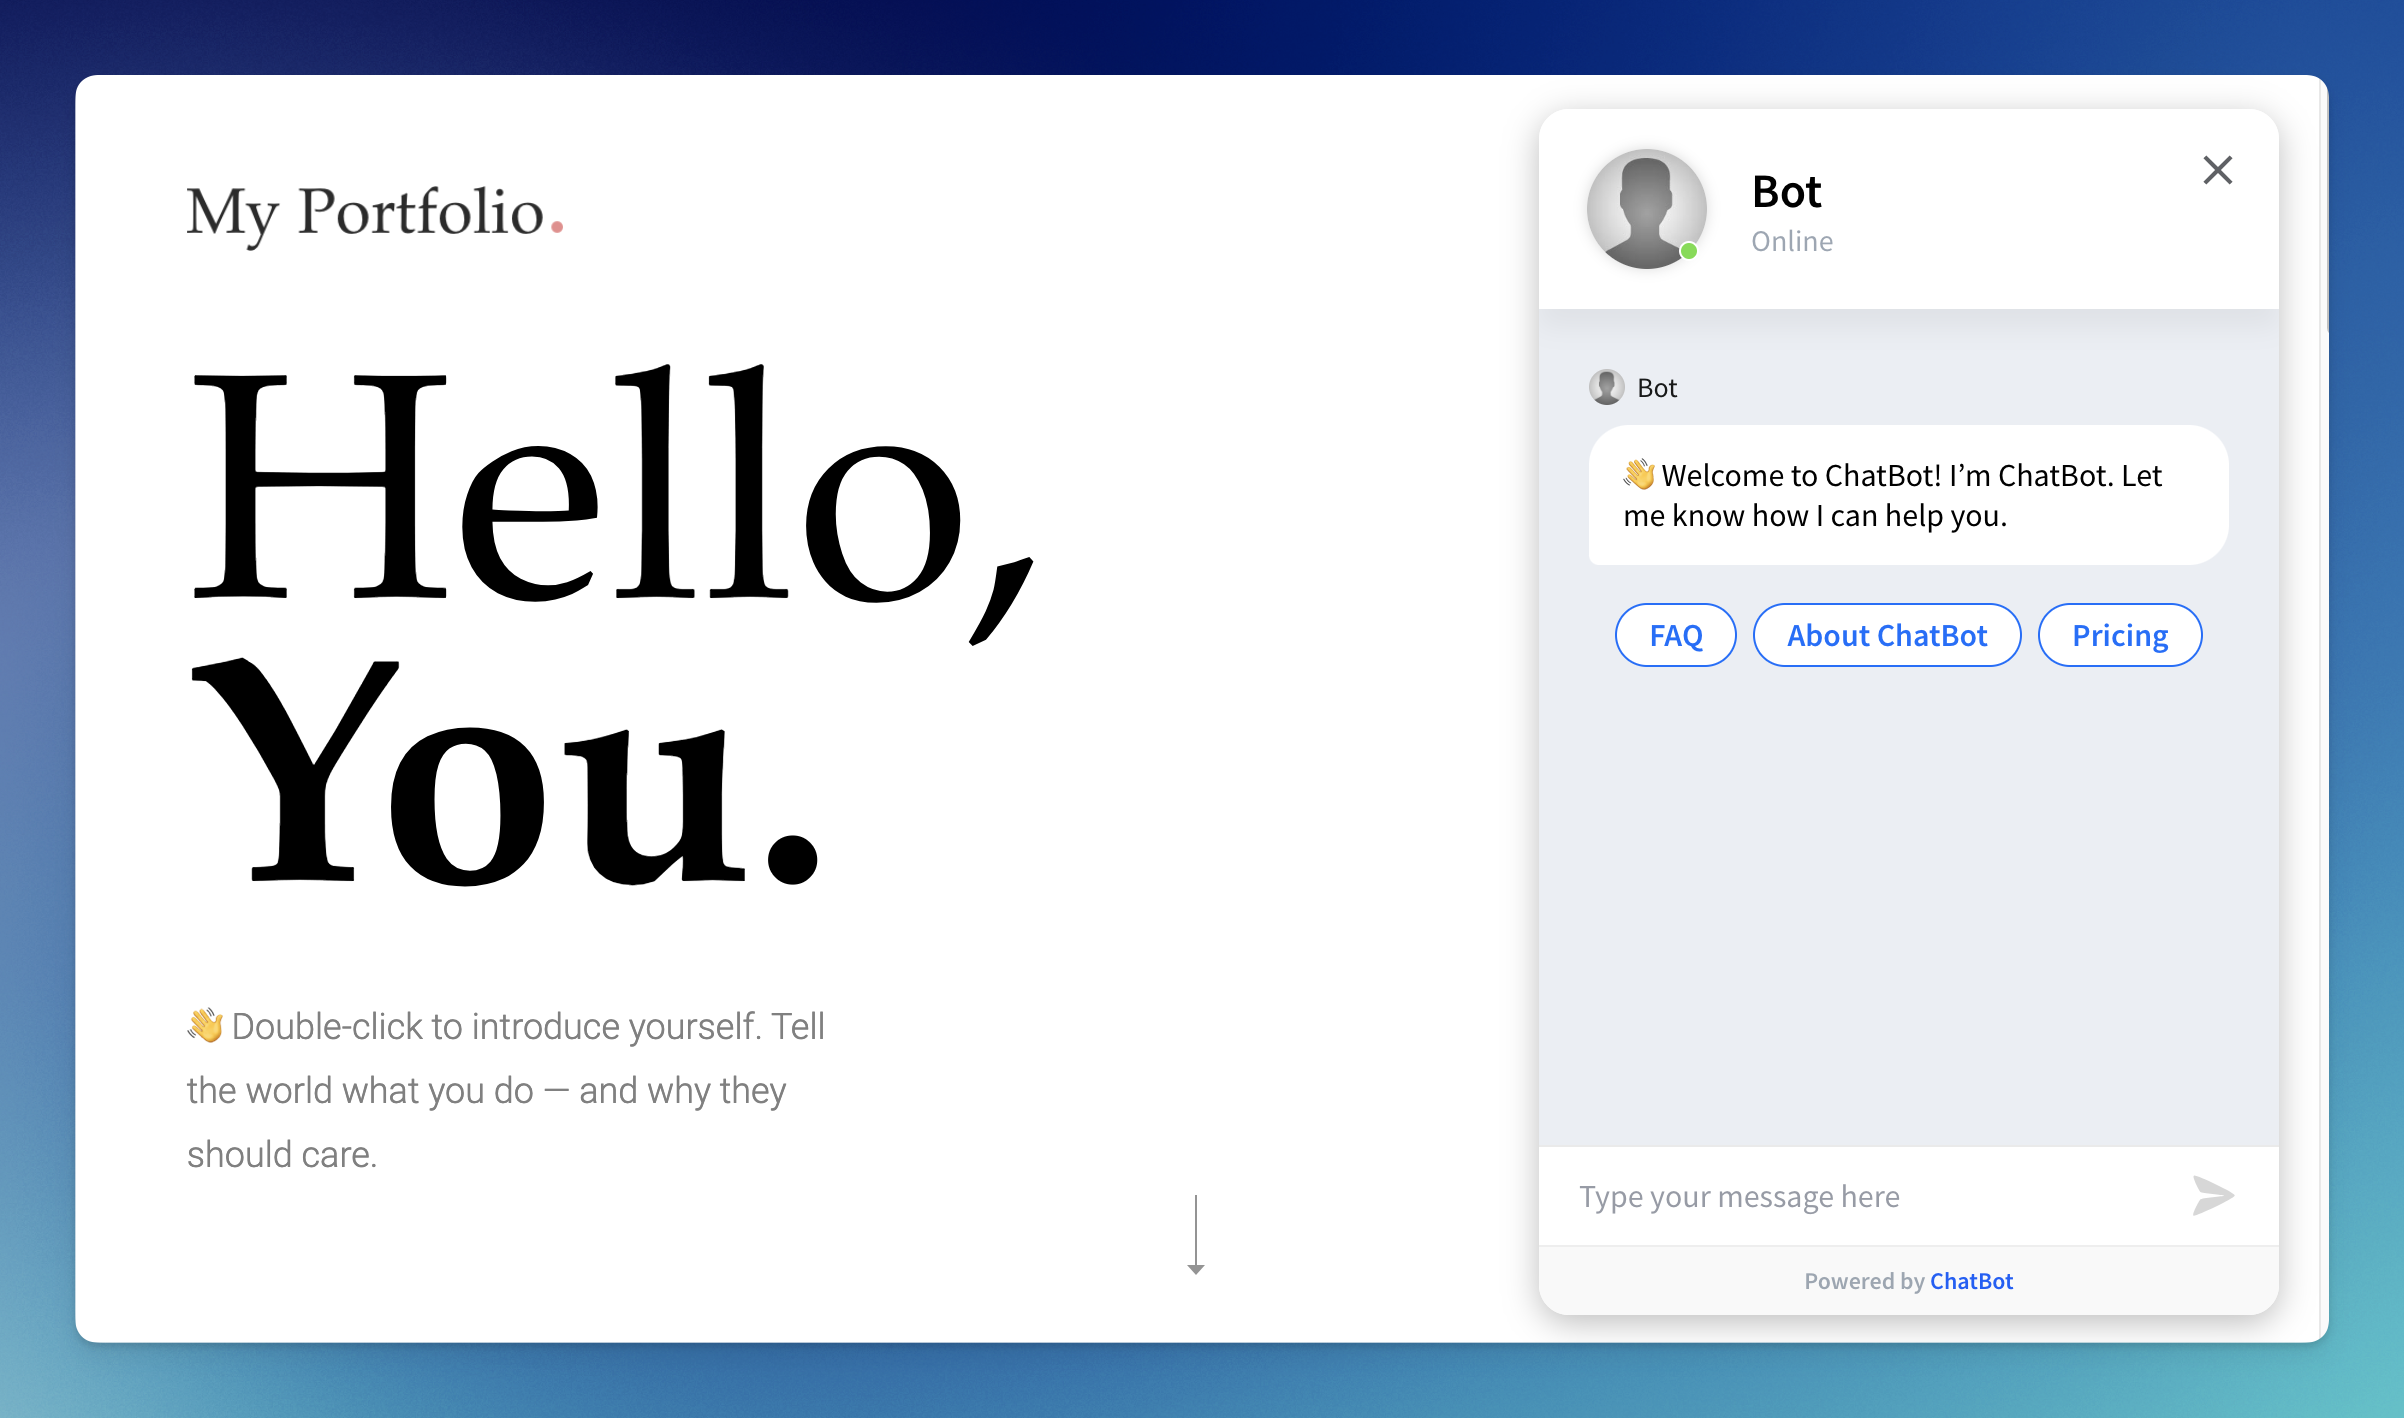
The ChatBot widget should appear on your Webflow site once you save your changes.
Read more: