Entities are similar to dictionaries used by the bot to provide personalized and accurate responses to specific topics. They allow you to extract important information from the ongoing conversation, such as product type and the name of the department the case concerns. You can use entities to ensure that your bot accurately captures essential data.
 Good to know:
-
You can create as many entities as you need.
-
One entity can have a maximum of 2000 entry values.
-
A value can have a maximum of 99 synonyms.
To use entities in responses, type two curly brackets or use the attributes symbol in the text field.
How to create a new user entity
Custom Entities can help your chatbot extract and validate specific information from your chats. You can create an Entity that collects information about a specific product and assigns it to one of the available categories.
-
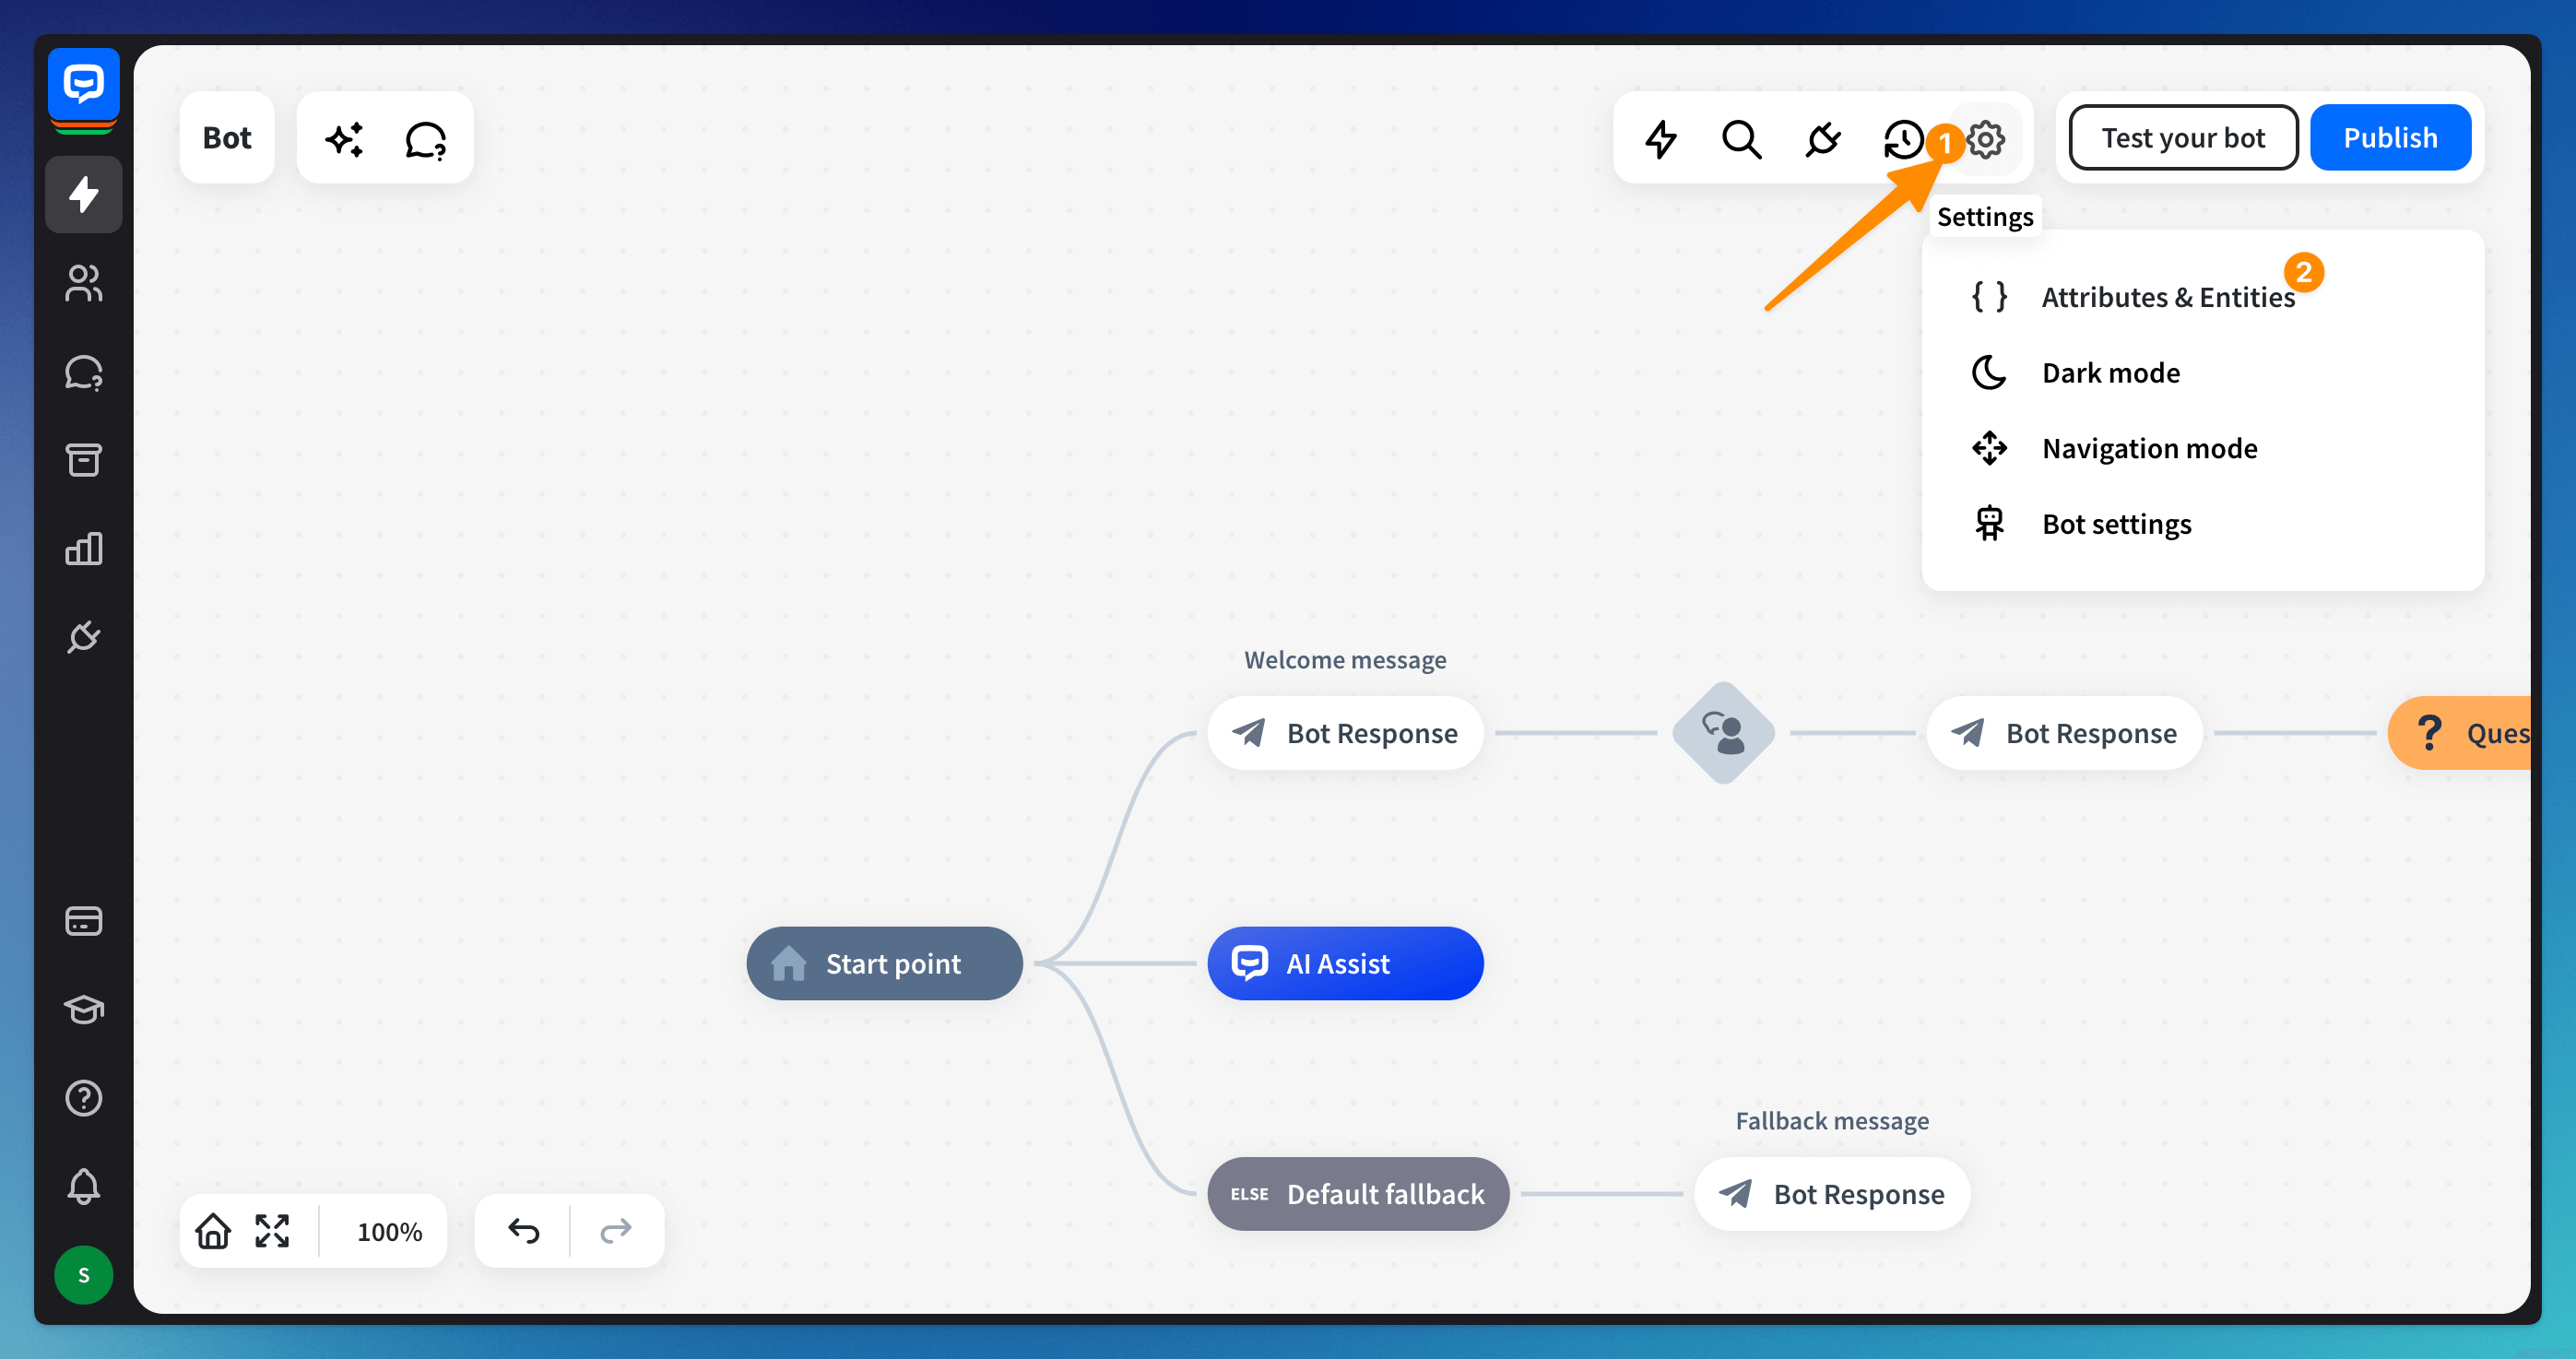
Go to your bot and choose the Attributes & Entities option in the bot settings.
-
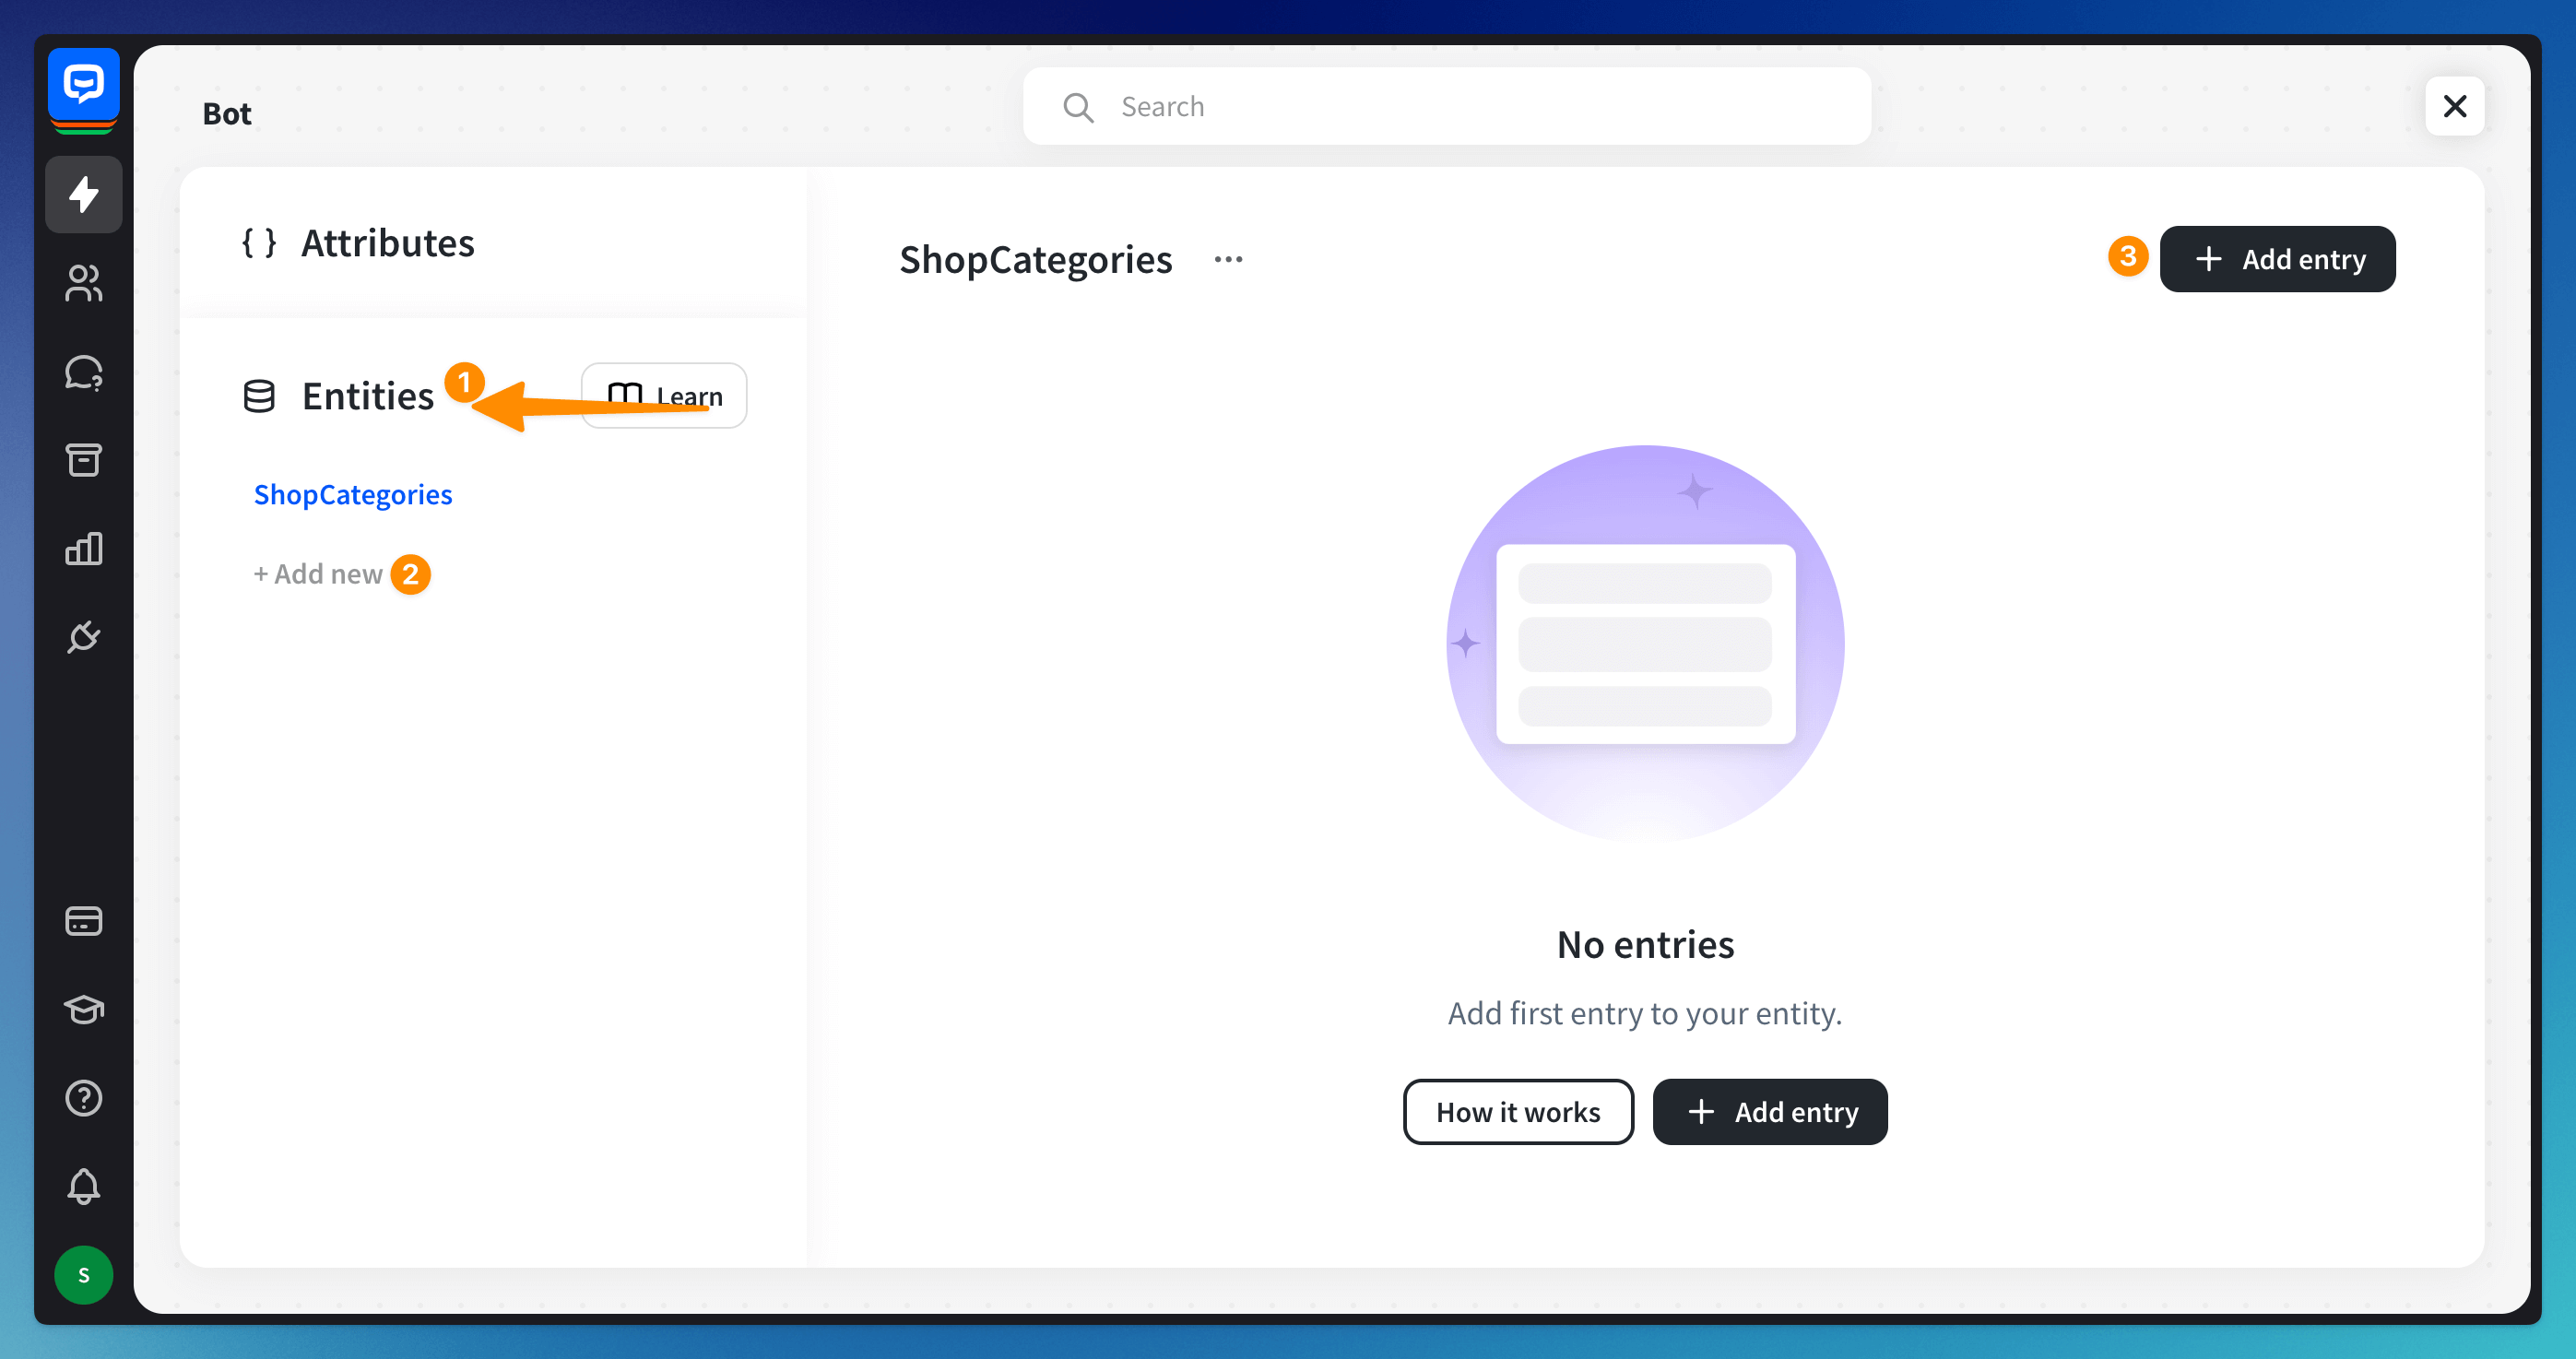
Select Entities from the bottom of the page and click the +Add new option. Then, click the +Add entry button and add entries to the entity.
-
In the newly created entry, you can:
- Define the main entry name
- Add the values
- Add its synonyms or similar phrases.
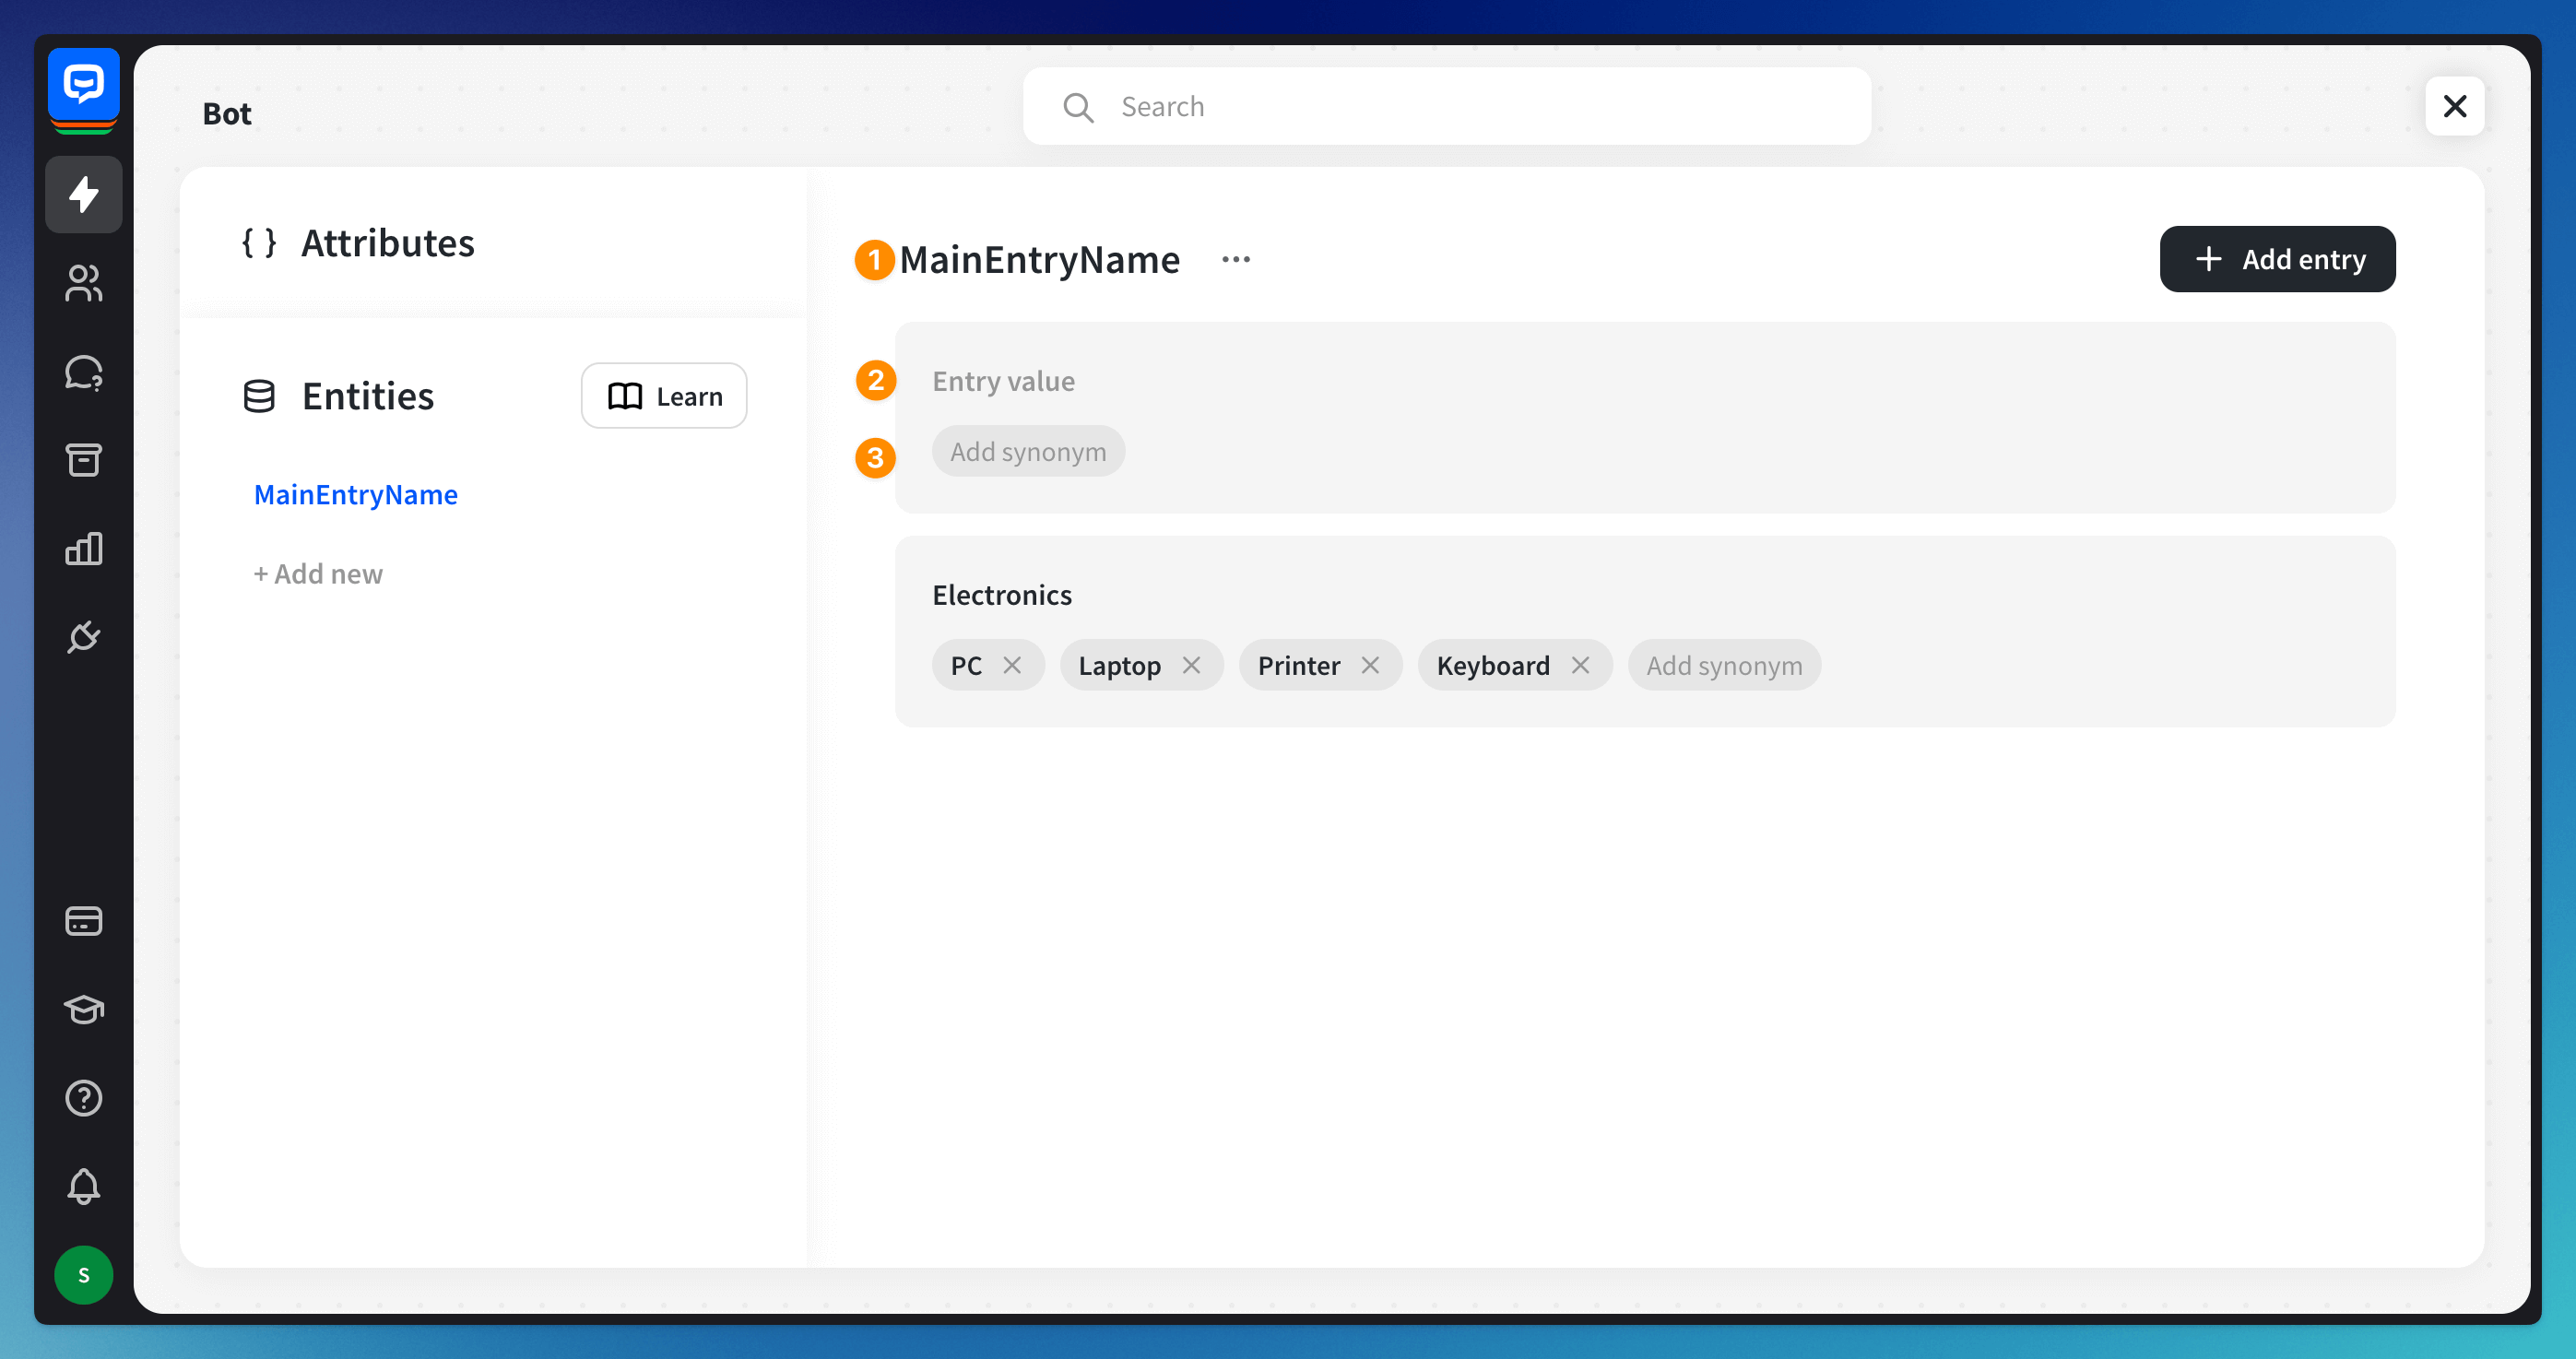 You can add more entries in the same entity.
How to add user entities to the bot flow
Entities are used for users’ query validation. You can use them in various places, depending on your needs:
-
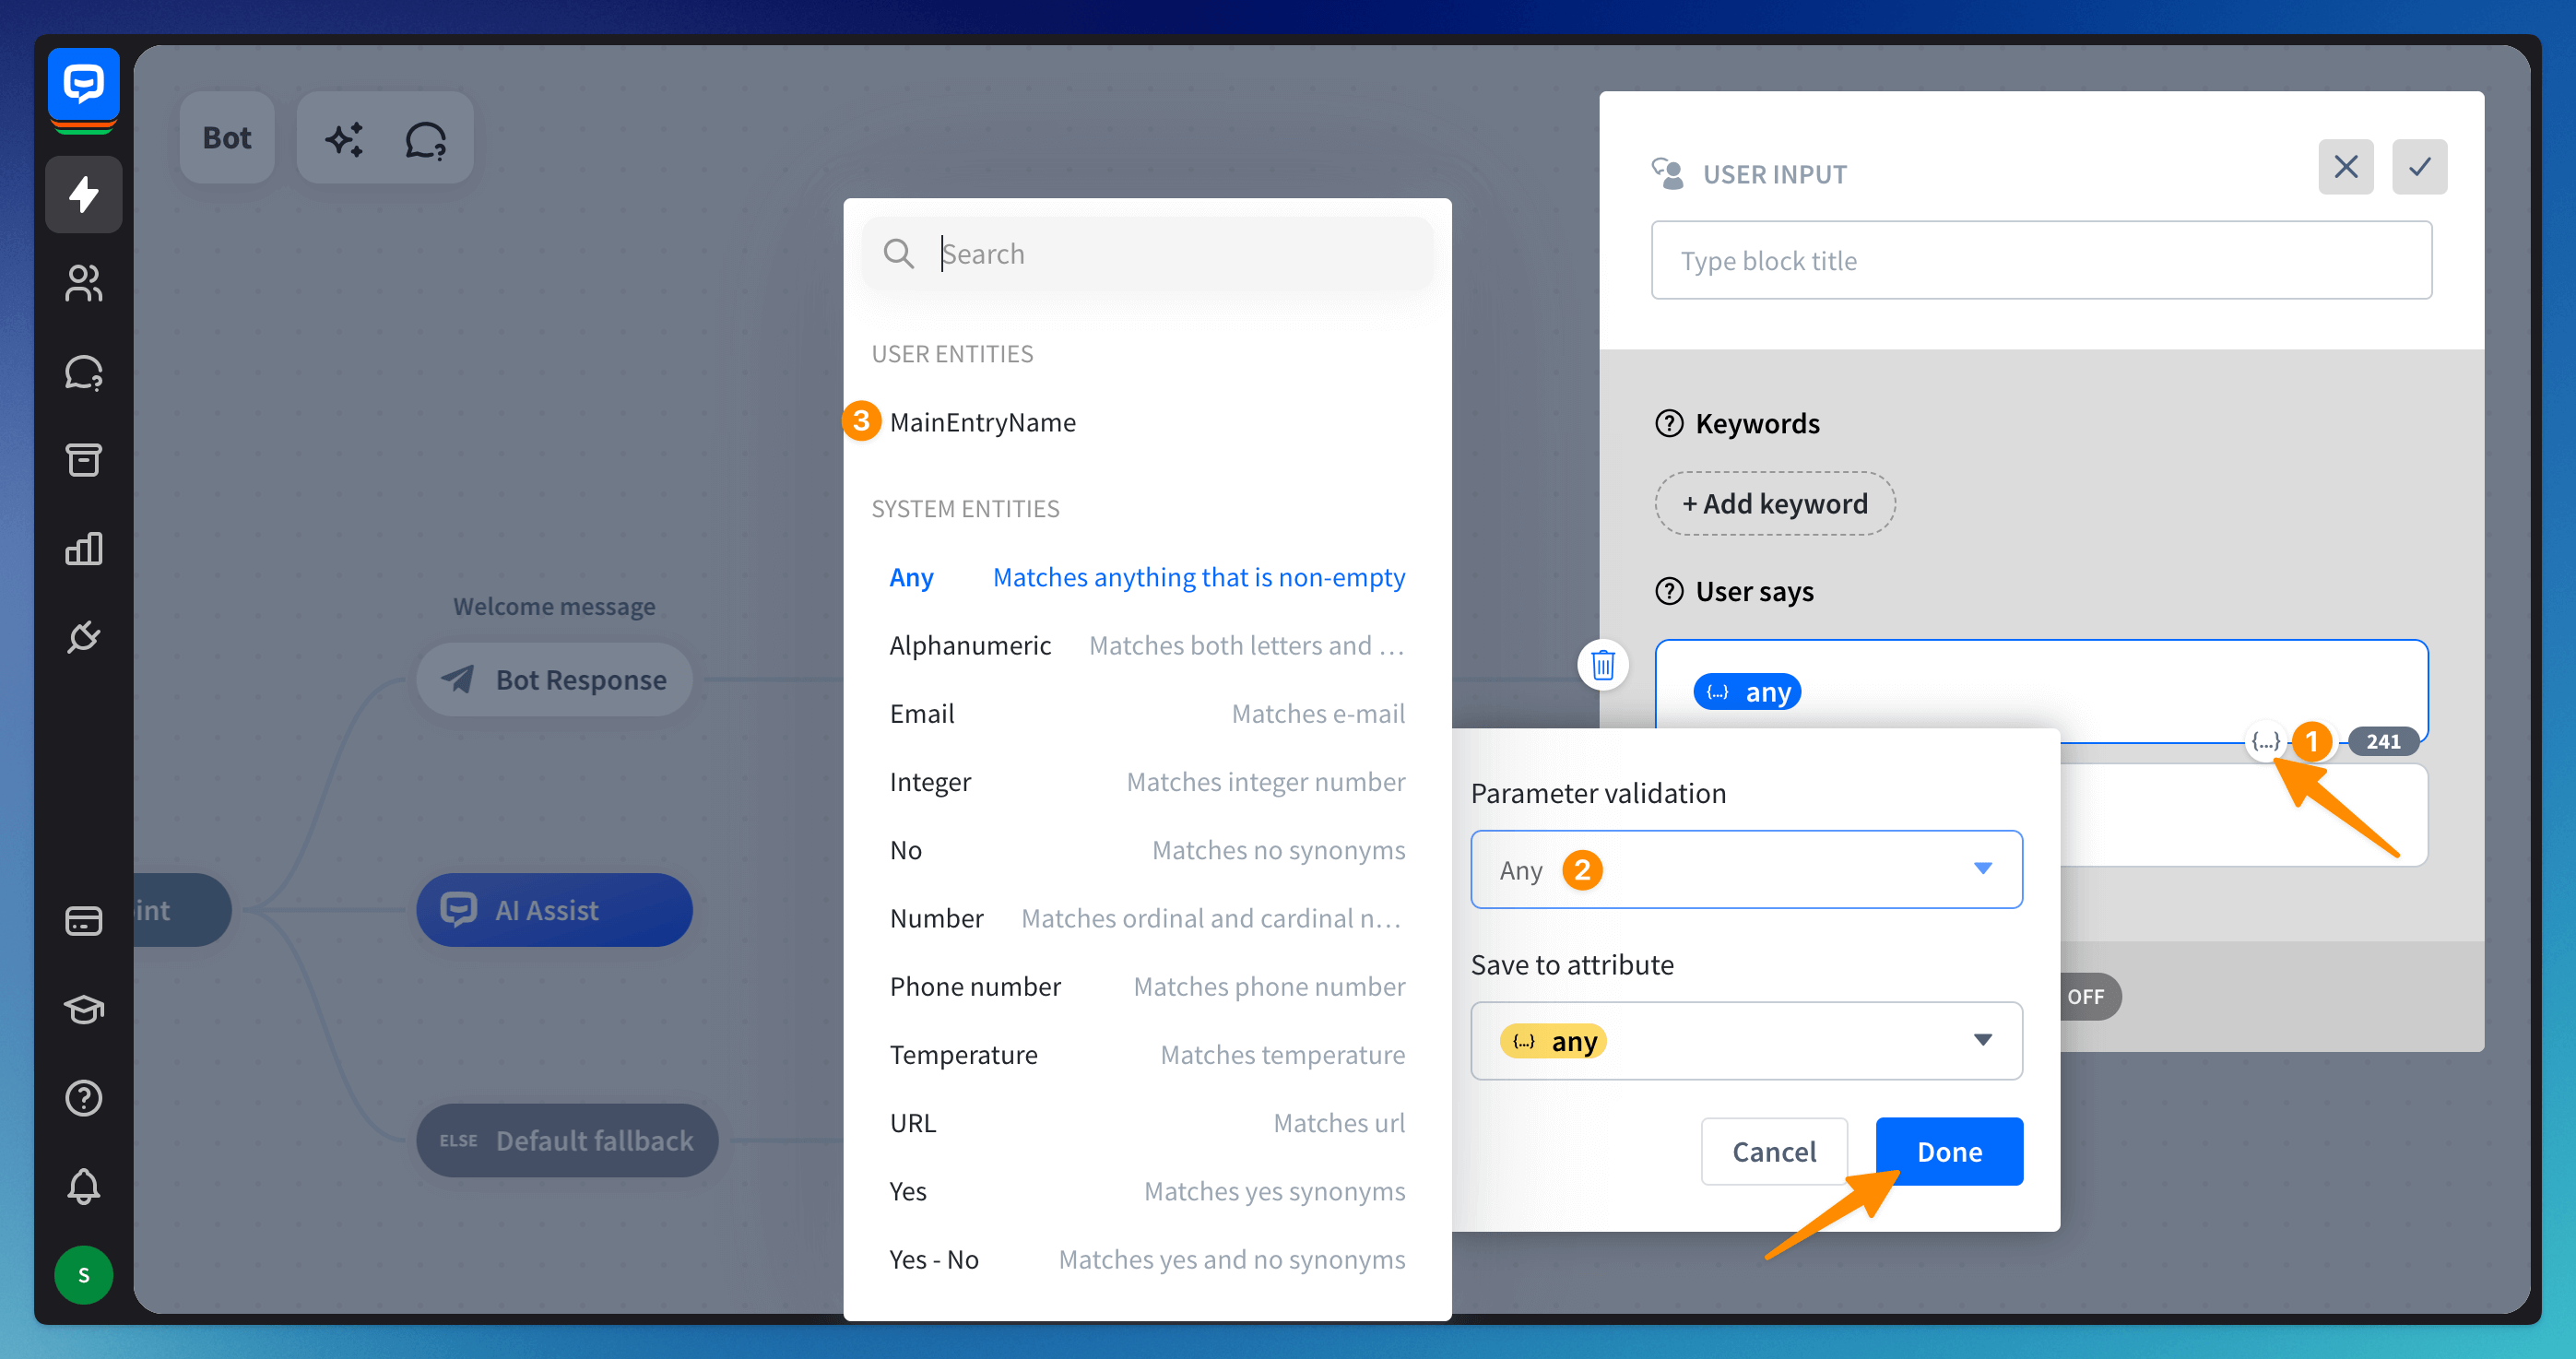
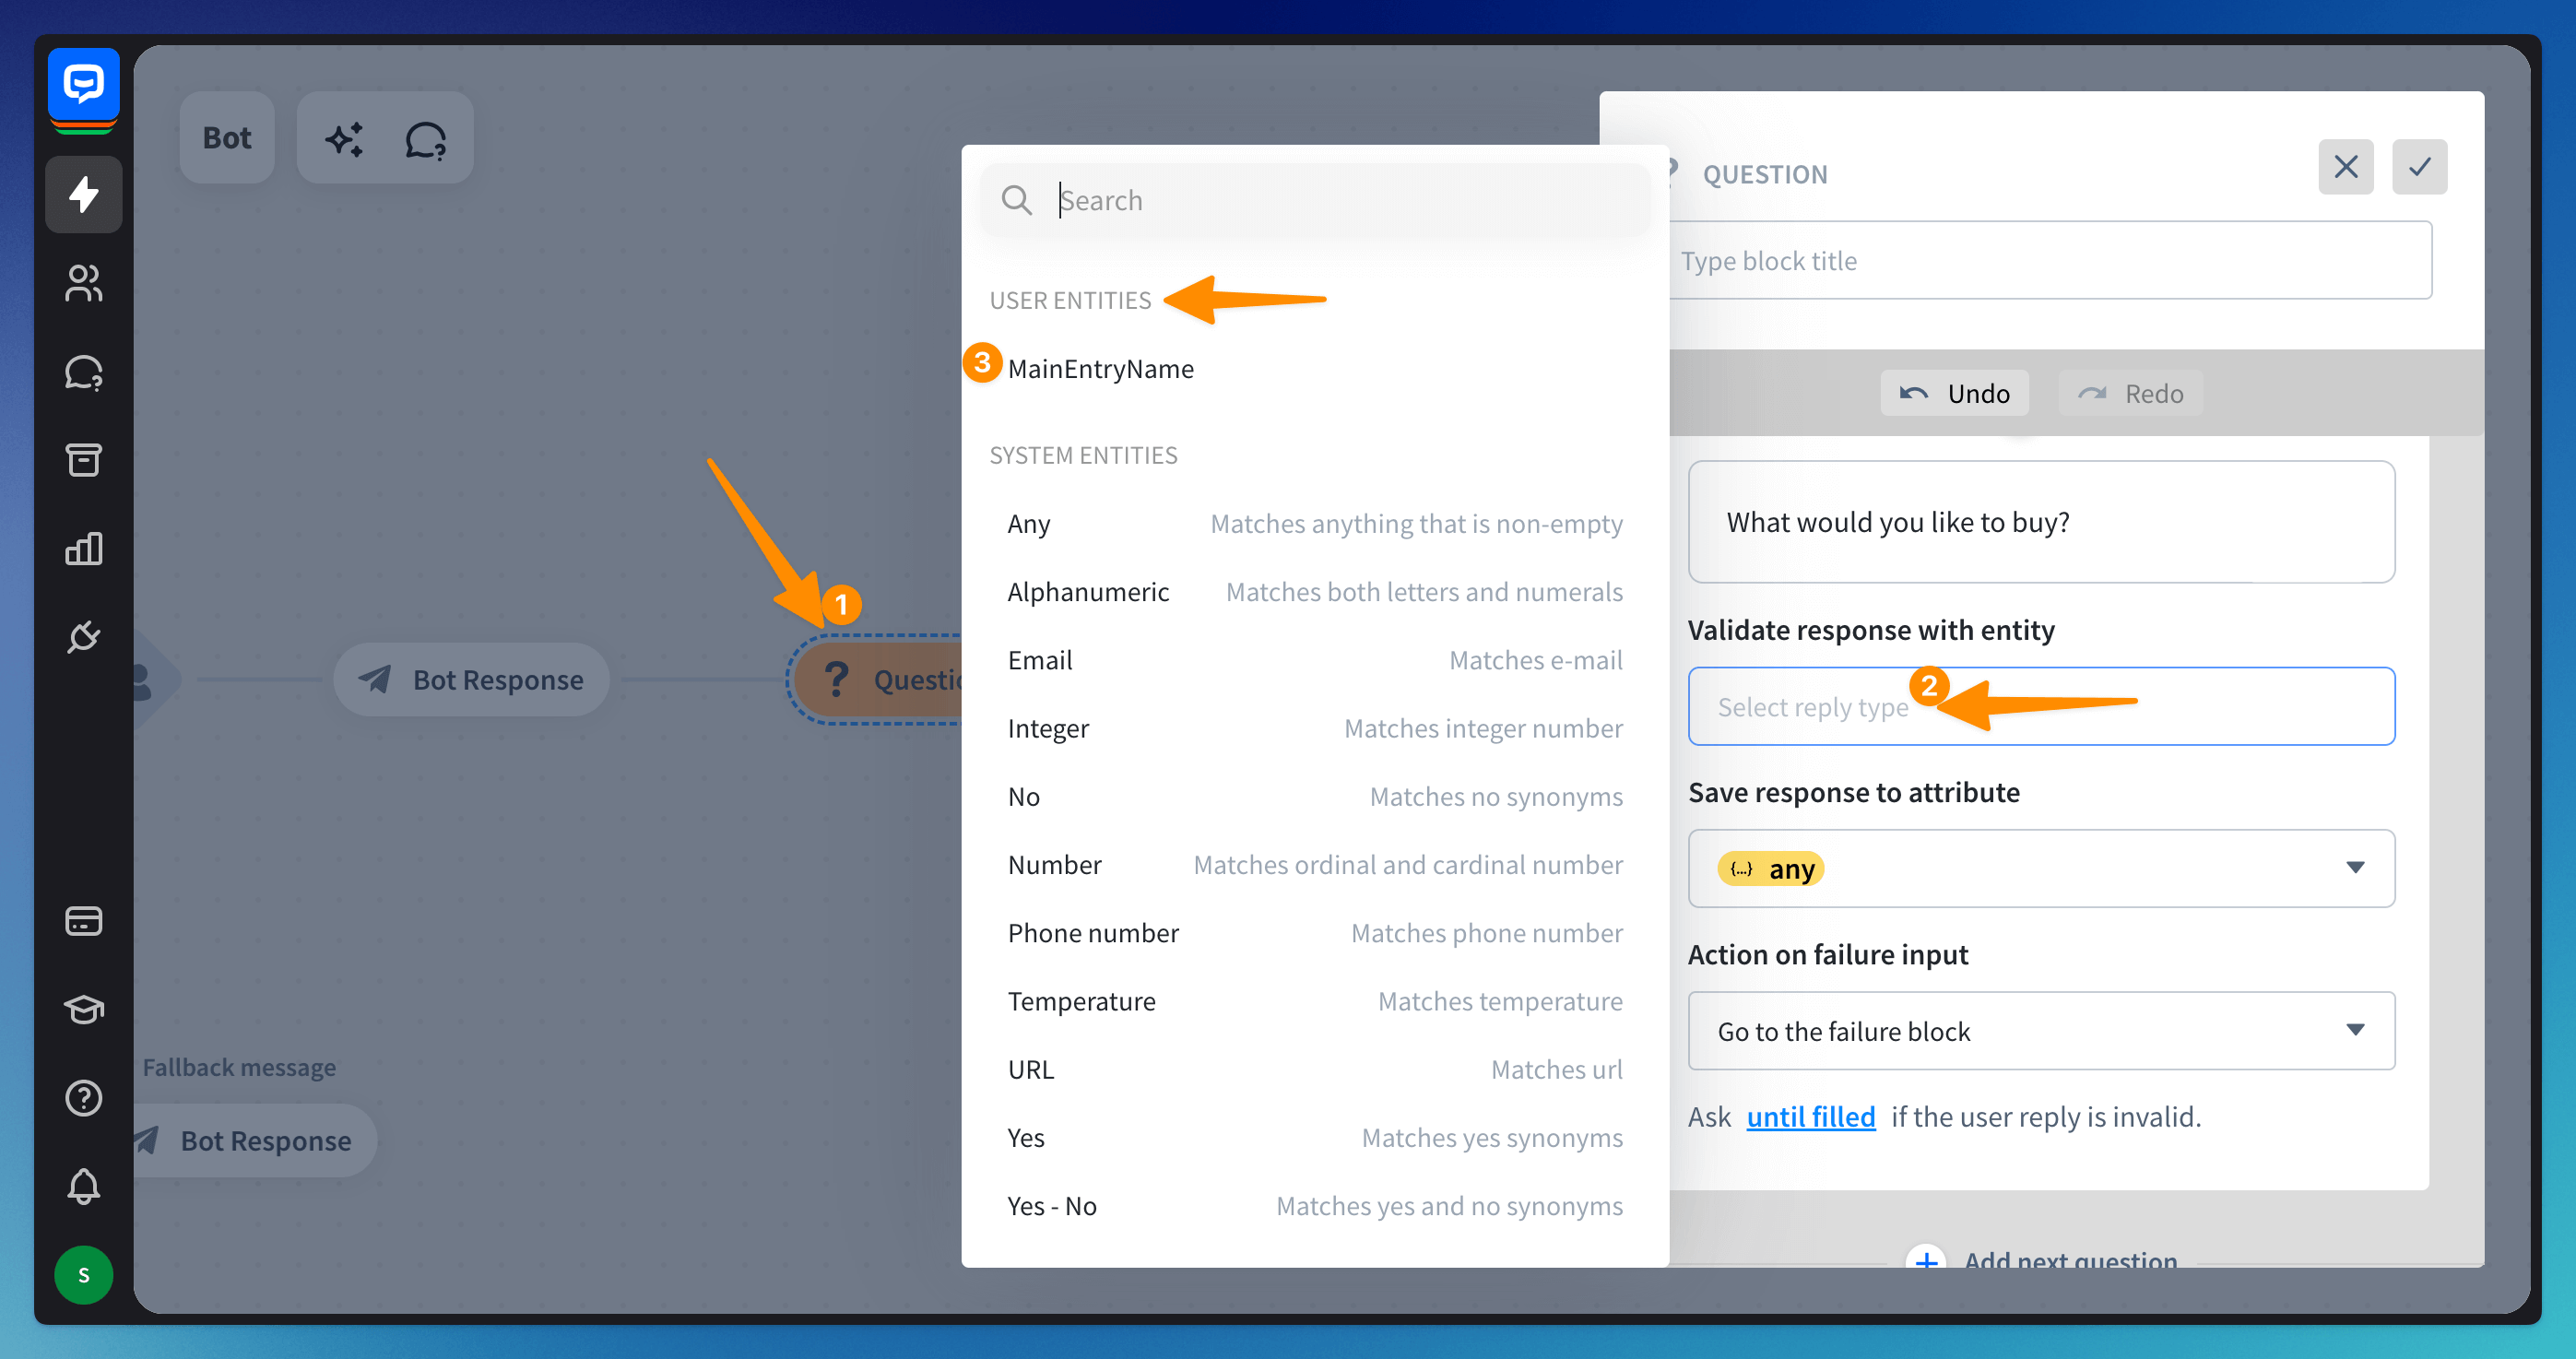
Add a User Input block to collect the user’s query. Type two curly brackets {{ to open the attribute window or click on the attributes icon. Choose the entity in the Parameter validation and set the attribute’s name. Use an entity that best matches your use case’s needs.
 Add a Bot Response block, choose the correct response, and use curly brackets to add the attribute.
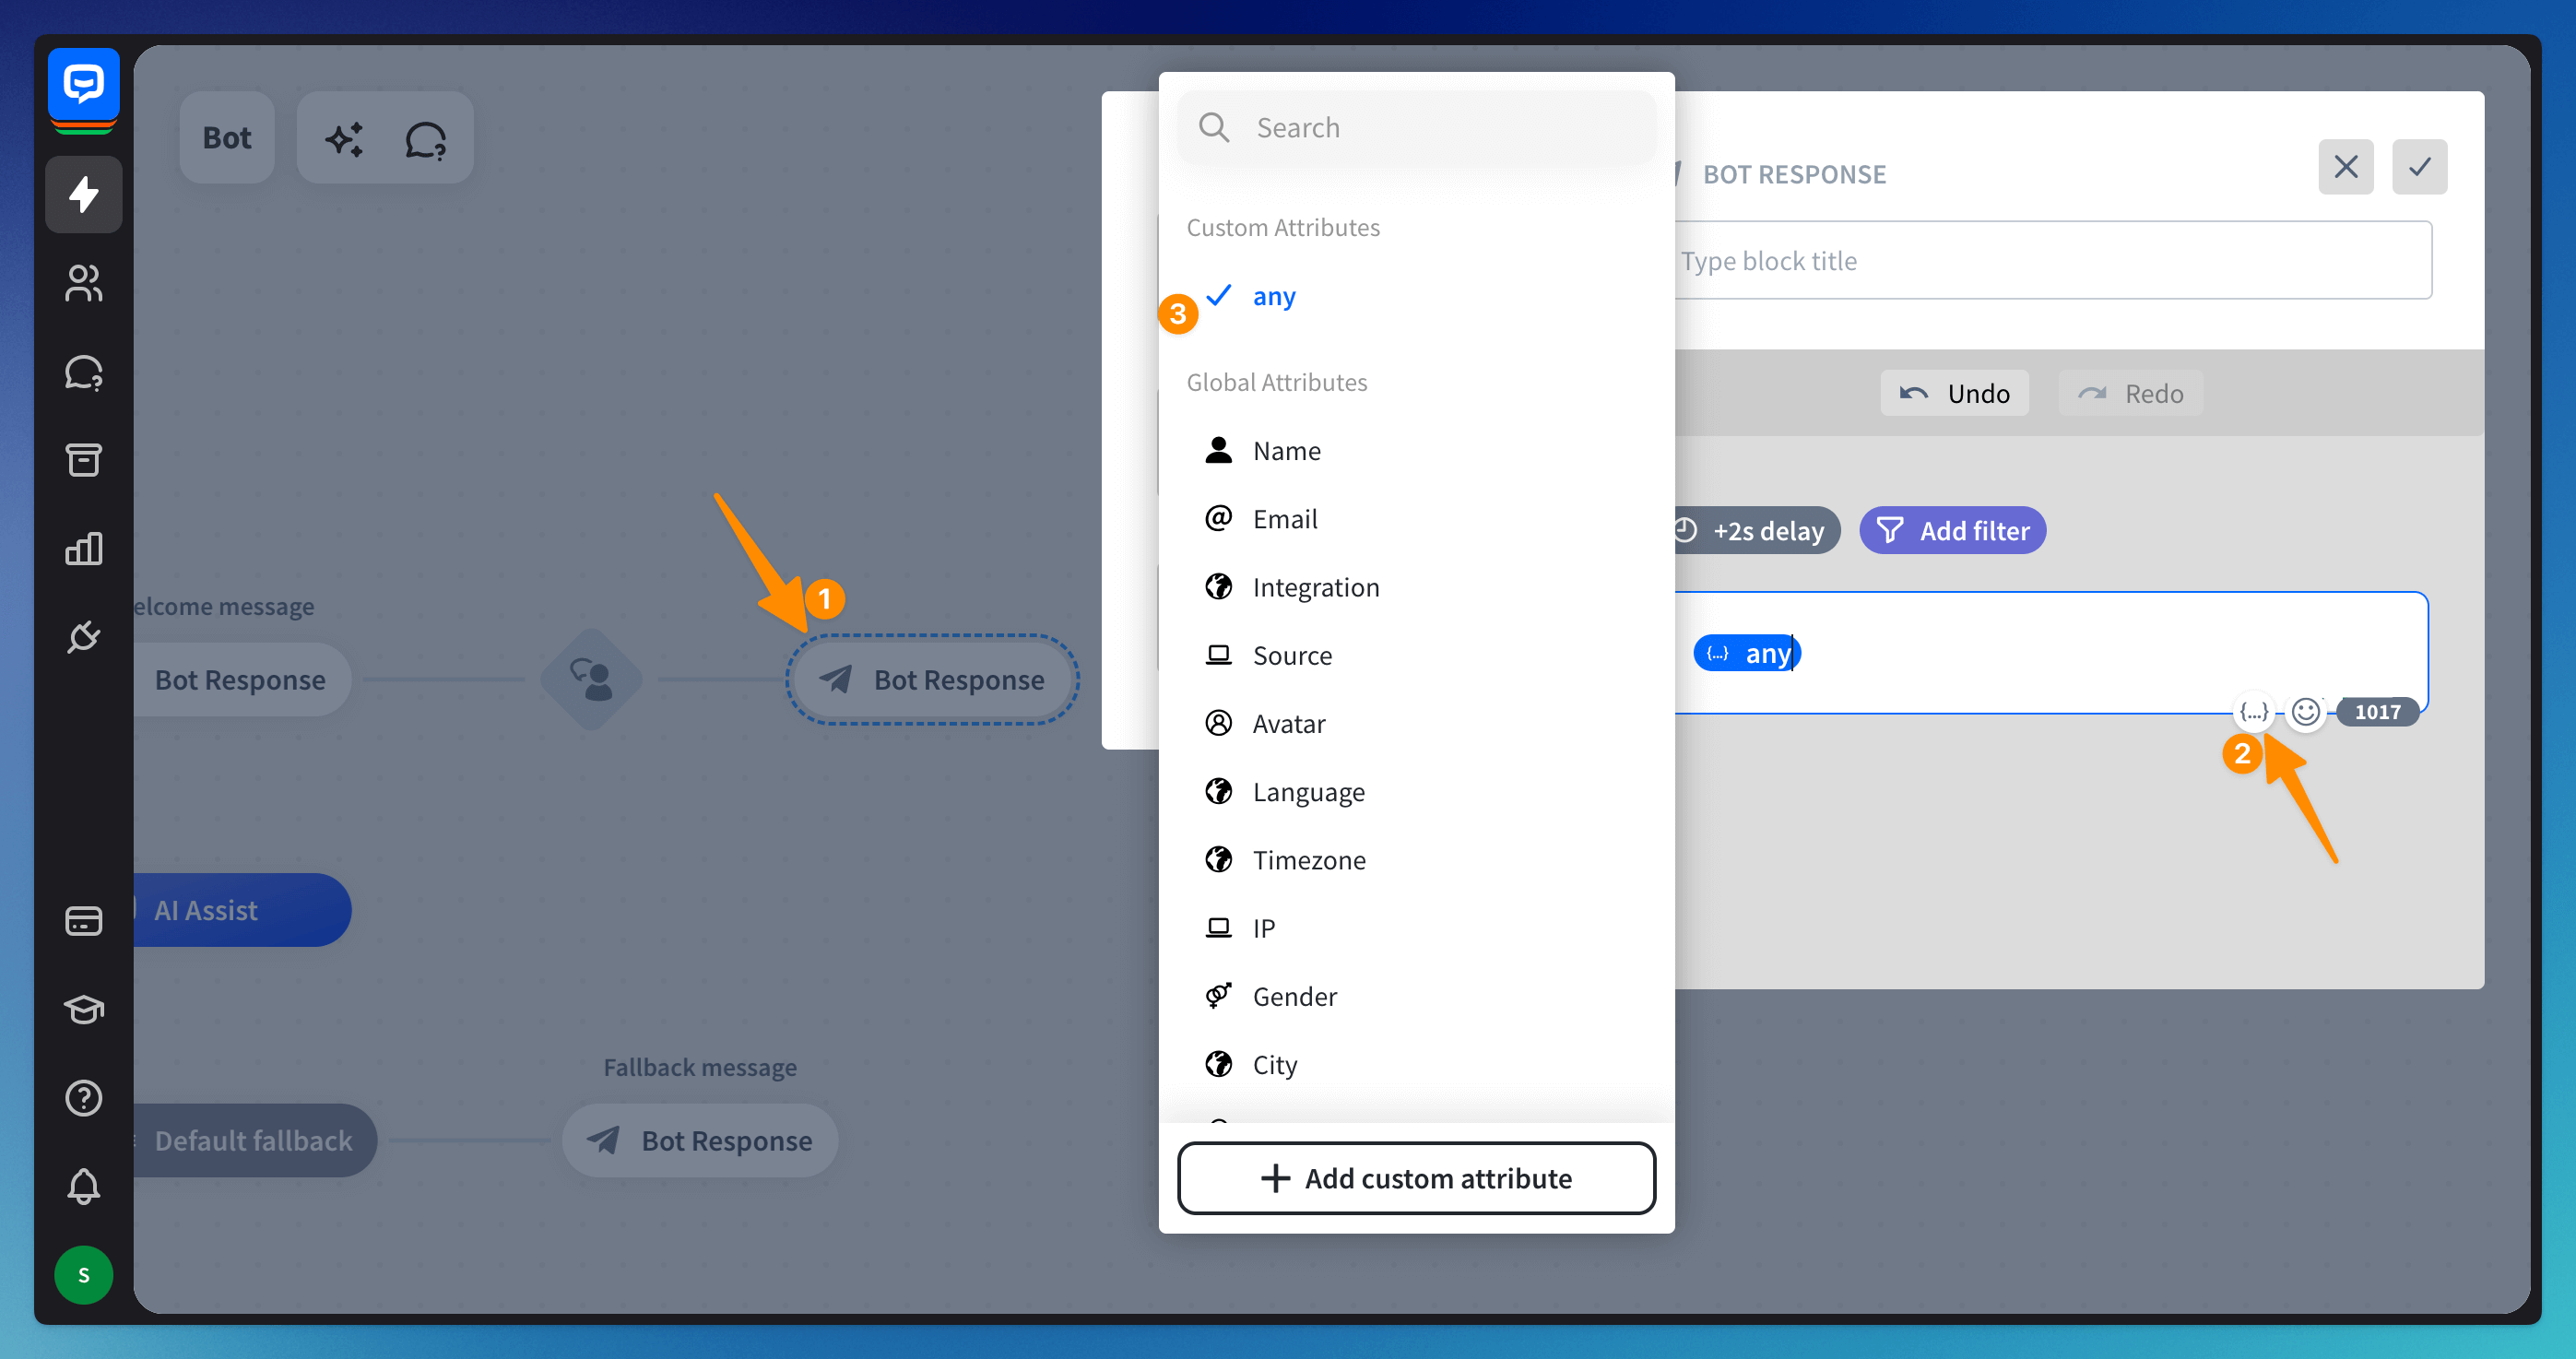 With this setup, the user’s response from the User Input block will be displayed when the bot sends the message.
 -
Use the Question action to validate the response and save it as an attribute in the same step.
Read more:
